Customization of portal pages from front end
Most of the portal settings and preferences are performed in the backoffice of the portal. Some of customization possibilities are available for end users (portal members) from the front end. There are also additional advanced customization possibilities that are available to CMS users (users that have access to CMS) directly from the front end. These customization options allow CMS users to do simple changes the layout of portal pages without the need to dig deep into the CMS settings and see the result of customization right away.
Thus, directly from the front end, the backoffice users can do the following:
- Rearrange page elements (e.g. fields, tiles, layout blocks, and other content elements)
- Resize a page element by changing its width
- Delete a page element
- Open CMS settings for a page element
- Duplicate a page element
|
In contrast to view personalization, which affects the layout of pages only for the portal member that is personalizing the view, the changes that a CMS user does on a page directly in the front end, using advanced customization options described in this topic, will impact the page layout for all portal members. |
Some of the advanced customization settings may be unavailable, depending on the page where you are trying to access then and the UI element you are trying to edit.
To rearrange a page element from the front end
- Ensure that you are signed in to CMS on the same PC.
- In the front end, open a portal page that you want to customize.
- In the bottom-right corner, select the
 icon.
icon.
 Note
NoteThis icon is available only if you are also signed in to CMS at this moment.
- Select the
 icon that appears to turn off the admin read-only mode. The icon changes to
  , which indicates that the admin edit mode is turned on.
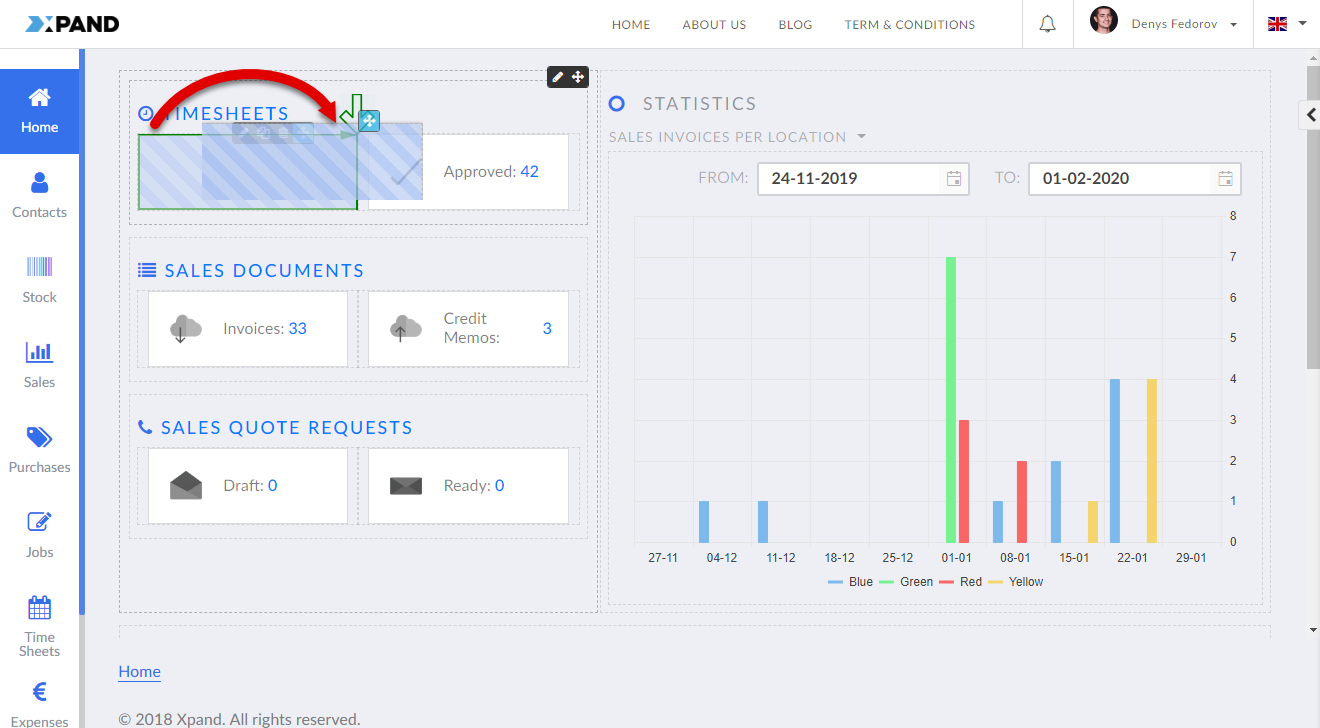
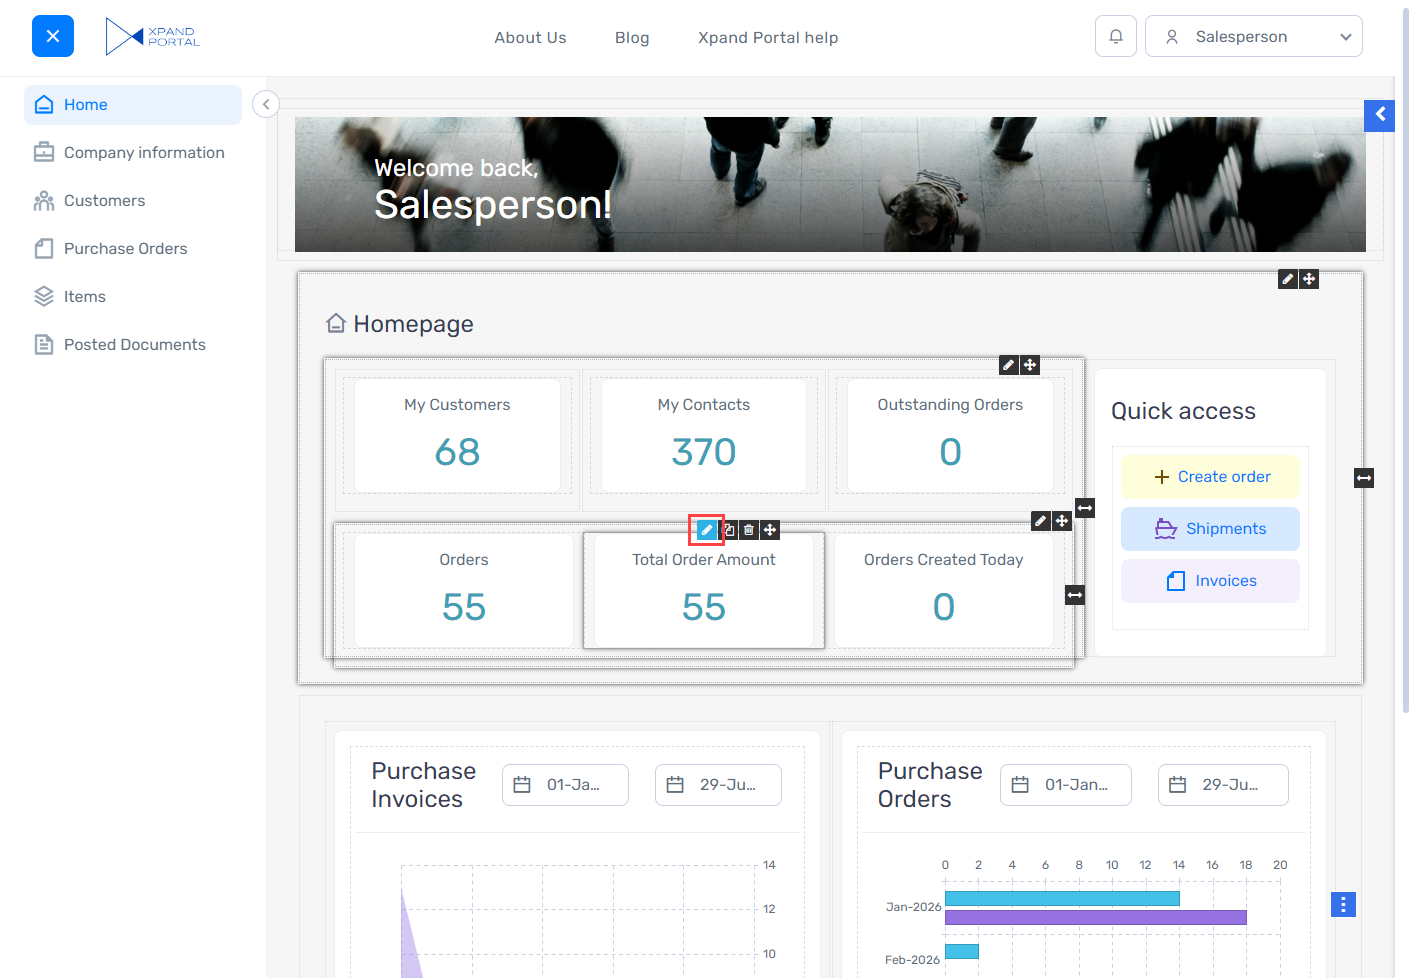
 - Point to the UI element you want to rearrange.
- In the toolbar that appears, select and hold the
 icon, and then drag the UI element to a different location on the page within the same content block. A green arrow prompts whether the selected location is acceptable.
Note
icon, and then drag the UI element to a different location on the page within the same content block. A green arrow prompts whether the selected location is acceptable.
NoteYou can only rearrange UI elements within the same content block (e.g. within a layout block).
- In the bottom right corner, click the
 icon to accept the changes or the
  icon to revert them.
 - Select the icon to turn off the edit mode if you are not going to customize them any more. The icon changes to , which indicates that the admin read-only mode is turned on.
To resize a page element from the front end
- Ensure that you are signed in to CMS on the same PC.
- In the front end, open a portal page that you want to customize.
- In the bottom-right corner, select the icon.
Note
This icon is available only if you are also signed in to CMS at this moment.
- Select the icon that appears to turn off the admin read-only mode. The icon changes to , which indicates that the admin edit mode is turned on.
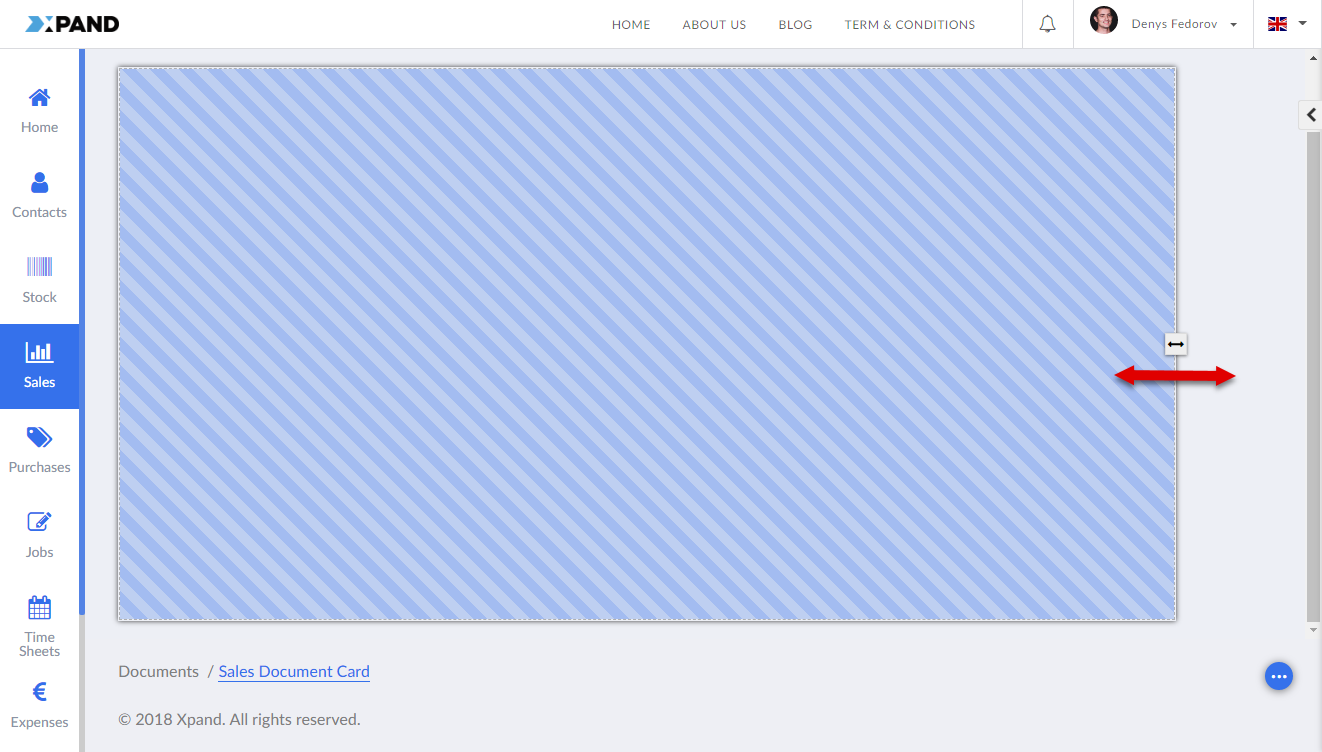
- Point to the UI element you want to resize.
- Select and hold the
 icon, and then resize the UI element to the desired width. A green arrow prompts whether the selected location is acceptable.
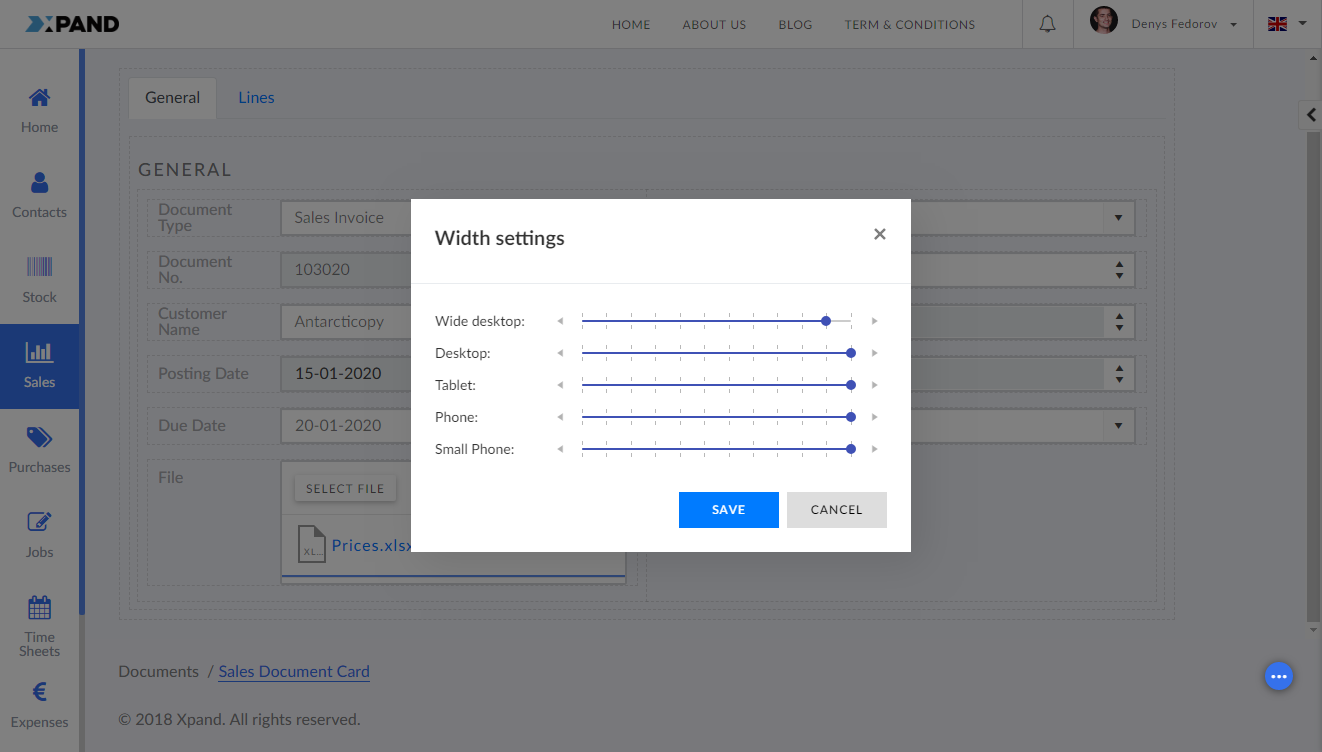
- In the Width settings window, adjust the width of the UI element for other devices if necessary, and then select Save.
- In the bottom right corner, click the icon to accept the changes or the icon to revert them.
- Select the icon to turn off the edit mode if you are not going to customize the any more. he icon changes to , which indicates that the admin read-only mode is turned on.
To delete a page element from the front end
- Ensure that you are signed in to CMS on the same PC.
- In the front end, open the portal page an element of which you want to delete.
- In the bottom-right corner, select the icon.
Note
This icon is available only if you are also signed in to CMS at this moment.
- Select the icon that appears to turn off the admin read-only mode. The icon changes to , which indicates that the admin edit mode is turned on.
- Point to the UI element you want to resize.
- In the toolbar that appears, select the
 icon.
Note
icon.
NoteThe actions on the UI element bar vary depending on the UI element and the page it is located on. The Delete
action is primarily used on the home page UI elements. 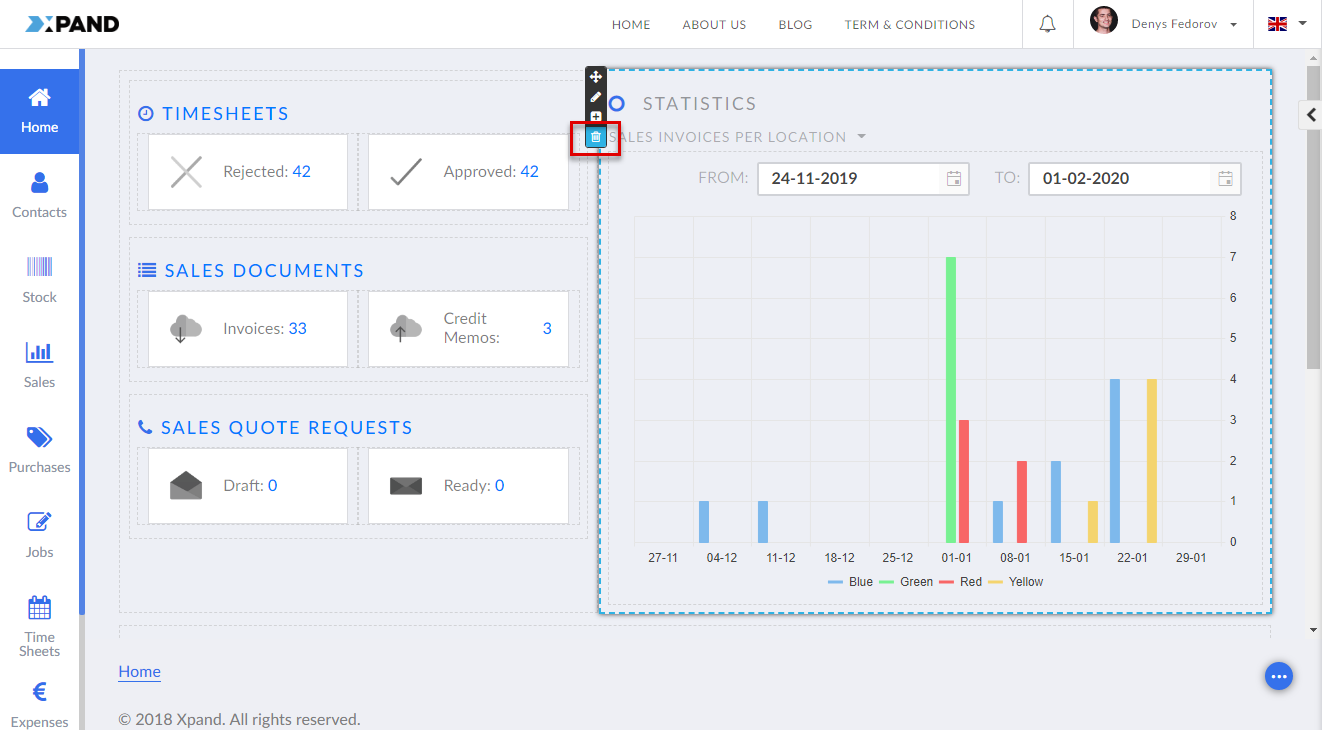
- In the bottom right corner, click the icon to accept the changes or the icon to revert them.
- Select the icon to turn off the edit mode if you are not going to customize the any more. he icon changes to , which indicates that the admin read-only mode is turned on.
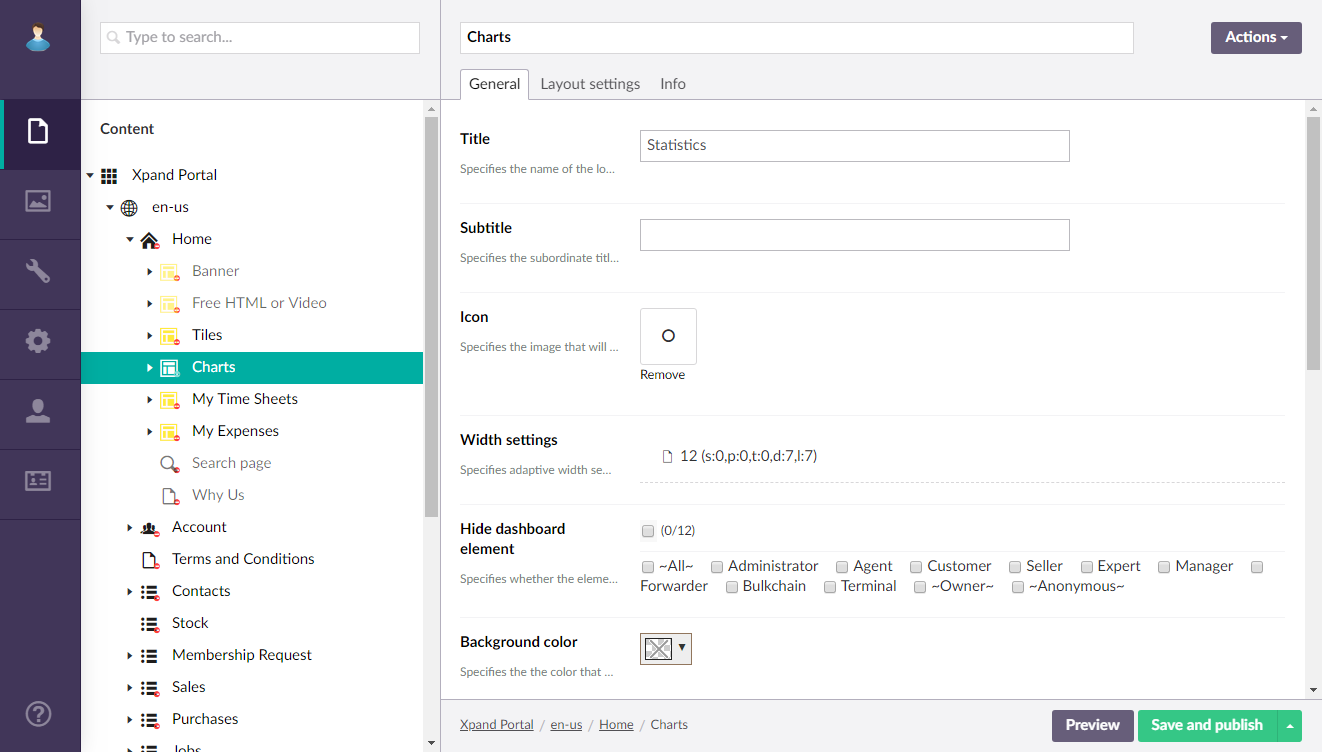
To open CMS settings for a page element
- Ensure that you are signed in to CMS on the same PC.
- In the front end, open the portal page an element of which you want to open the CMS settings.
- In the bottom-right corner, select the icon.
Note
This icon is available only if you are also signed in to CMS at this moment.
- Select the icon that appears to turn off the admin read-only mode. The icon changes to , which indicates that the admin edit mode is turned on.
- On the page, point to the UI element for which you want to open the CMS settings, and then, in the UI element settings bar, select
 .
.
This will open the CMS settings for that particular UI element.
- Select the icon to turn off the edit mode if you are not going to customize the any more. he icon changes to , which indicates that the admin read-only mode is turned on.
To duplicate a UI element
- Ensure that you are signed in to CMS on the same PC.
- In the front end, open the portal page an element of which you want to delete.
- In the bottom-right corner, select the icon.
Note
This icon is available only if you are also signed in to CMS at this moment.
- Select the icon that appears to turn off the admin read-only mode. The icon changes to , which indicates that the admin edit mode is turned on.
- Point to the UI element you want to add a snippet to.
- In the toolbar that appears, select the
 icon.
icon.
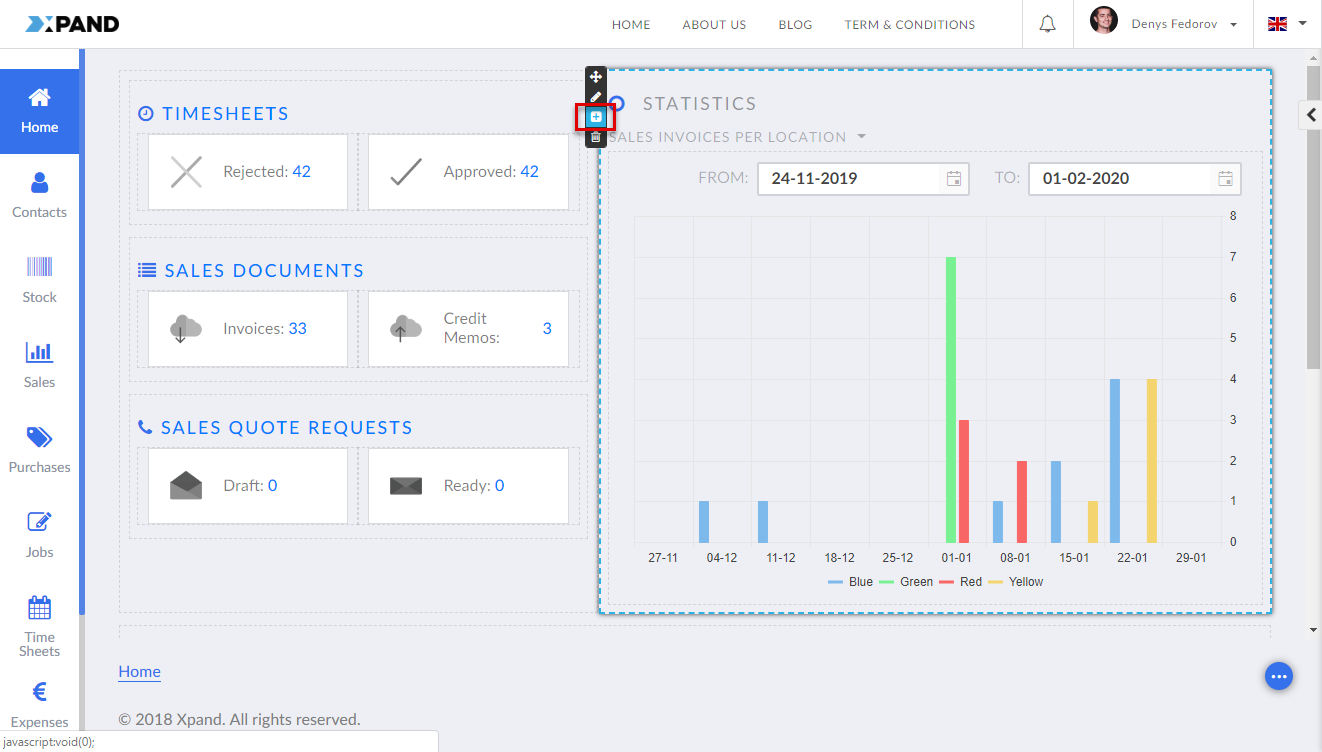
This create a copy of the page element in the same container.
- In the bottom right corner, click the icon to accept the changes or the icon to revert them.
- Select the icon to turn off the edit mode if you are not going to customize the any more. he icon changes to , which indicates that the admin read-only mode is turned on.