Manage localization languages
If you are going to use multiple localizations on a portal site, the first step is to add a localization language to your portal. Languages are used in all localization tools available on the portal.
Add a localization language
To add a localization language
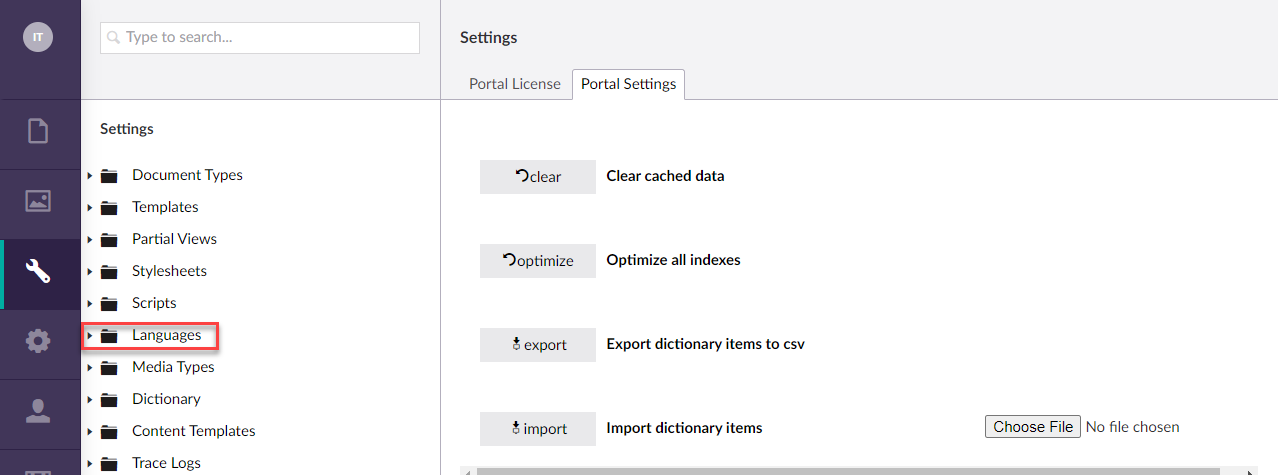
- In the backoffice, go to Settings > Languages, and then select Add language.
- Fill in the options as described below:
- Language - Specifies the language of the localization. Choose a language from the drop-down list.
- ISO code - Specifies the ISO code of the language. This field is filled in automatically.
- Settings
- Default language - Turn this on if you want this language to be used by default.
- Mandatory language - Turn this on if localized settings are mandatory for filling in.
- Fall back language - Specifies the language to switch to in case a localized caption is not configured.
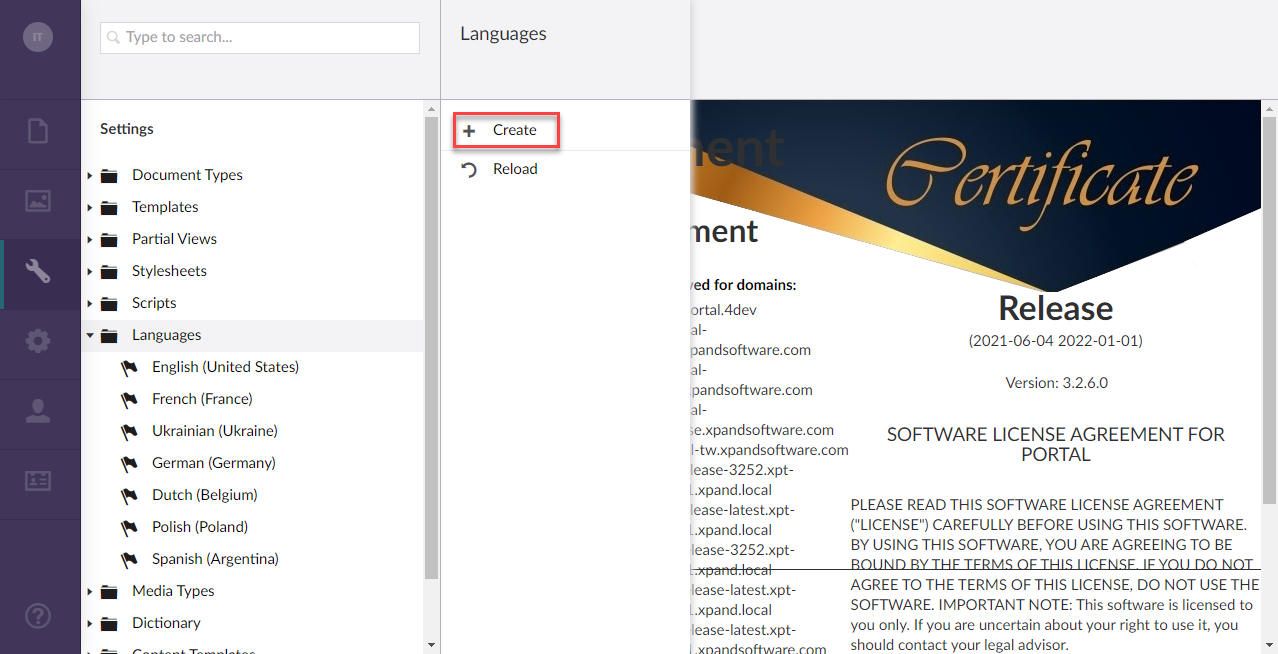
- Select Save to save the changes.
The added language becomes available as a localization option when localizing configuration and customizing the portal dictionary items.
Also, an unpublished copy of the site is created for the added language, however, the configuration inside pages or pages elements, such as fields, options, etc., is not automatically created and must be manually configured for each added localization. Certain settings are shared across localizations. You can switch between site localization in the top left corner of the Content area.
|
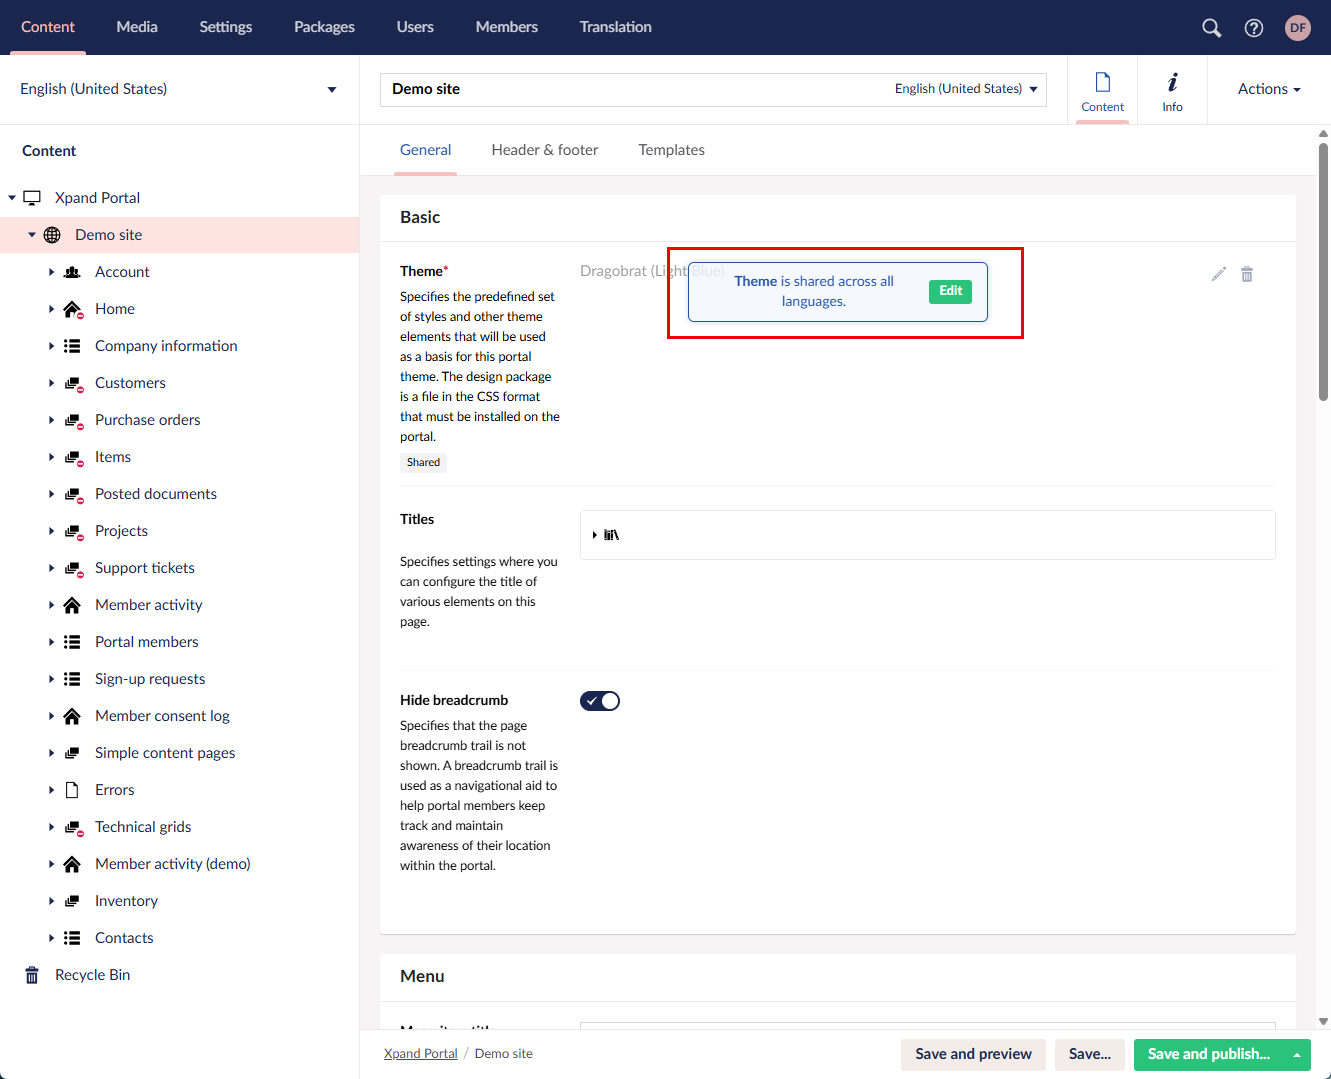
Site nodes as well as certain page settings are shared between localizations. This means that if you delete a page or page element in one localization, it will also be deleted in other localizations for the same portal site. If you change a shared setting, it will be changed in other languages as well. Hover over a setting to see if it is shared.
|
Configure basic language settings
When you add a localization language, you need to set up basic settings for it, such as menu item title, menu item icon, and domain.
To configure basic language settings:
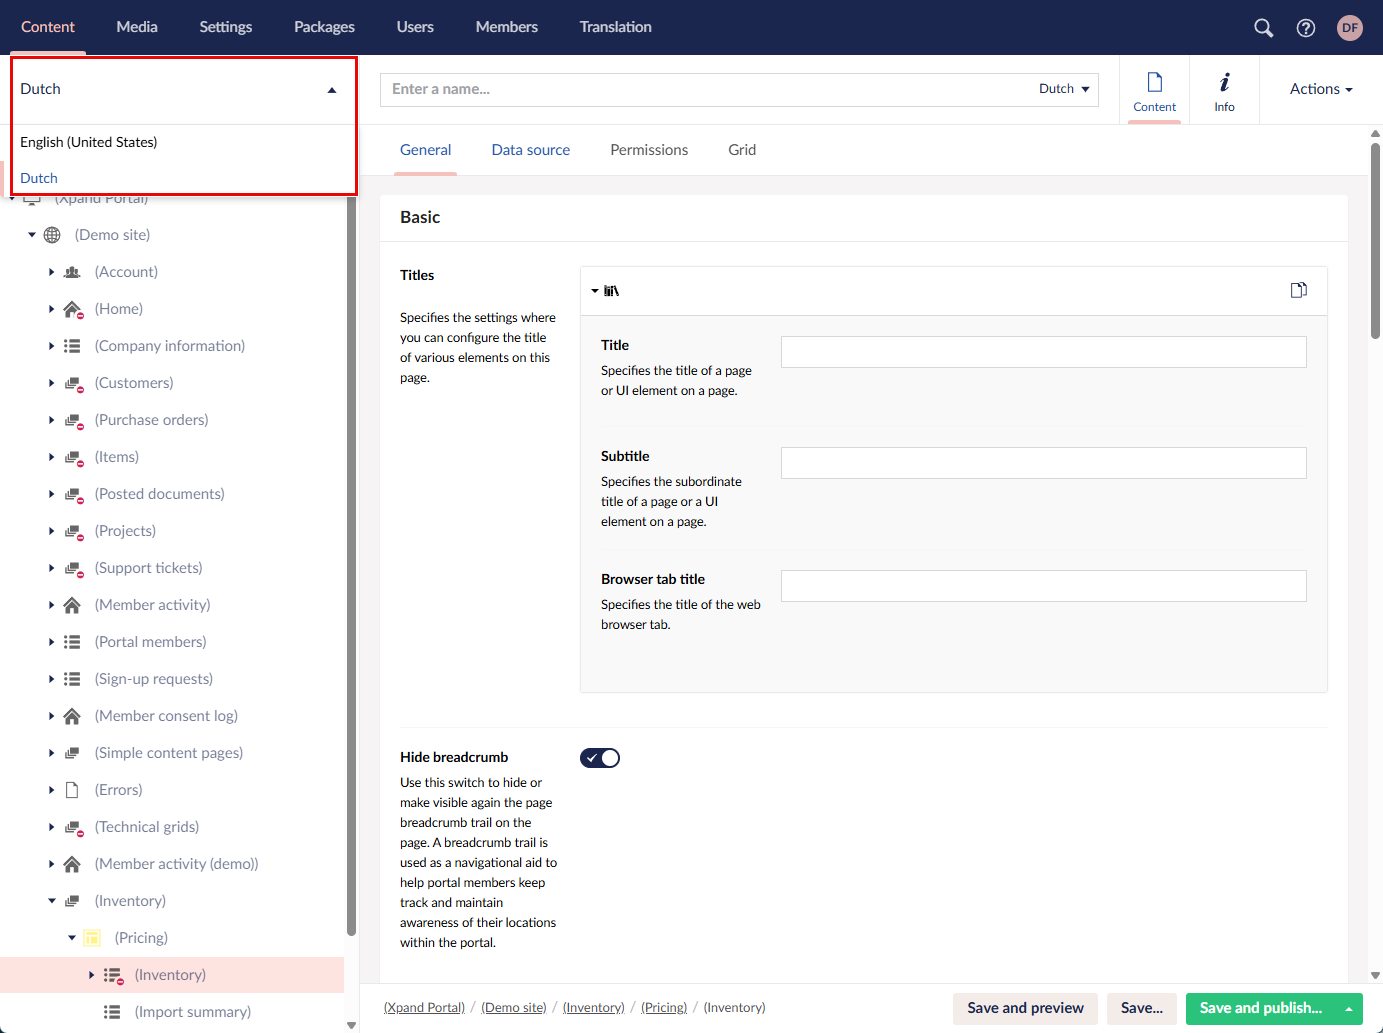
- Go to Content, and select a language in the top left corner.
- Select the site node
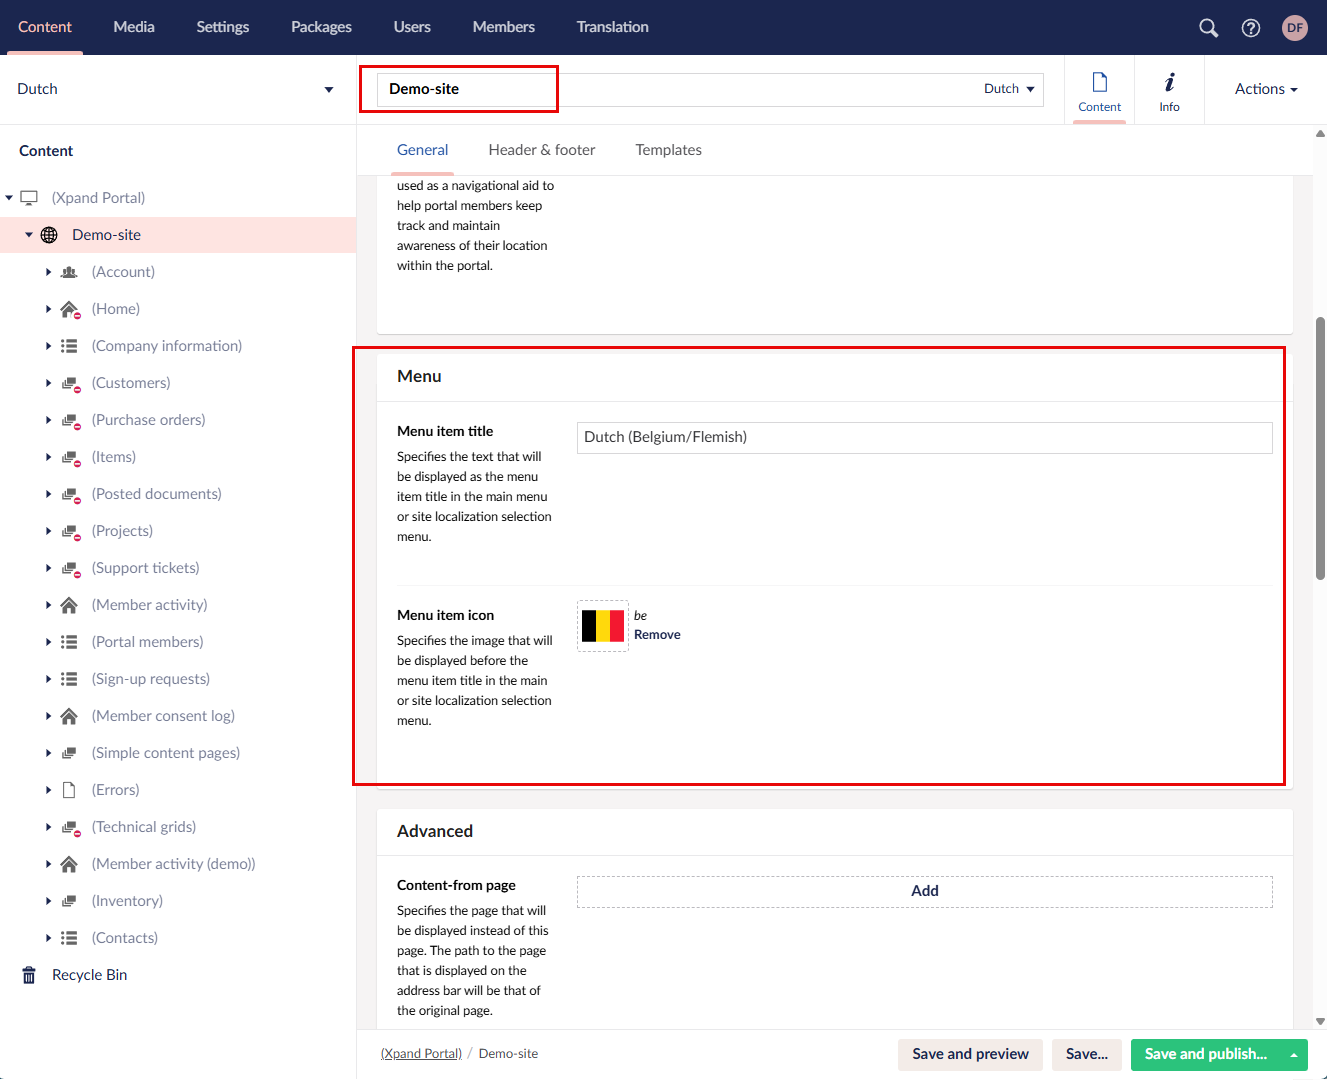
 , and them, on the General tab, under Menu, configure the following:
- Menu item title - Specifies the text that will be displayed as the menu item title in the main menu or site localization selection menu.
- Menu item icon - Specifies the image that will be displayed before the menu item title in the main or site localization selection menu.
- Enter the name of the site node to be able to save the changes (for an added language, all node names are empty).
- Select Save to save the changes or Save and publish to save and immediately publish them.
 Note
NoteWhen you have more than one localization, each time you save or save and publish changes, a dialog appears where you select a language to save the changes for.
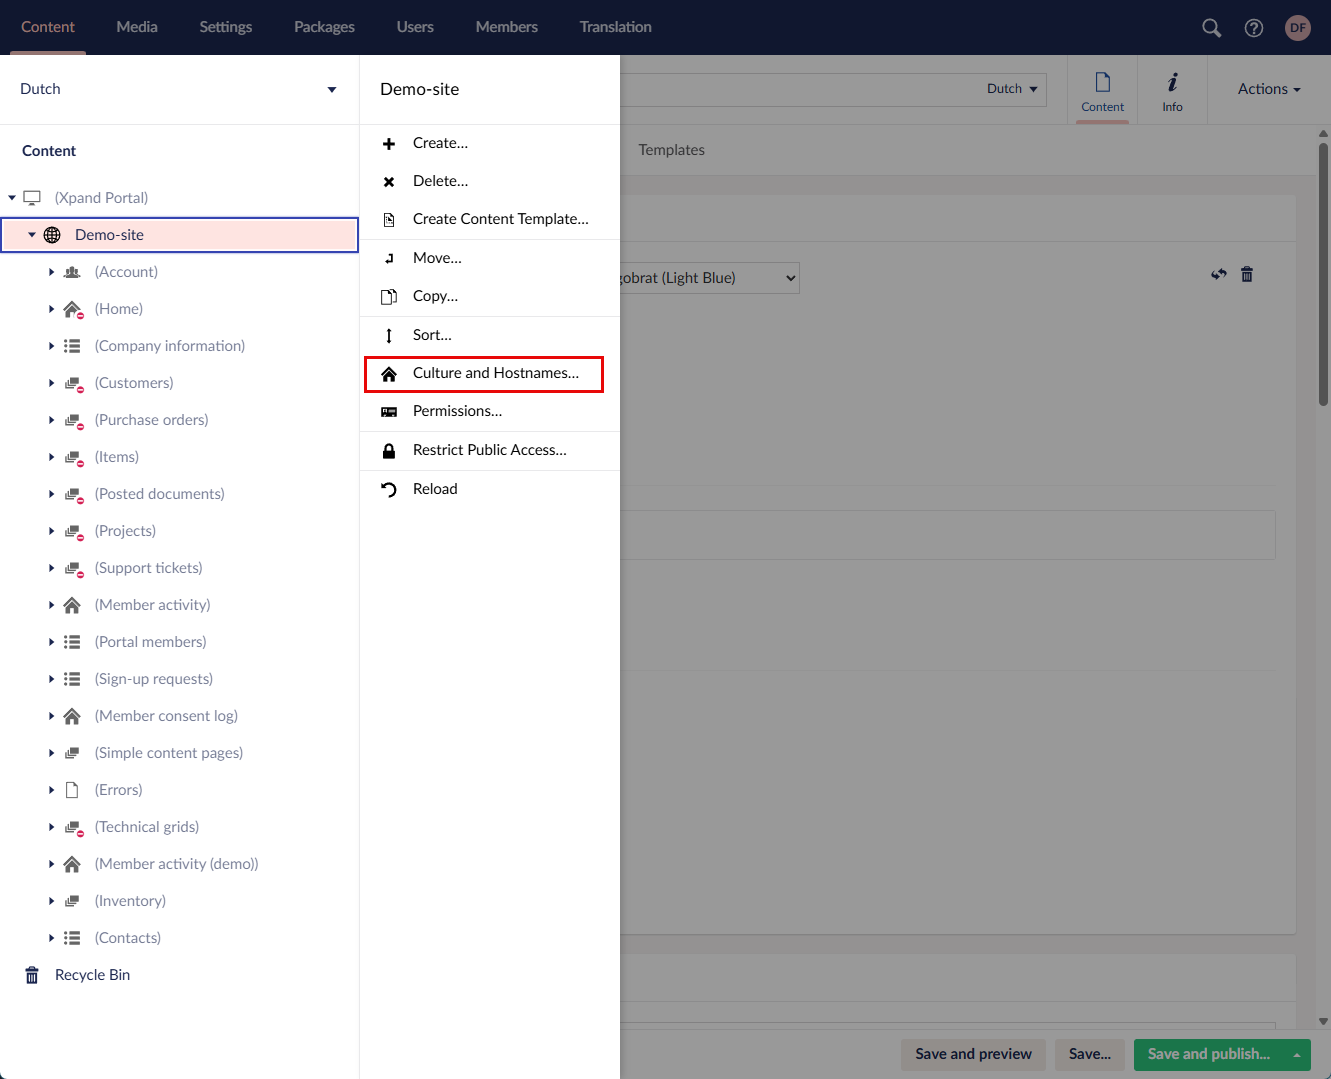
- Next the site node select select the
 icon (or right-click), and then select Culture and Hostnames.
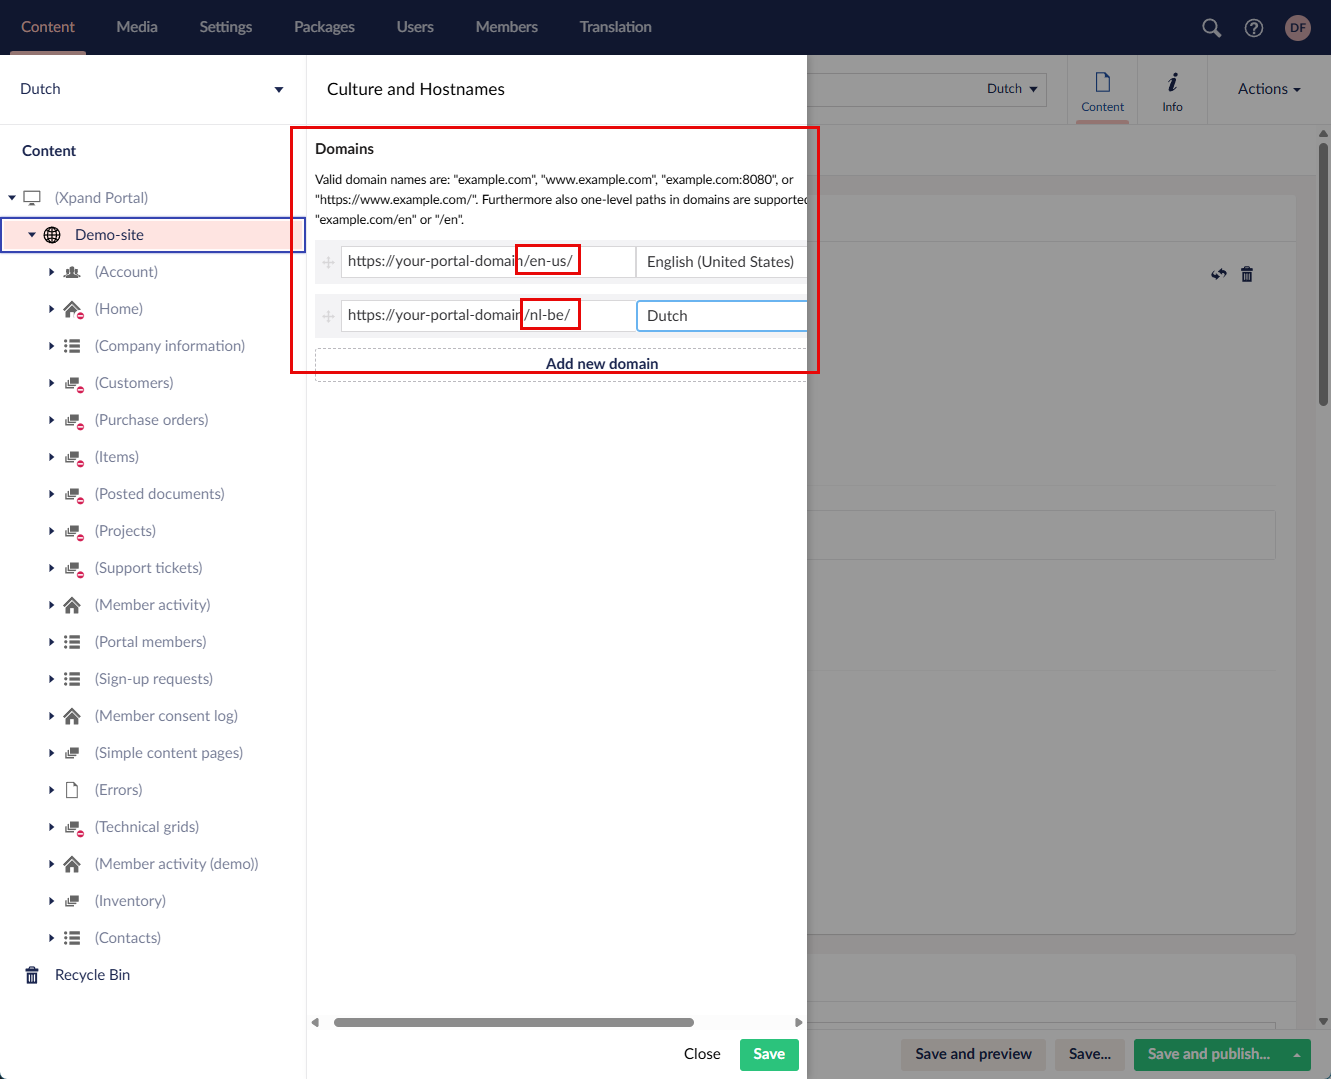
- Each localization must have its own domain. Portal visitors will use different URLs for different languages. Select Add new domain, select the language, and then fill in the domain for the selected language. You may also need to adjust other domains: when you have more than language, you need to specify the language in the domain path for every localization.
- Select Save.
These are the basic settings. You can then proceed to configure additional settings for the added language by configuring the localized site (entering localized node names, adding fields with localized captions, entering localized titles, subtitles, templates, etc.) as well as customizing the portal dictionary.
Once your localized version of the portal site is ready, you can publish the nodes for the new language.
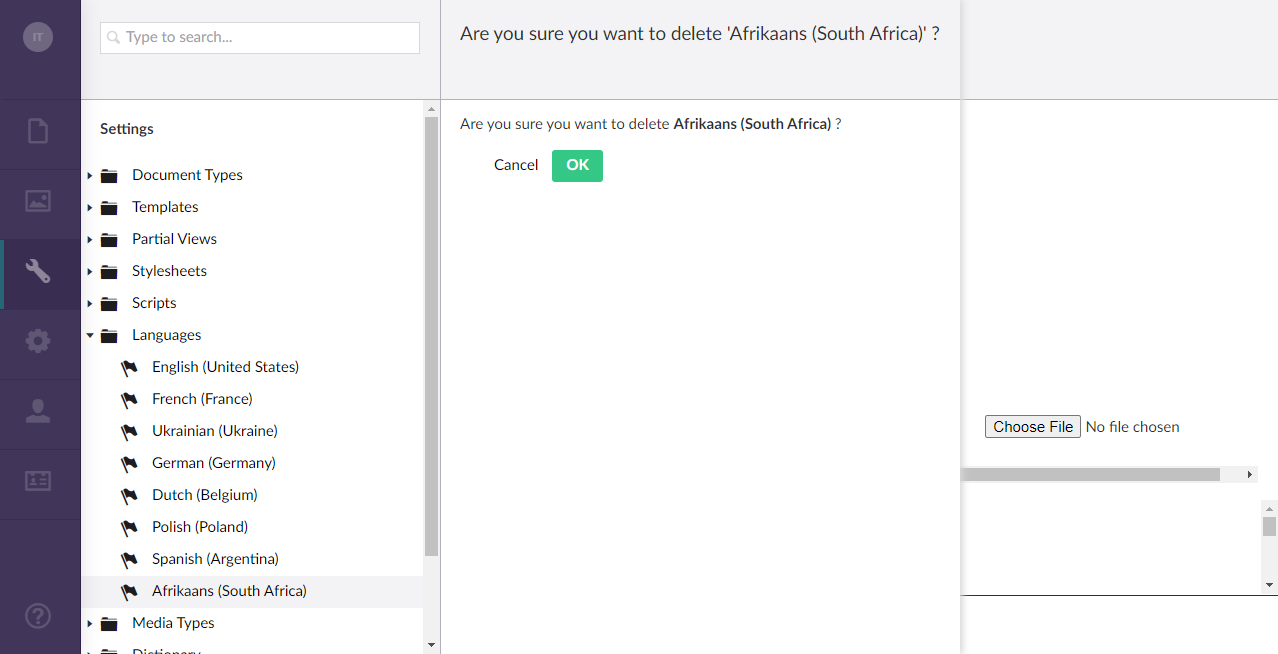
Delete a localization language
|
Deleting a language also deletes the related configured content and dictionary items for that language. |
To delete a localization language:
- Go to Settings > Languages.
- Select Delete next to the language that you want to delete.
- On the confirmation message that appears, select Yes, delete.