Managing pages
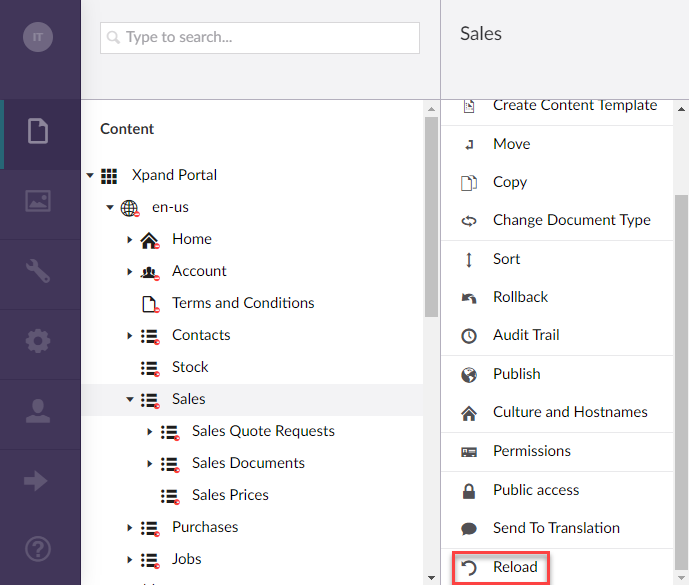
The Actions menu allows you to perform a number of tasks to manage the pages or page elements in the portal backoffice:
- Create a content template
- Delete a page
- Move a page
- Copy a page
- Sort pages
- Configure the page culture and hostnames
- Restrict public access to portal pages or page elements
- Reload a page
Create a content template
You can create content templates from any page or page element (e.g. a layout block, field set, etc.) on the portal. A content template includes all page settings that were configured on a page or page element, including the selected data source and field configuration. Content templates can then be used during page creation as a basis of new pages, which may significantly speed up the portal configuration process.
To create a content template:
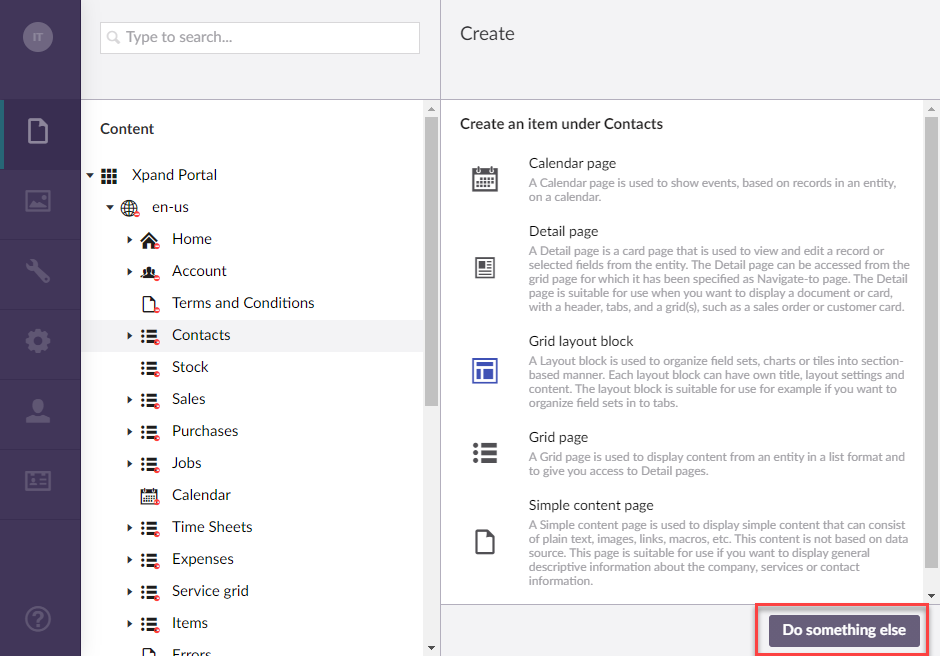
- In the backoffice, go to Content, select the
 icon next to the page or page element that you want to create a content template from.
 - Select Do something else.
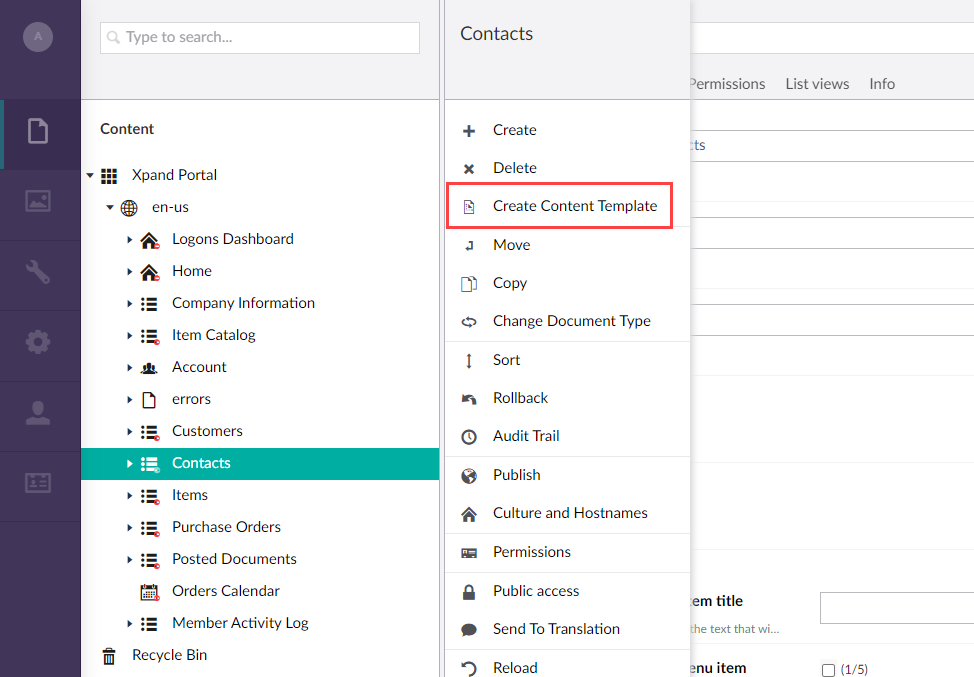
- From the menu that appears, select Create Content Template.
 Note
NoteAlternatively, you can follow these steps:
- Select and hold (or right-click) a relevant page, and then select Create Content Template.
- Select a relevant page, and then select Actions > Create Content Template.
- In the Name field, type the name of the template that will be used to identify it when selecting a template during page or page element creation.
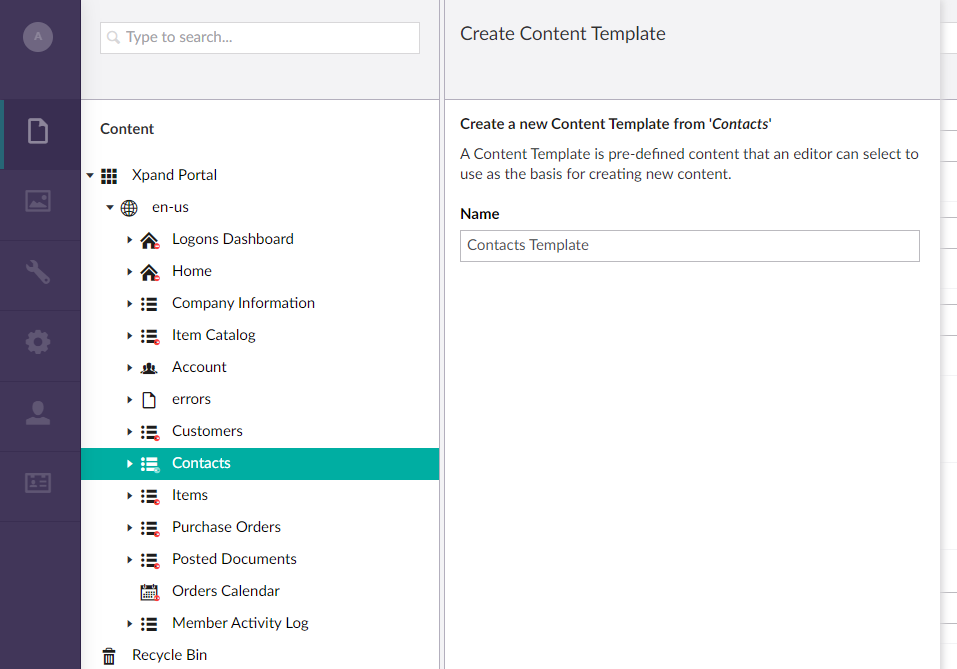
- Select the Create button.
To use a content template:
- In the backoffice, go to Content, select the icon next to node of a site/page/page element where you want to create a new page or page element.
- Select the type of a page or page element that you want to create.
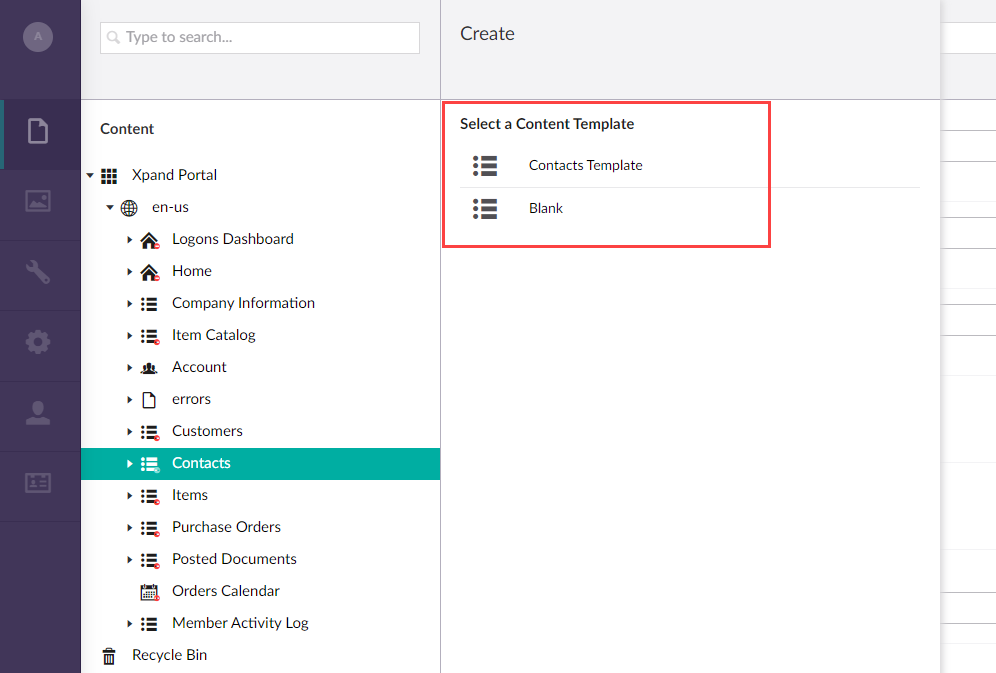
- If there are content template(s) available for the type of page or page element that you selected, they will be available for selection. Select one of the content templates.
 Note
NoteSelect the Blank template if you don't want to use a previously saved template. The blank template is used by default if there are no saved content templates for the selected type of page or page element.
- Make changes in the created page or page element according to your needs.
- Save the changes.
Delete a page
To delete the page that is not relevant anymore, follow these steps:
- In the backoffice, go to Content, select the icon next to page you want to delete.
- Select Do something else.
- From the menu that appears, select Delete.
Note
Alternatively, you can follow these steps:
- Select and hold (or right-click) a relevant page, and then select Delete.
- Select a relevant page, and then select Actions > Delete.
- On the confirmation message that opens, confirm deleting of the page by selecting OK.
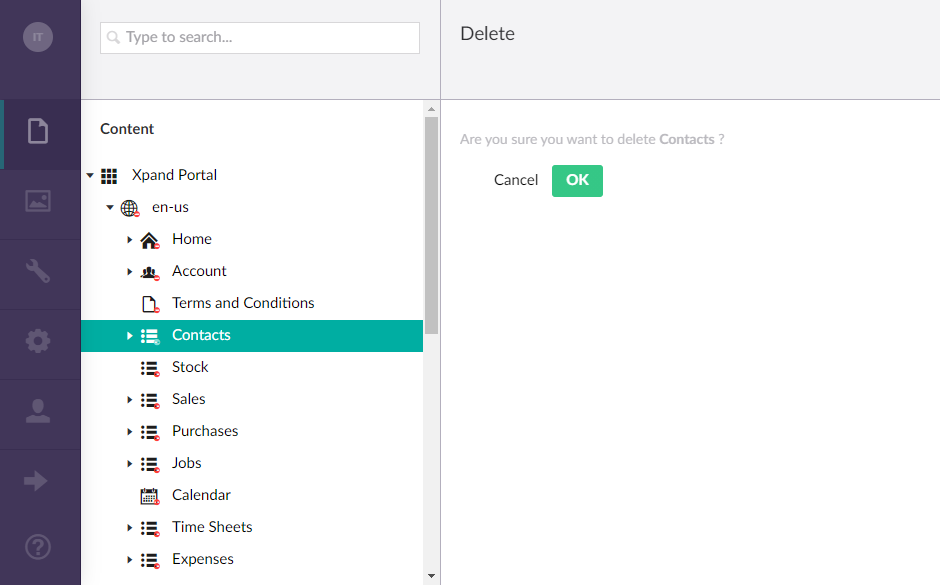
|
Deleting site pages or page elements may result in broken links. |
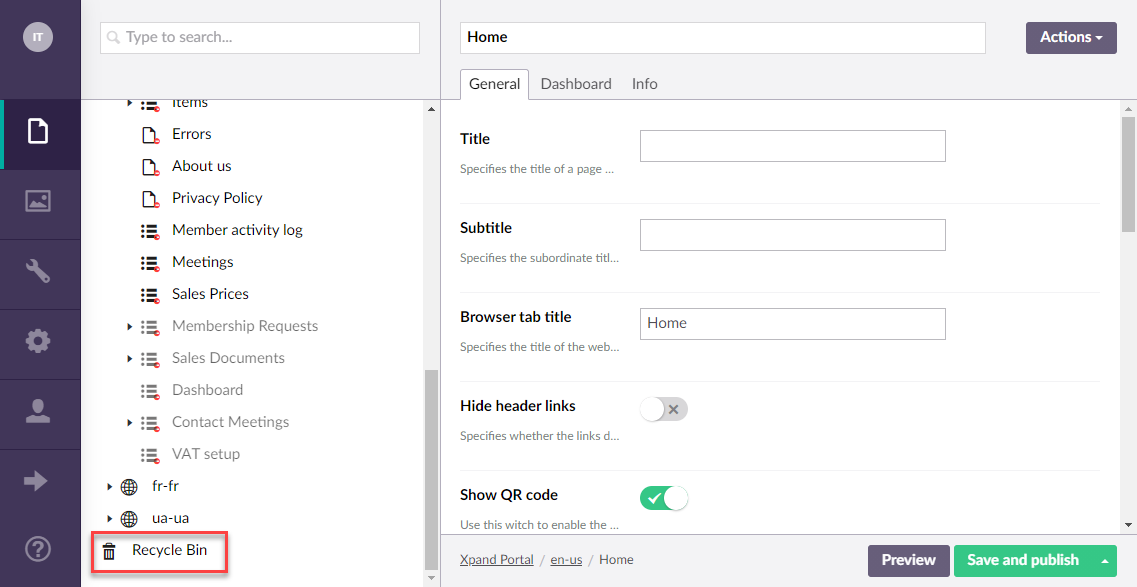
If you want to restore the page you already deleted:
- Go to Content, and then select Recycle Bin.
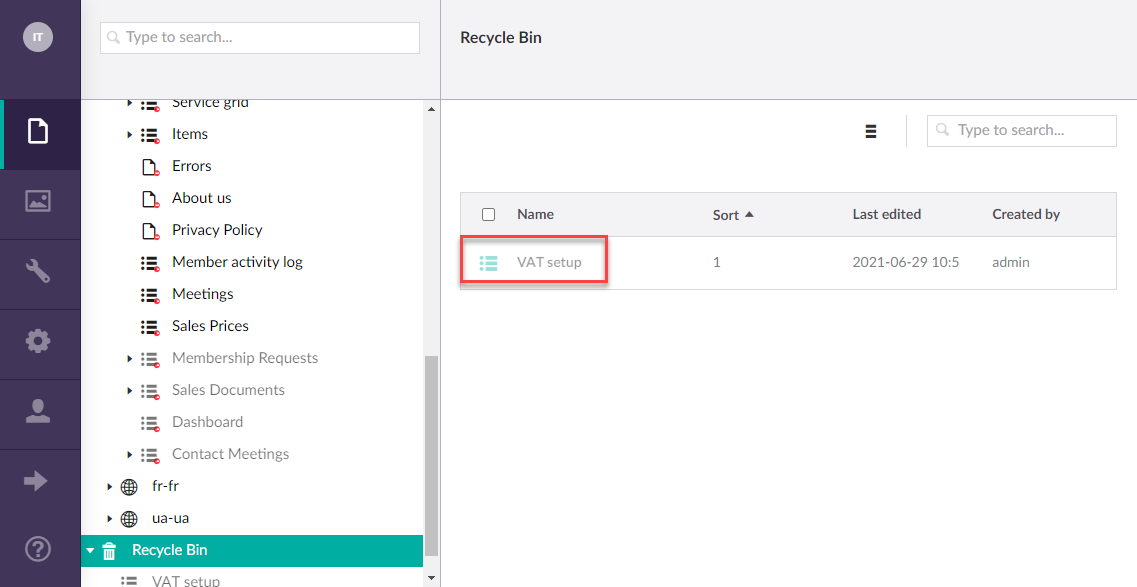
- In the Recycle Bin window that opens, select the page you want to restore, and then do one of the following:
- Select Move, and then select the node to restore the selected page or page element to, and finally select Submit.
- Select Delete to permanently delete the content.
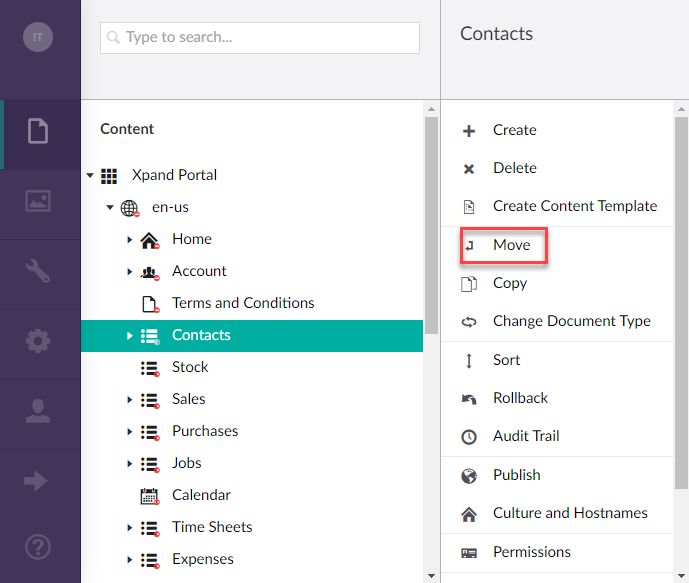
Move a page
If you want to change the position of the page in the tree view, follow these steps:
- In the backoffice, go to Content, select the icon next to page you want to move.
- Select Do something else.
- From the menu that appears, select Move.
 Note
NoteAlternatively, you can follow these steps:
- Select and hold (or right-click) a relevant page, and then select Move.
- Select a relevant page, and then select Actions > Move.
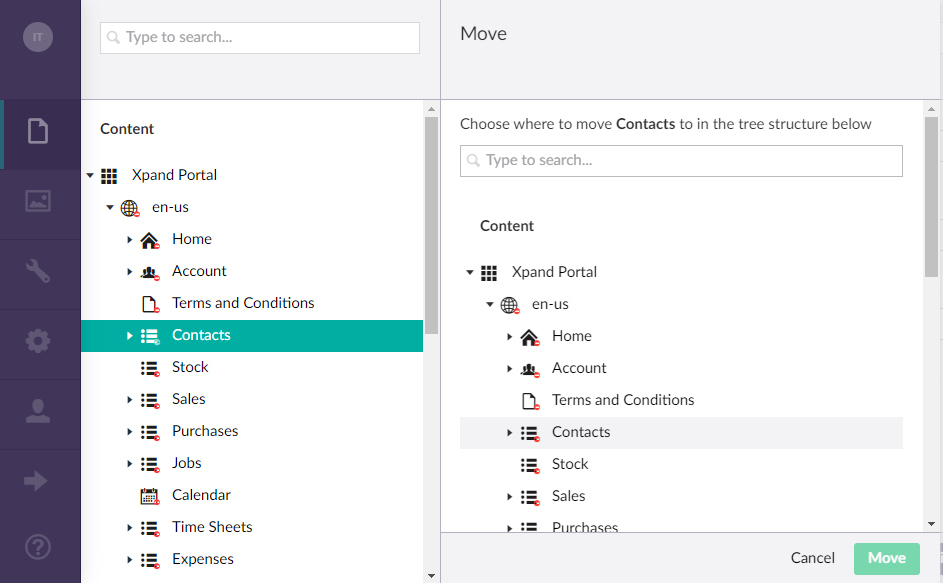
- In the Move window that opens, choose where you want to move the page in the tree structure, and then select Move.
Copy a page
You may want to copy a page instead of creating a new one. This may be helpful when you need to create a similar page with minor differences. If you want to copy the page you have created previously, follow these steps:
- In the backoffice, go to Content, select the icon next to page you want to copy.
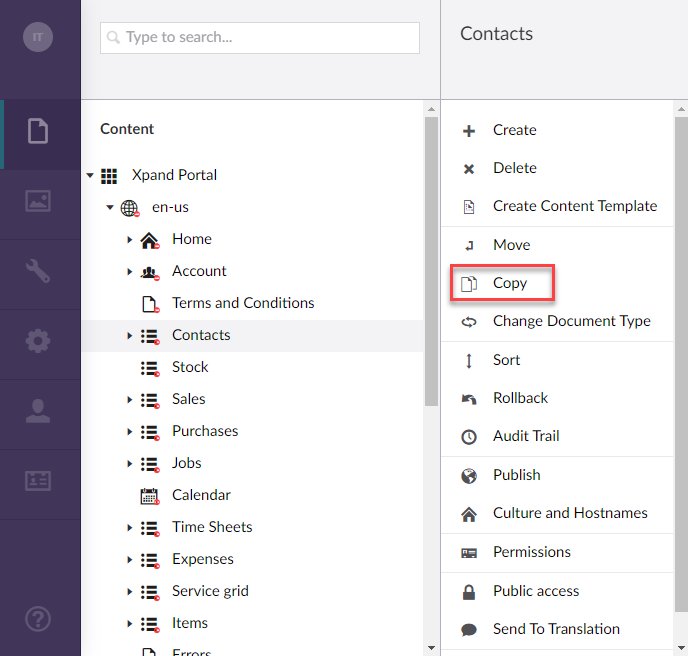
- Select Do something else.
- From the list of actions that opens, select Copy.
 Note
NoteAlternatively, you can follow these steps:
- Select and hold (or right-click) a relevant page, and then select Copy.
- Select a relevant page, and then select Actions > Copy.
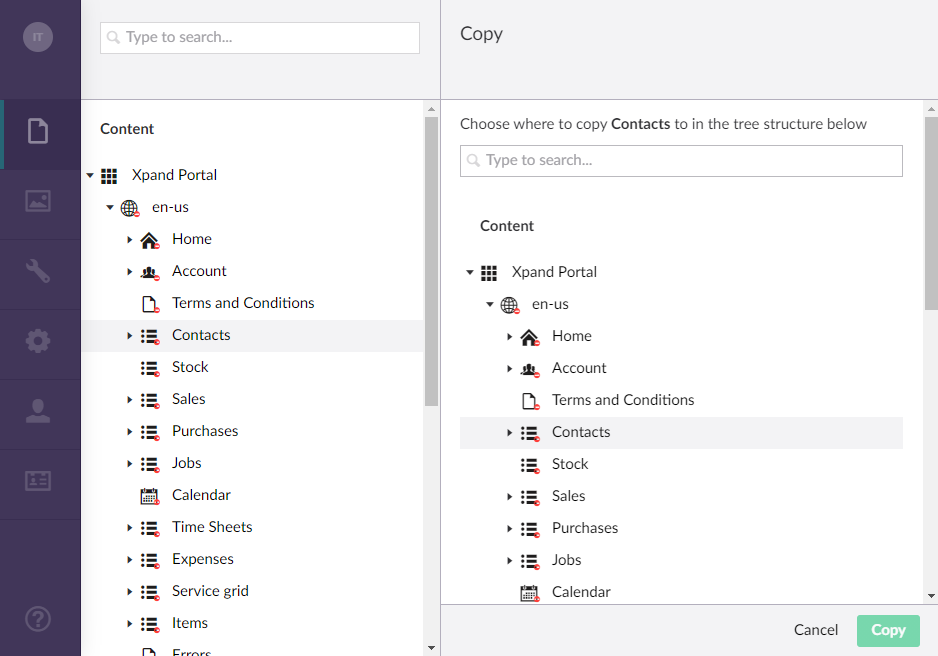
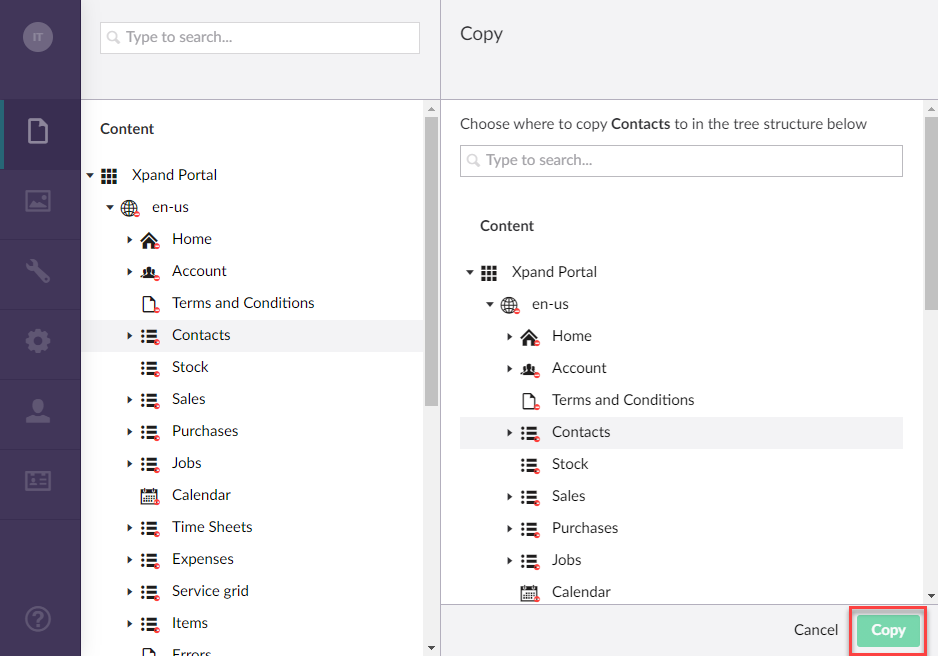
- In the Copy window, choose where you want your page to be copied to.
- Toggle the Relate to original switch OFF if you do not want the links to stay linked to the original page. Its default setting is ON.
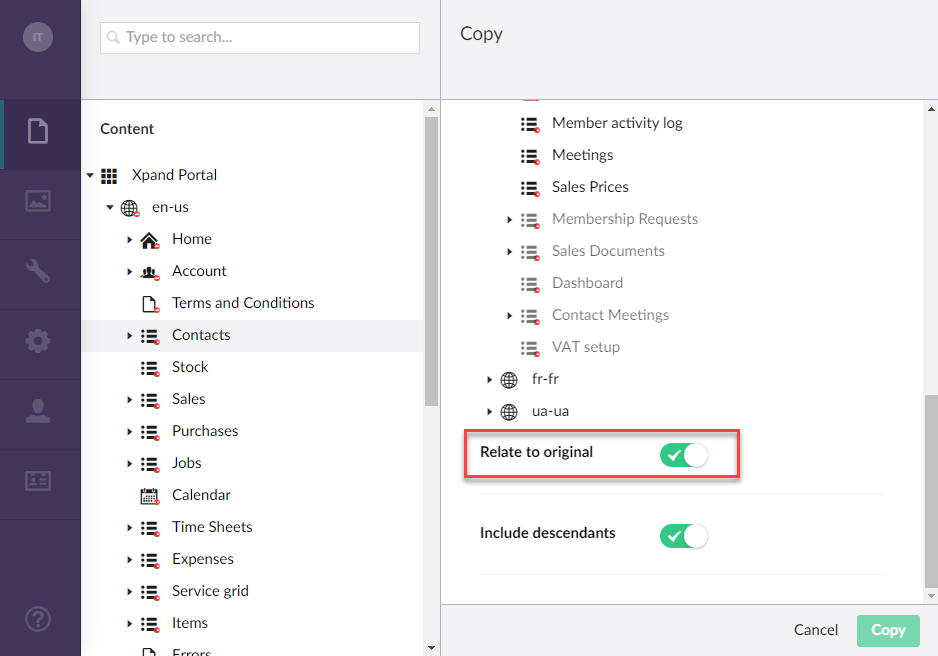
- Toggle the Include descendants switch OFF if you do not want to copy the child pages while copying the parent page. Its default setting is ON.
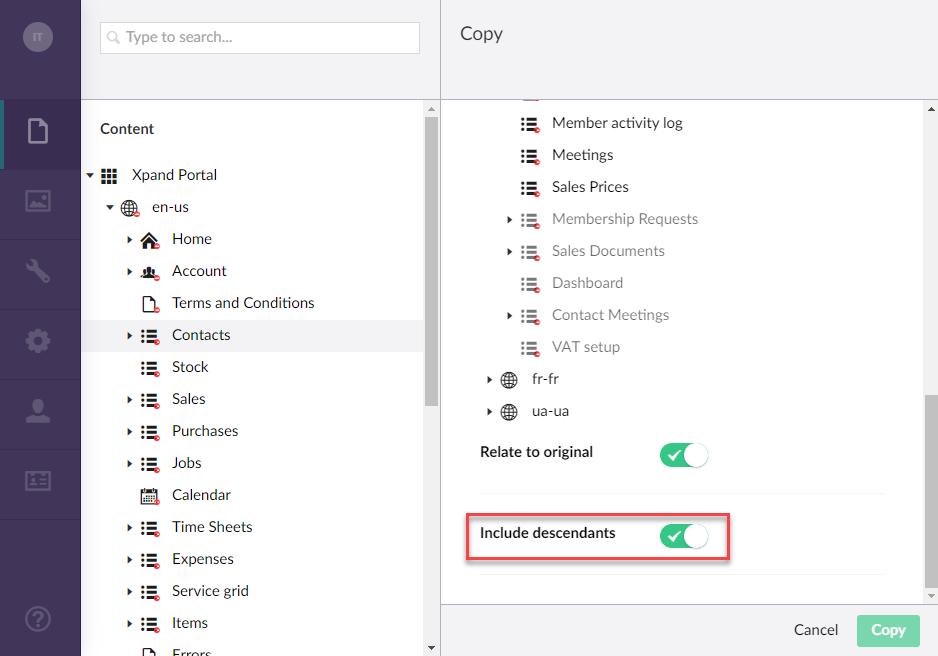
- Select Copy.
Sort pages
You may need to change the order in which pages are arranged. In this case, you don't have to delete and recreate pages; you can simply re-sort them using the Sort action. Sorting applies to the list of child pages in relation to the parent page that you use the Sort action on. To sort the child pages inside the parent page, follow these steps:
- In the backoffice, go to Content, select the icon next to the parent page in which you want to sort the child pages.
- Select Do something else.
- From the list of actions that opens, select Sort.
 Note
NoteAlternatively, you can follow these steps:
- Select and hold (or right-click) a relevant page, and then select Sort.
- Select a relevant page, and then select Actions > Sort.
- In the Sort window that opens, sort the child pages by by dragging and dropping pages. The Sort order column specifies the current position of the page in relation to other pages on the list where 1 means the page will be at the top.
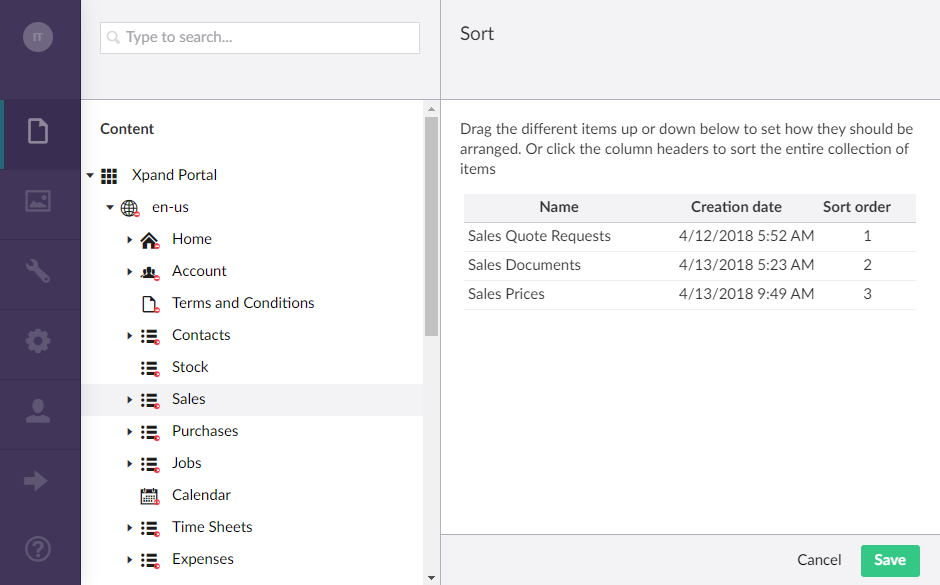
- Select Save.
Configure the page culture and hostnames
Normally, the culture (language) and domains are configured for the Localization node ![]() level, and, by default, these settings are inherited by all child pages of the site localization. However, you can override the site localization culture and hostnames settings for a specific child page if necessary.
level, and, by default, these settings are inherited by all child pages of the site localization. However, you can override the site localization culture and hostnames settings for a specific child page if necessary.
To configure site localization culture and hostnames or override these settings for a specific page:
- In the backoffice, go to Content, select the icon next to the page for which you want to override the site localization culture and hostnames. If you want to configure these settings for the whole site localization node including all child pages, select the Localization node
 .
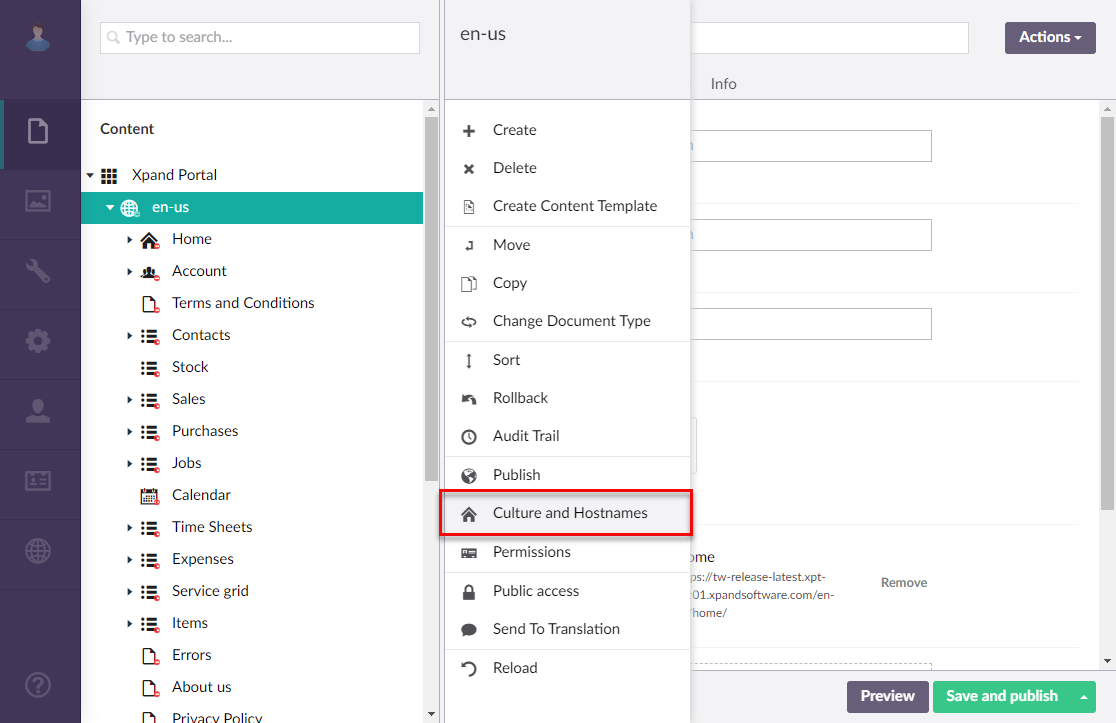
. - Select Do something else.
- From the list of actions that opens, select Culture and Hostnames.
 Note
NoteAlternatively, you can follow these steps:
- Select and hold (or right-click) a relevant page, and then select Culture and Hostnames.
- Select a relevant page, and then select Actions > Culture and Hostnames.
- Under Domain, in the Language field, specify the localization language for this node and all child pages.
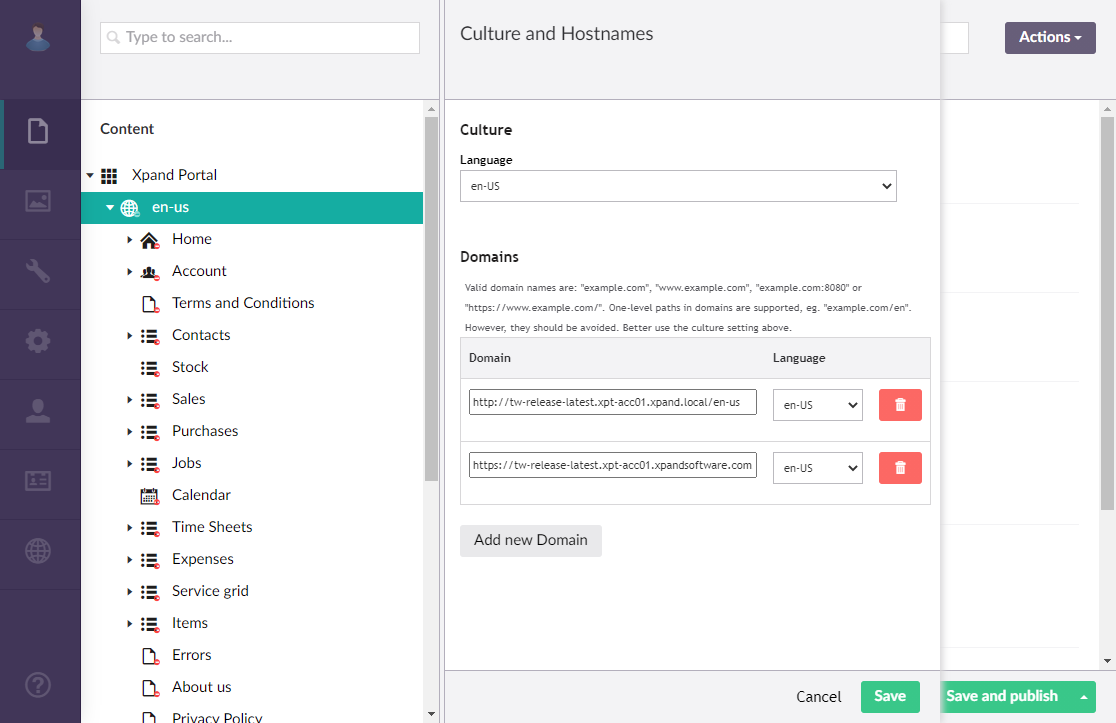
- Under Domains, if necessary, select Add new Domain to add a new domain for this site node. Specidy the domain URL and language. To remove a domain, select Remove next to it.
- Select Save.
The culture and hostnames settings are applied to the whole node (selected page and its child page) unless you override these settings for a specific child page.
Reload a page
Sometimes changes may take place on the page while you are working with it, for example, when other users are also making changes. If you want to ensure you see the latest version of the page configuration, you can reload the page to refresh it. To reload a page, follow these steps:
- In the backoffice, go to Content, select the icon next to the page in you want to reload.
- Select Do something else.
- From the list of actions that opens, select Reload.
 Note
NoteAlternatively, you can follow these steps:
- Select and hold (or right-click) a relevant page, and then select Reload.
- Select a relevant page, and then select Actions > Reload.