Setting up navigation pane (menu)
You can set up and customize the navigation pane as a part of the theme customization. It may include links to pages and links to saved personalization views.
To set up navigation pane
- In the backoffice, got to Media > Site settings > Themes.
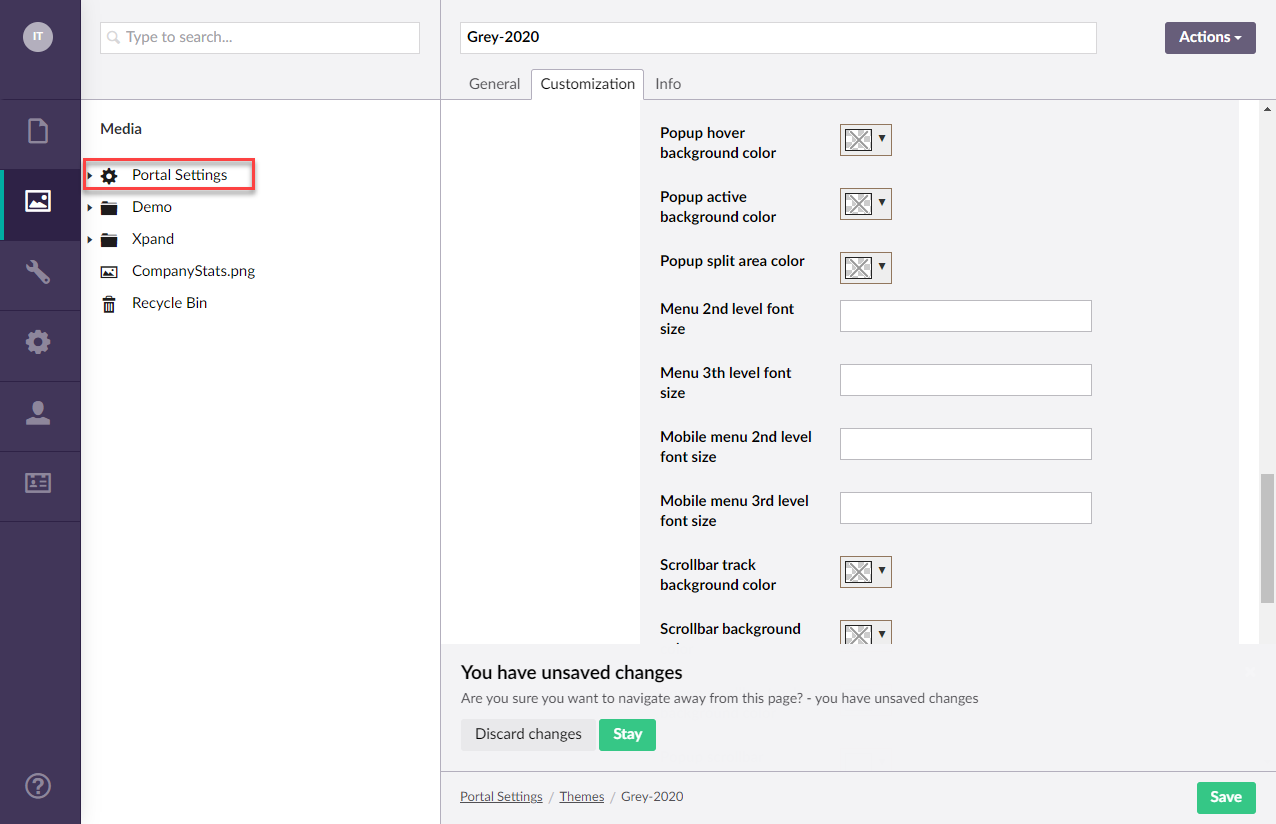
- Select the theme for which you want to customize the navigation pane.
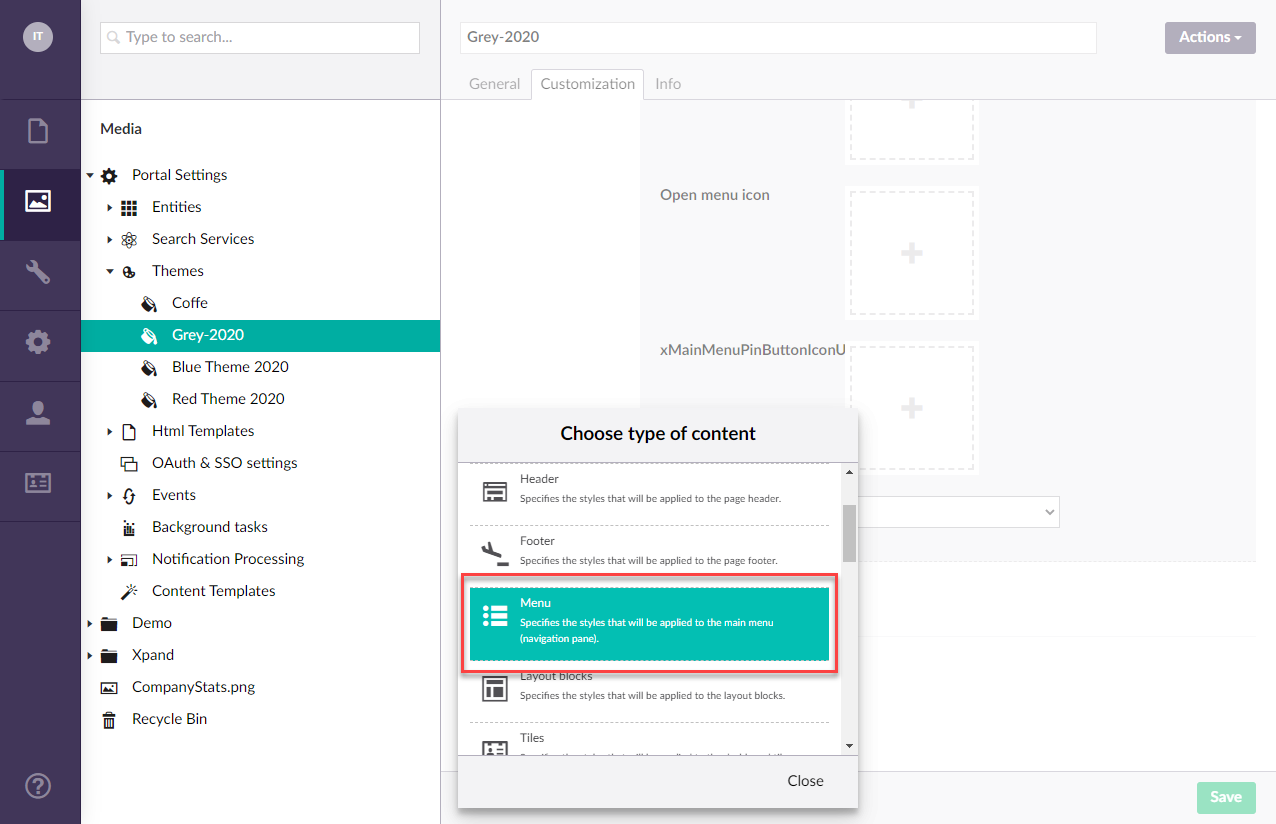
- On the Customization tab, select Add content.

- In the dialog window that opens, select Menu.
- In the Menu view setting, choose how the menu will look like by default when the portal is opened.
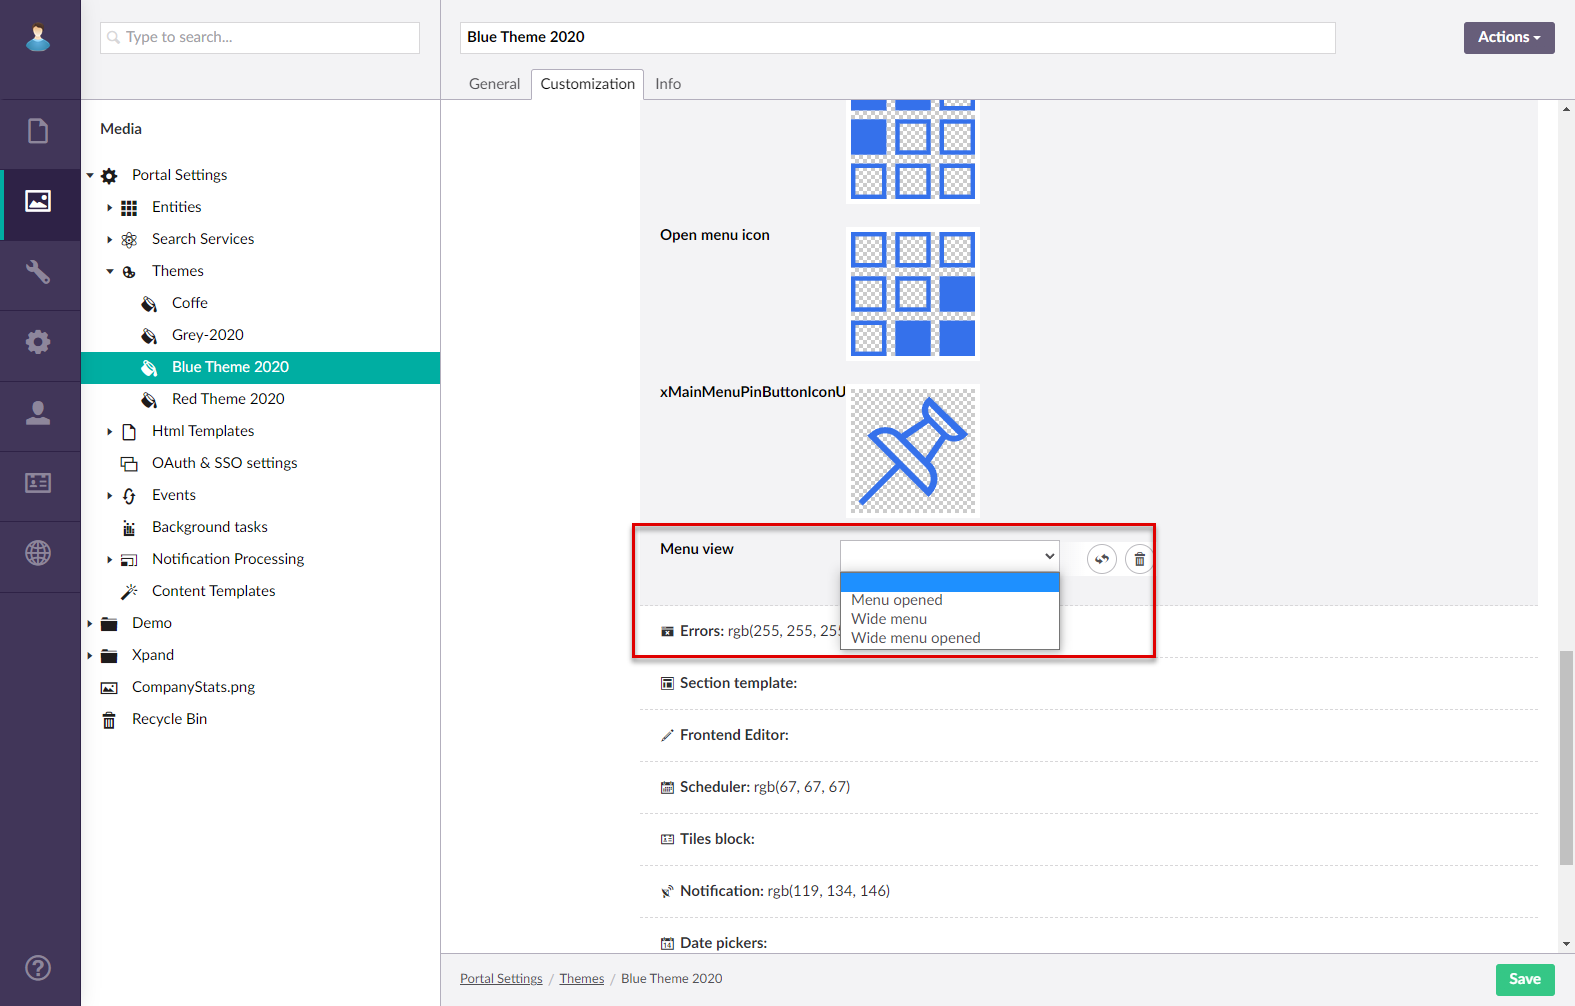
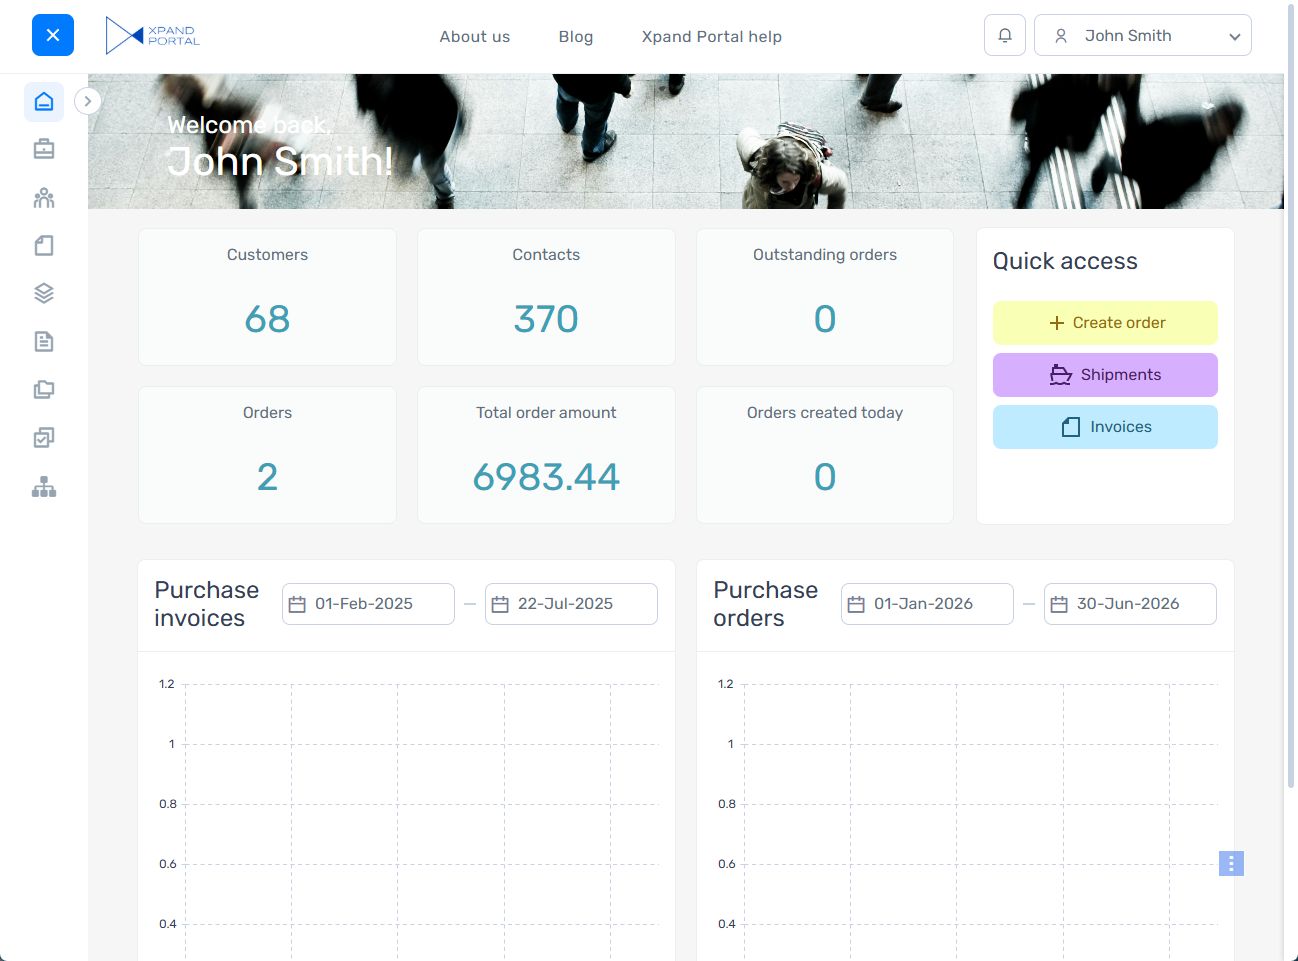
The available options are:- Compact menu - The navigation pane is hidden by default. The member will need to select the menu icon to open it.
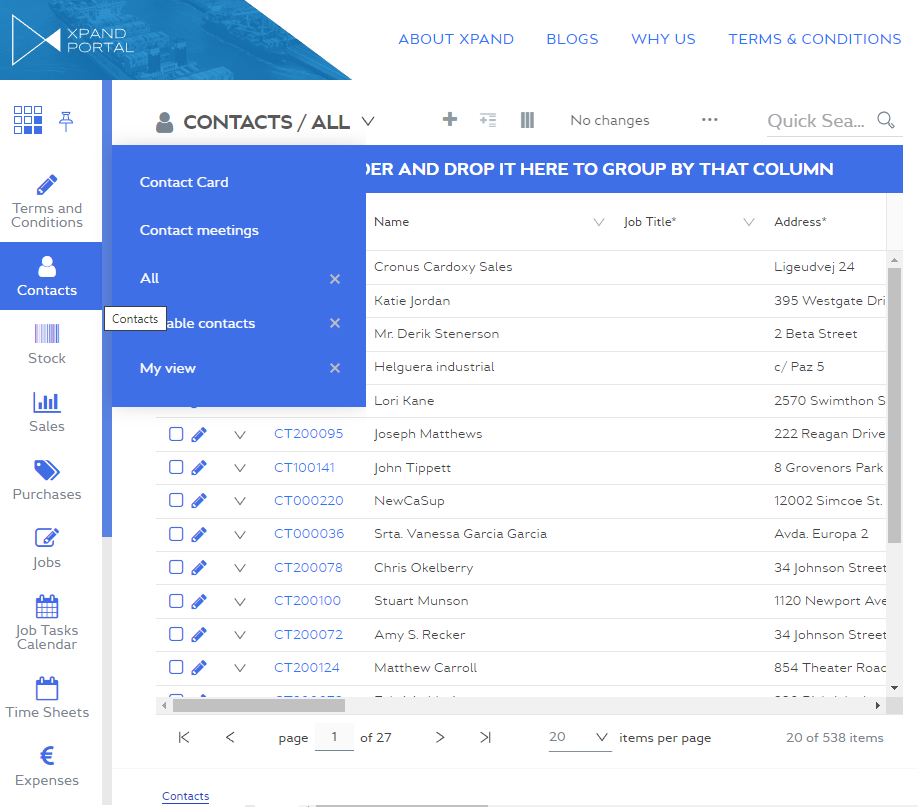
- Menu opened - The navigation pane is visible and expanded (both icons and menu item titles are visible) by default.
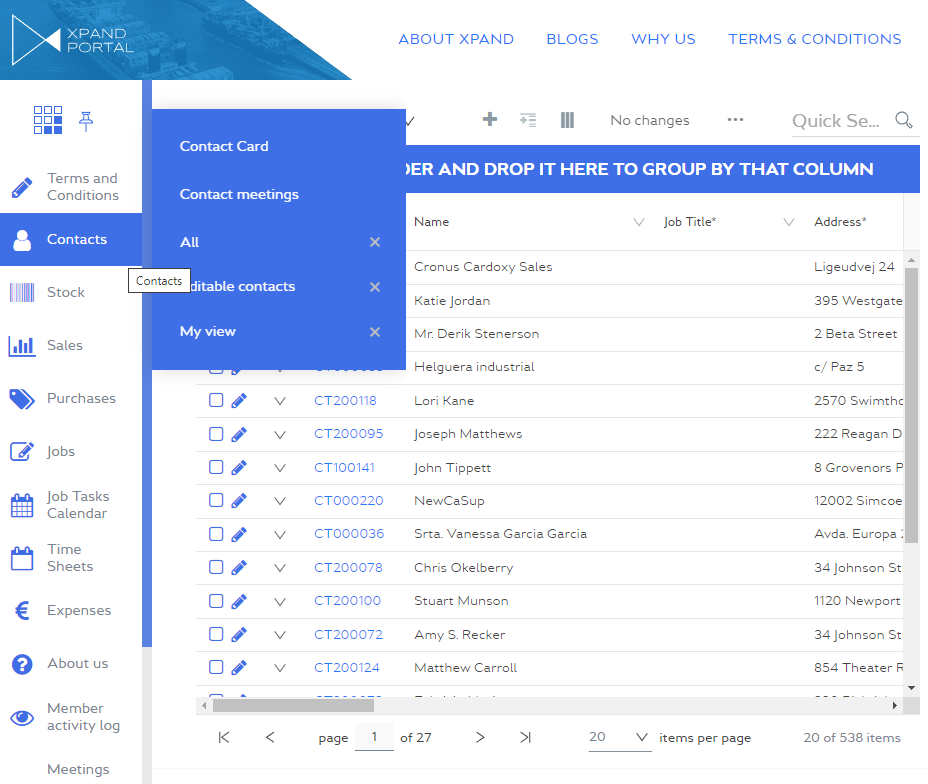
- Menu opened in compact view - The navigation pane is visible and collapsed (only icons are visible) by default.
 Note
NoteThestate of the menu defined by the Menu view setting is also saved in the member's browser cookies. For the changes to take effect, the browser cookies also must be cleared for the portal site. Regardless of the configured menu view, the member can always close/open the menu and expand/collapse it when necessary.
- Compact menu - The navigation pane is hidden by default. The member will need to select the menu icon to open it.
- Configure other customization options in the Menu group, such as font, font size, font color, background color, etc. For more information on theme customization, see Creating custom themes.
- Select Save.
- If you were making changes to the existing custom theme, you need to clear the portal cache to have the changes applied on the front end. To clear the portal cache, in the backoffice go to Content or Settings, and then select the Clear cached data action at the bottom of the page. Alternatively, you can select Settings, select More at the bottom, and then select the Reload Application action.