Custom fields
Sometimes, it may be necessary to add a field to a document template that is not available in any table. For cases like this, you can set up custom fields, including their values, which can be added to the layout of any document template that you are creating or editing. The codes of customer fields begin with the CUST when you are adding them in Microsoft Office Word.
For custom fields to be available for selection when editing a document layout, they must be created first.
To create custom fields:
- In Business Central with the Qvaba Flexible Documents app installed, choose the
 icon, enter Document Template - Custom Fields, and then choose the related link.
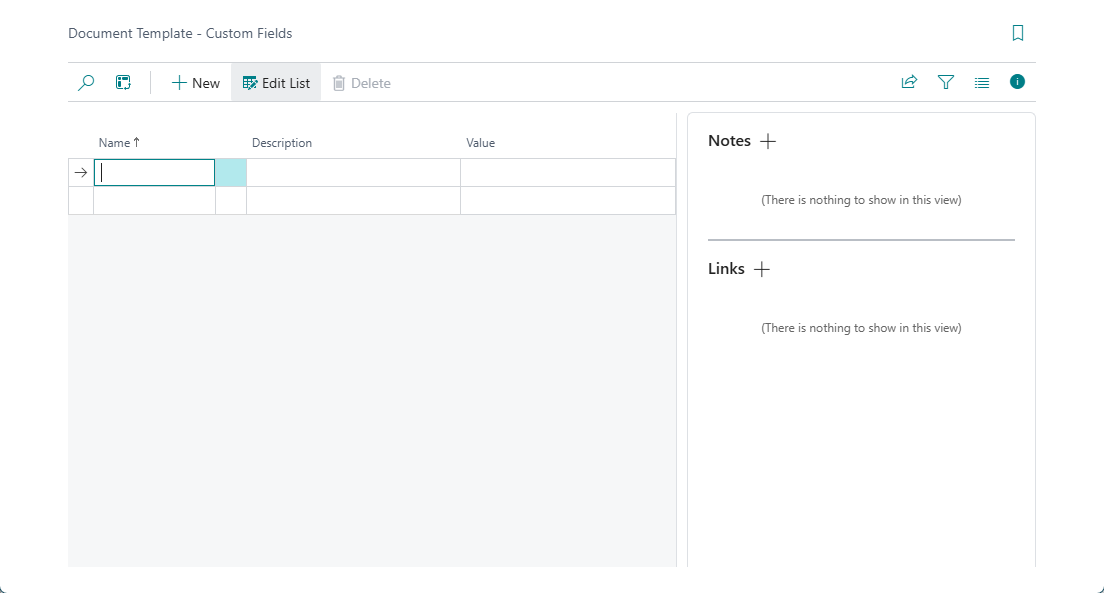
- In the Document Template - Custom Fields window, choose New to create a new custom field.
- Fill in the fields as described below.
- Name - Specifies the name of the custom field. Type a descriptive name of the field.
- Description - Specifies a description of the custom field. Type a description to provide more information about the field.
- Value - Specifies the value that will be shown on a document created on the basis of the template where the given custom field will be added.
- Create more lines to add more custom fields if necessary.
Now you can add the created custom fields to any document template on the layout, for example, by choosing Insert Merge Field on the MAILINGS tab. For information on how to create a document template and add fields to them, refer to the Creating New Templates section.