Manage site localization
Portal sites can be localized into multiple languages. One site can have multiple localized versions. Xpand Portal provides various tools to handle different aspects of localization:
- Built-in localization tool for site content configuration – This functionality is used to localize various configurable captions, such as field captions, titles, subtitles, and email and subscription notification templates.
- Portal dictionary – This tool is used to customize and localize various back-end and front-end text constants, such as captions, messages, tooltips, etc., including non-configurable elements.
- Translation Manager extension (optional) – An Umbraco extension that can be used to create, manage, and publish translated content. For details on this extension, refer to the Umbraco documentation.
- Localization management tools in Settings > Portal Maintenance > Manage localization:
Before using any of the tools listed above, you must first add a localization language to your portal. Once you have more than one localization on your portal, and localized site versions are configured and translated, members can change the language on the sign-in page or on the header.
Copy content configuration from one language to another
By default, when a new language is added in the backoffice, a site copy is created with shared nodes and shared settings. However, configuration of non-shared content and translation are still required. Manually configuring non-shared settings for the added language can be a time-consuming process. You can copy the full site configuration (within the Content area) from one language to another, overwriting the target configuration, including setting values. In this case, you won't have to manually add configuration for non-shared settings. The copied configuration can be used as a basis for translation either directly in the backoffice or by means of export/import of front-end localization.
To copy content configuration from one language to another:
- In the backoffice, go to Settings > Portal Maintenance > Manage localization.
- In Manage localization, under Copy content configuration to another language, select the source language to copy content configuration from, and the target language to copy the content configuration to, including setting values, overwriting the target configuration. After copying, the localizable setting values (such as titles, subtitles, captions, etc.) in the target language will be in the source language, and will need to be translated after that.
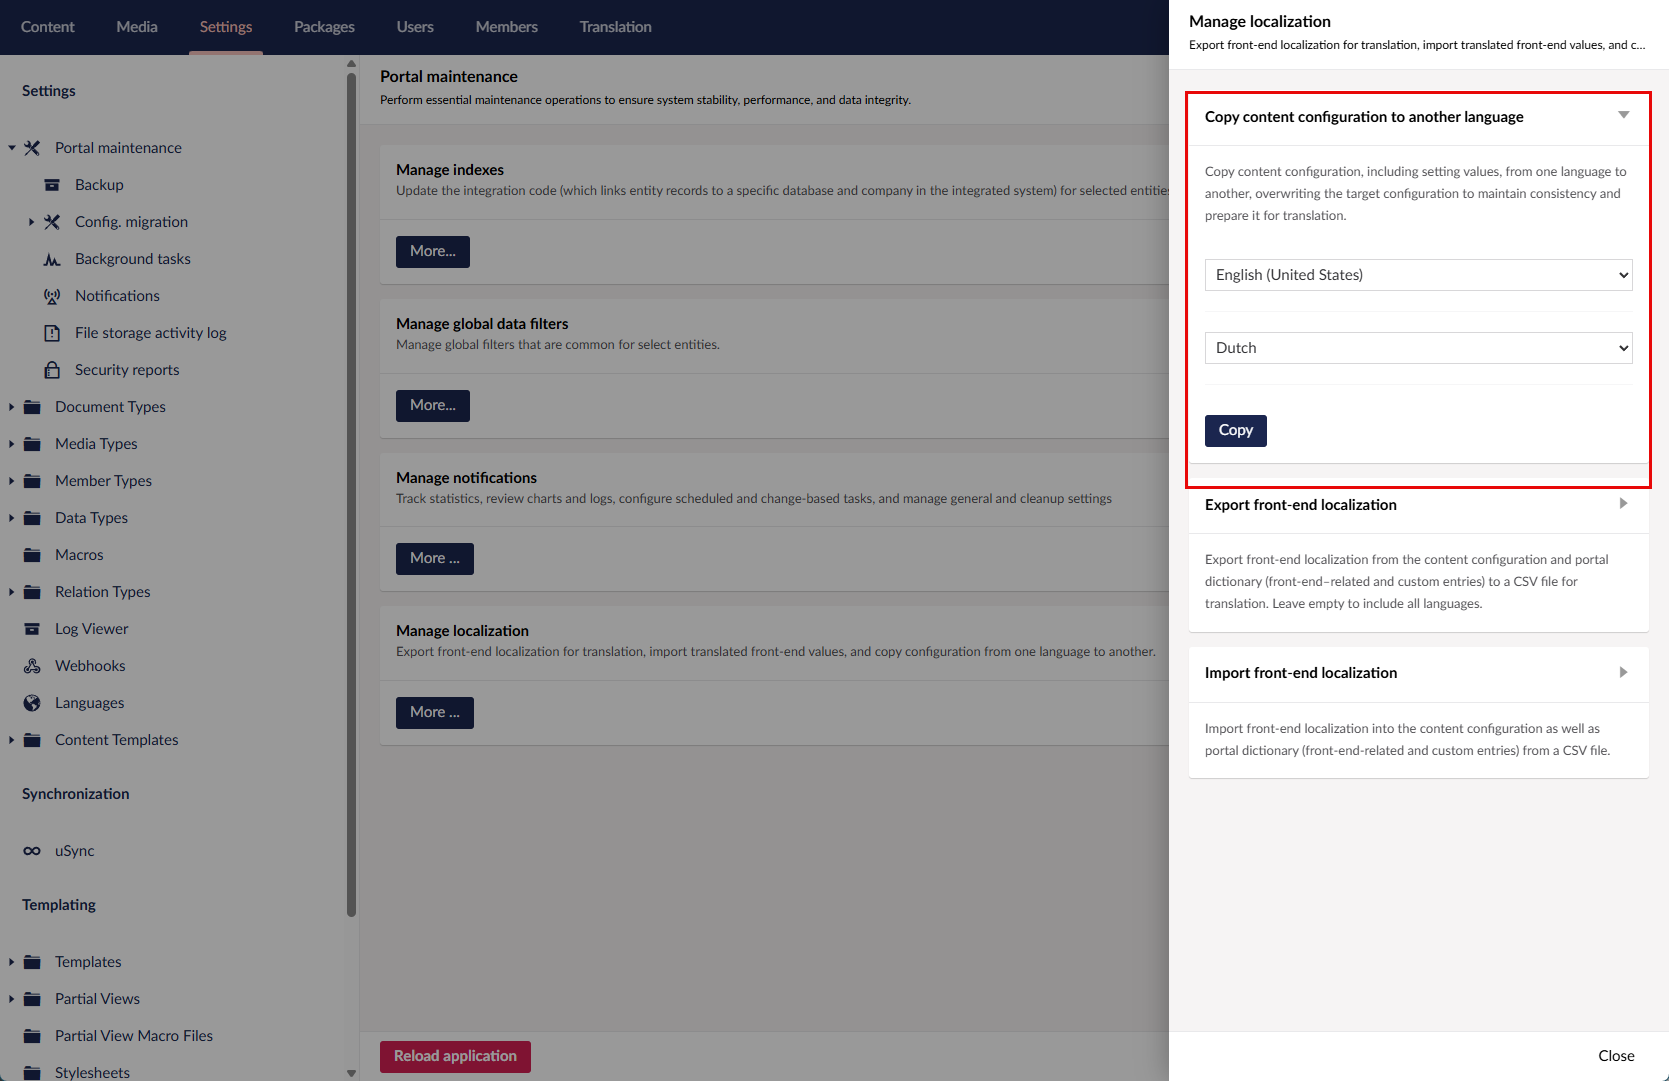
- Select Copy.
 Caution
Copying content configuration will overwrite the target configuration. This process cannot be cancelled.
- Select Yes, proceed on the confirmation message.
After this, you can proceed to translating the localizable values either directly in the backoffice or by means of export/import of front-end localization.
Export front-end localization
You can localize all front-end-related values, which includes values from the content configuration (titles, subtitles, field captions, email templates, etc.) as well as all front-end-related values from the portal dictionary, in a single place. This can be done by exporting front-end localization into a CSV file, filling in or changing the front-end values, and then importing the front-end localization back into the portal.
To export front-end localization into a CSV file:
- In the backoffice, go to Settings > Portal Maintenance > Manage localization.
- In Manage localization, under Export front-end localization, select the languages the front-end values of which you want to export. If you want to export all currently configured languages, leave this setting unselected.
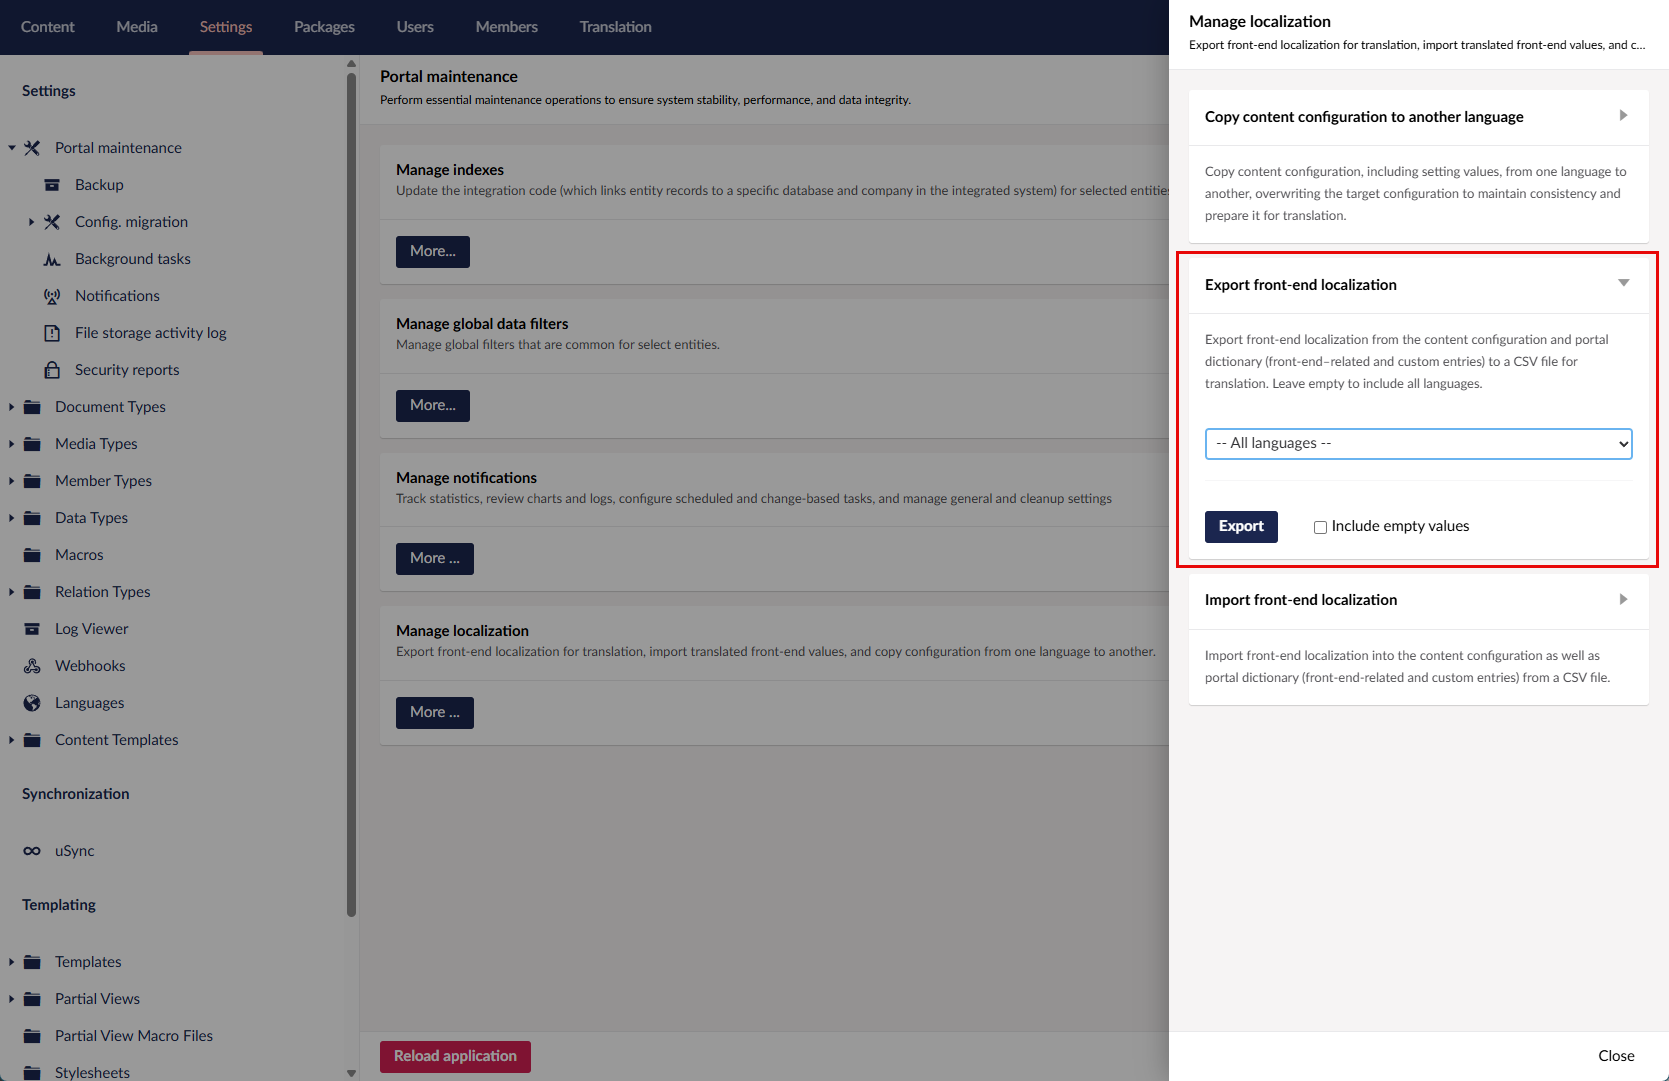
- Optionally, select the Include empty values check box, if you want to export front-end values that currently don't have value. This may be useful for filling in an empty localization.
- Select Export.
- Select Yes, proceed on the confirmation message.
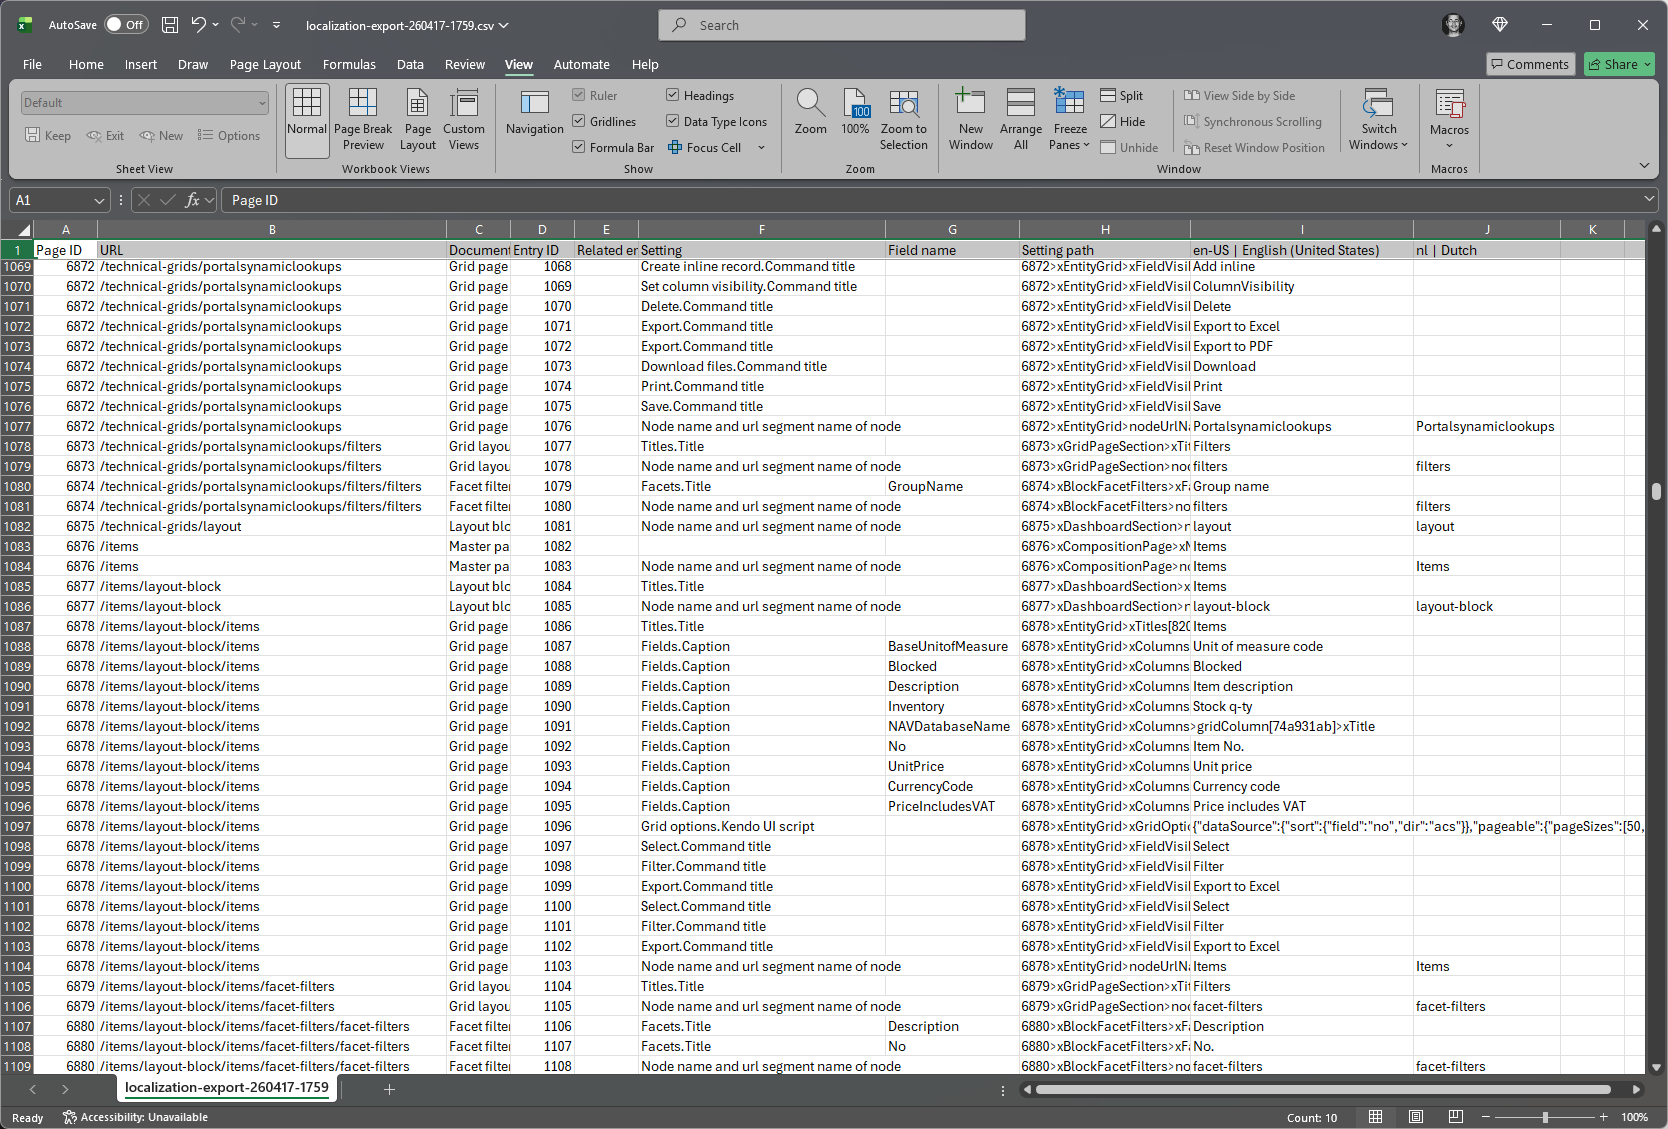
- Open the exported CSV file, and change or fill in values for languages in the corresponding columns. Other columns available in the file:
- Page ID - Specifies the ID of the portal page where the value on this line is used.
- URL - Specifies the URL path of the portal page where the value on this line is used.
- Document Type - Specifies the type of a page or page element where the value on this line is used.
- Entry ID - Specifies the ID that is used to identify the localization entry in this file.
- Related entry ID - Specifies the ID of an entry in this file that is related to the current entry.
- Setting - Specifies the setting, including path, where the value on this line is used.
- Field name - Specifies the name of the field, if applicable, where the value on this line is used.
- Setting path - Specifies the technical path to the setting where where the value on this line is used.
 Important
To successfully import the file later, only edit the values in the language columns. You can also delete entries, however, adding entries is not allowed.
- Save the changes in the file.
After you have completed adding or modifying the localized values, you can import the file into the portal.
Import front-end localization
To import the front-end localization from a CSV file:
- In the backoffice, go to Settings > Portal Maintenance > Manage localization.
- In Manage localization, under Import front-end localization, select Choose file, and then browse to the CSV file with front-end localization.
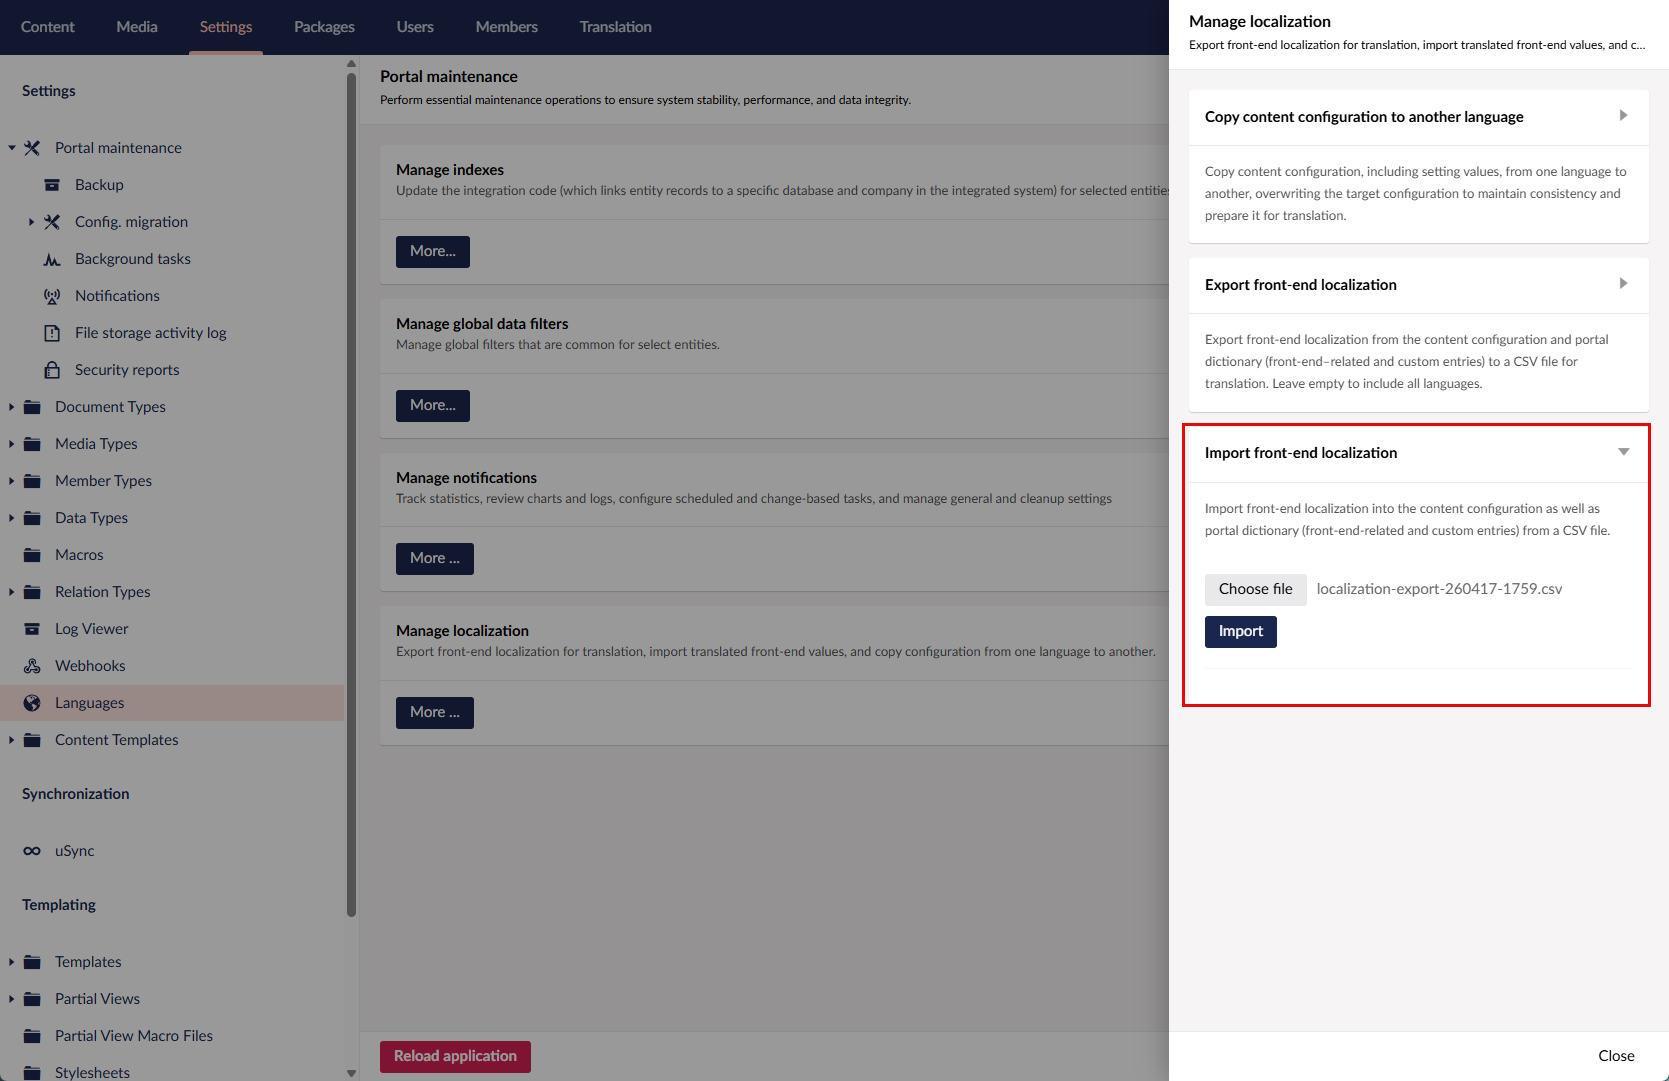
- Select Import.
Caution
This will import front-end values into the content configuration as well as portal dictionary (front-end-related and custom entries) from the selected CSV file, overwriting existing values for the languages included in the file. If you cancel this process, changes already applied will remain.
- Select Yes, proceed on the confirmation message.