Saving a personalized view
Whenever you personalize the way data is presented on a portal page using personalization tools, such as rearrange columns, sort data, change column visibility, set filters, group records, etc., and then leave the page, your personalization is reset to the default state of the view currently selected the default one. However, you can save a view to preserve your personalization and then quickly access the page with your personalization in place.
Saving a personalized view
To save a personalized view:
- On the page where you personalized the view using the personalization functions, select the
 icon next to the default view (ALL), and then, in the drop-down list, select Save current view.
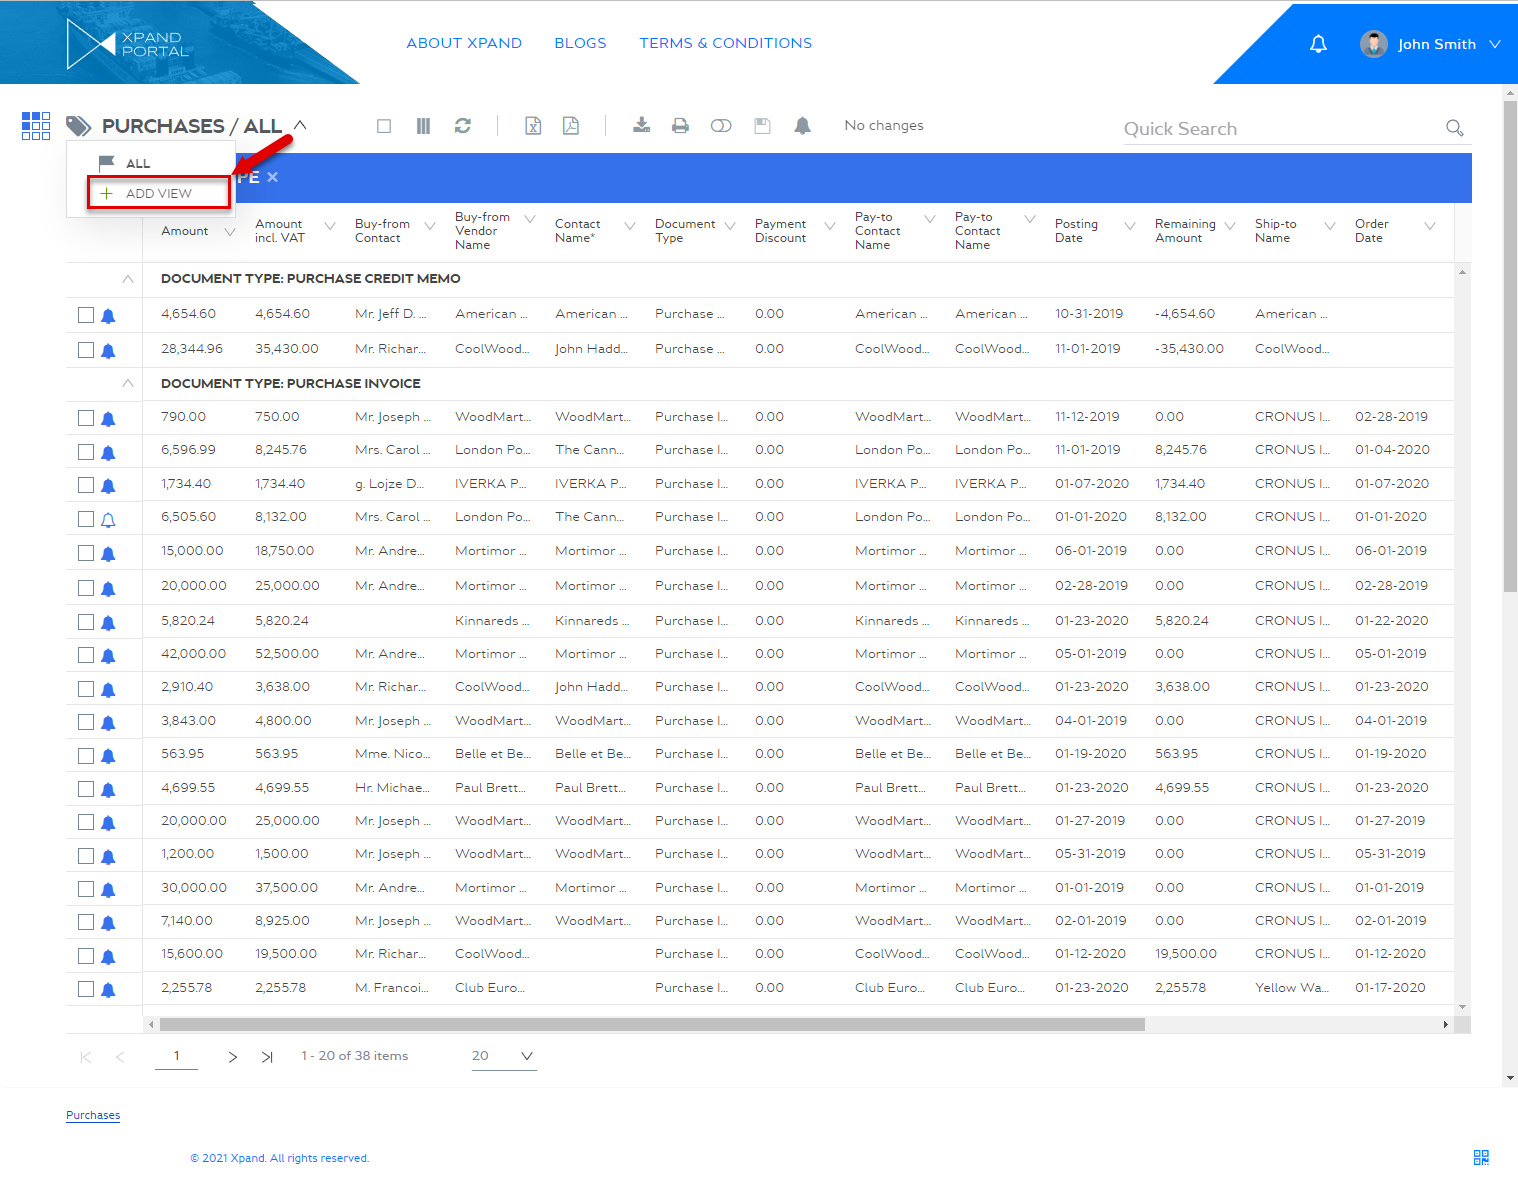
- In the Save view as dialog window, type a name for the view to identify it later, and select Save.
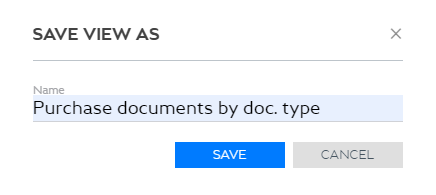
You can save several personalized view giving them different names.
Selecting a default view
A saved personalized view is not automatically marked as the default view. This means that when you visit the page with your saved personalized view next time, the default view will be opened (without your personalization). However, Xpand Portal provides the ability to select which view will be used by default when a page is opened.
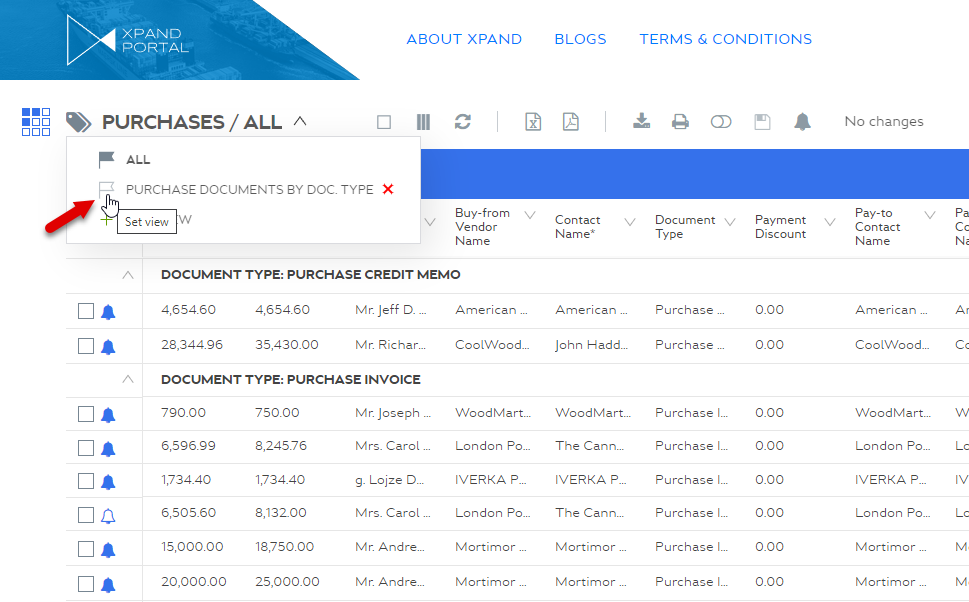
To select a default view, on the page where you have saved custom view(s), select the ![]() icon next to the default view (ALL), point next to the name of the view you want to be used by default on this page, and then select the
icon next to the default view (ALL), point next to the name of the view you want to be used by default on this page, and then select the ![]() icon.
icon.
|
The |
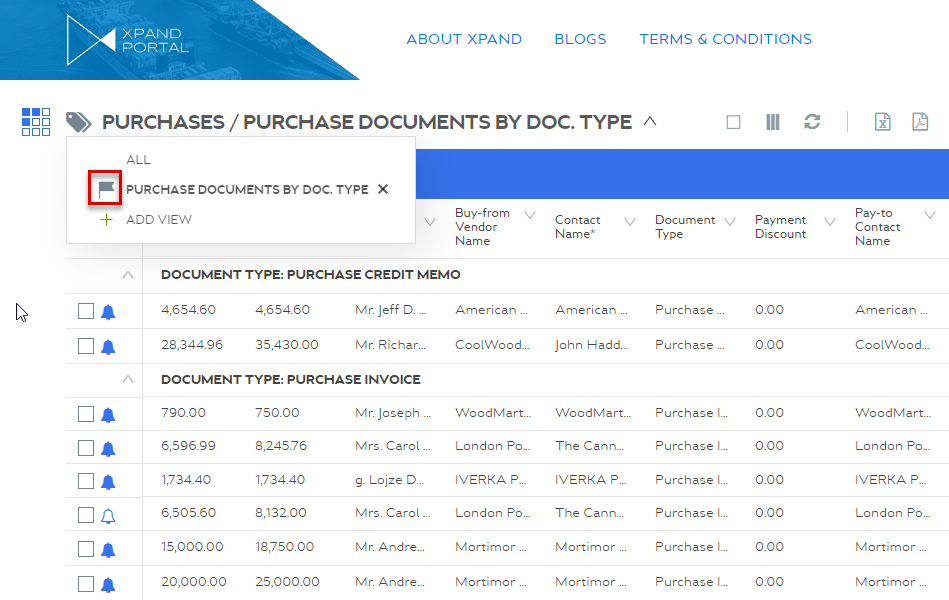
The ![]() icon changes to the
icon changes to the ![]() icon, which indicates that this view will be used by default. Next time you open this page, the view selected as the default view will be used with the ability to change the view if necessary.
icon, which indicates that this view will be used by default. Next time you open this page, the view selected as the default view will be used with the ability to change the view if necessary.
|
Only one view can be default on a page. |
Opening a personalized view
A saved view becomes available in the menu beneath the menu item that opens the page for which the custom view was saved. You can select this menu item to open the page with your personalization already applied.
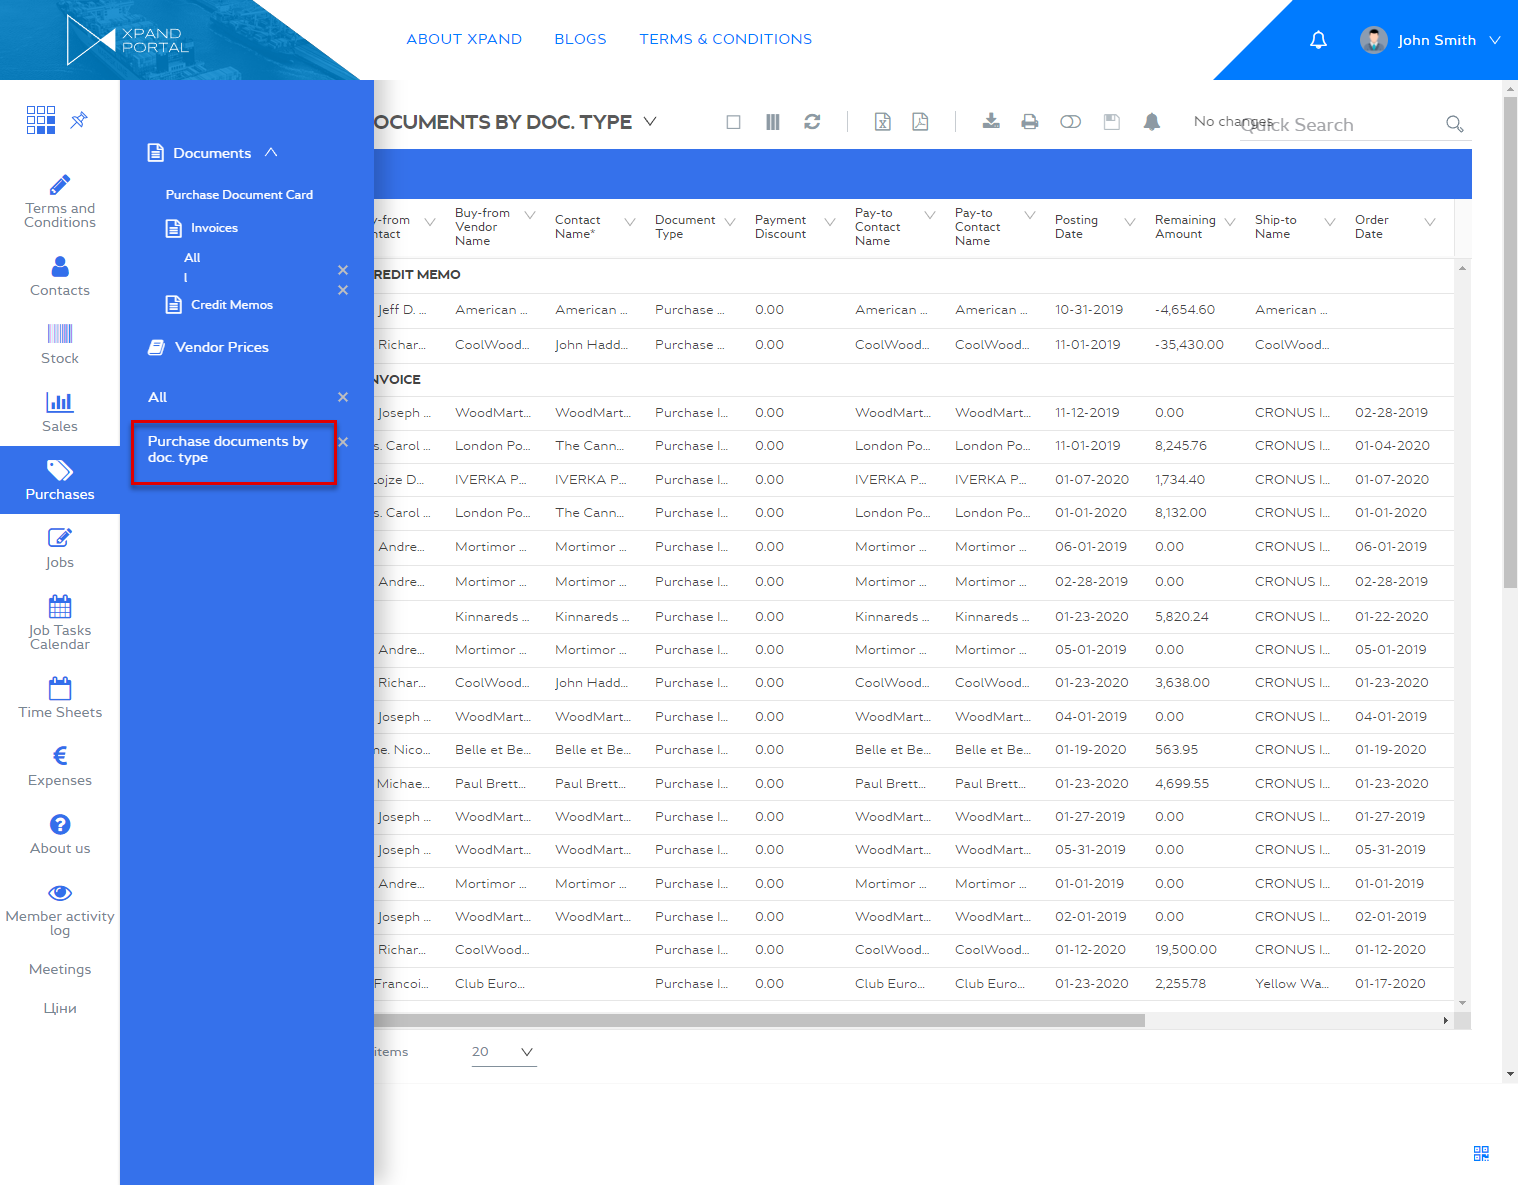
|
Only personalized views saved for a grid page appear in the menu. If the menu item opens a page configured as a master page, the personalized view will not be available from the menu. |
Alternatively, you can open the page with the default view, and then select your personalized view by selecting the ![]() icon next to the view name, and then, in the drop-down list, selecting your saved view.
icon next to the view name, and then, in the drop-down list, selecting your saved view.
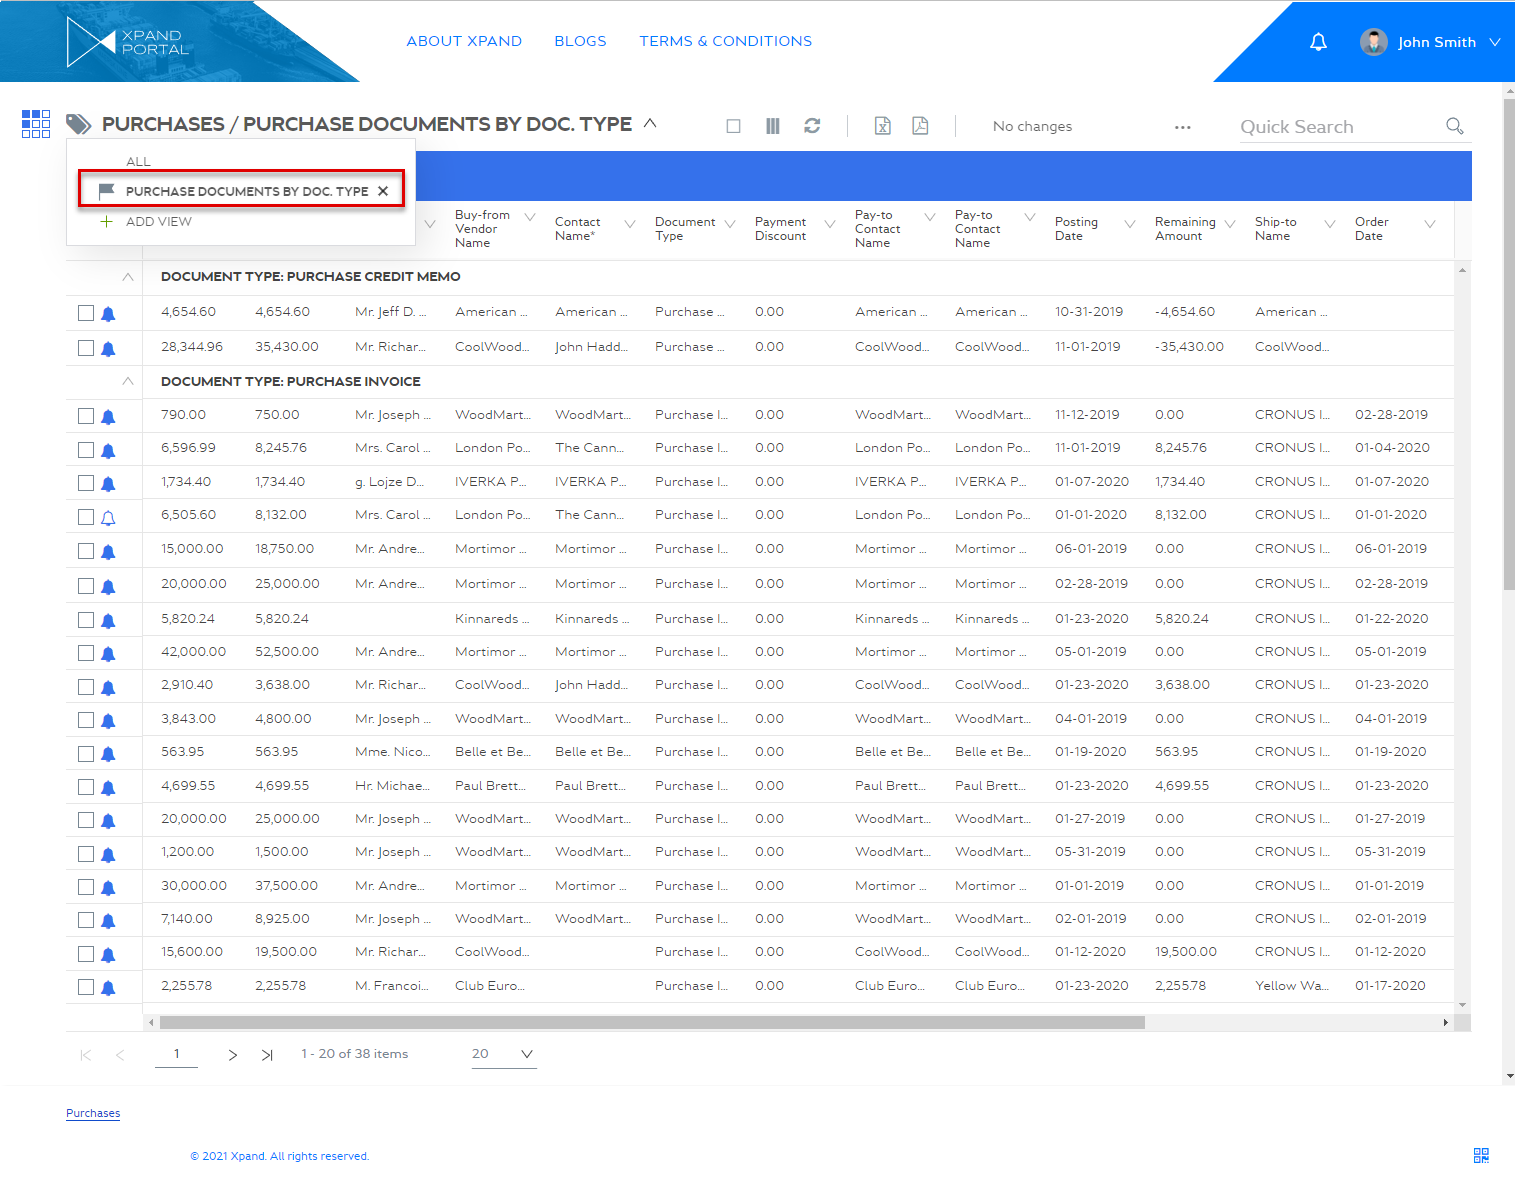
Once you navigate to another page, and then return to this page later, the view currently selected as the default one will be selected unless you select another saved view.
Deleting a personalized view
To remove a personalized view, select the ![]() icon in the drop-down list of available views or in the list of custom views in the menu, and then select Yes on the confirmation message that appears. This delete icon is available only for custom views.
icon in the drop-down list of available views or in the list of custom views in the menu, and then select Yes on the confirmation message that appears. This delete icon is available only for custom views.
