Configuring Multiple Localizations
There are several ways how you can handle multiple localizations of your portal:
- You can create a separate site localization for each language. This is a general approach used in most cases. In this case, in page settings that affect what's visible on the front end, such as page title, field captions, etc., you use the language that corresponds to the site localization where you are configuring the page.
- Use a single site localization for all your languages. In this case, in page settings that affect what's visible on the front end, instead of value in one specific language you enter a unique portal dictionary key that enables additonal settings, where you can add or update localization of that specific setting for all your languages. If you use this approach, you will also need to configure cuslture and host names for each language within that site localization.
In both approaches, you canfigure site localization in combination with portal dictionary that stores messages and captions for various UI elements, localized in different languages.
To configure multiple localizations for page setting within a single site localization
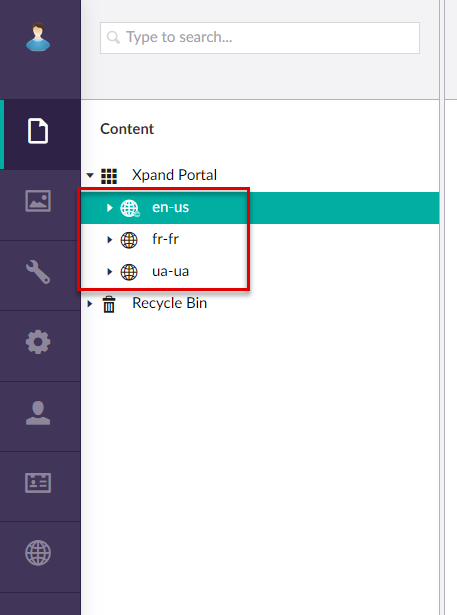
- In CMS, expand the site localization, and then select the page that contains a setting you want to localize into multiple languages (e.g. page title, field caption, etc.)
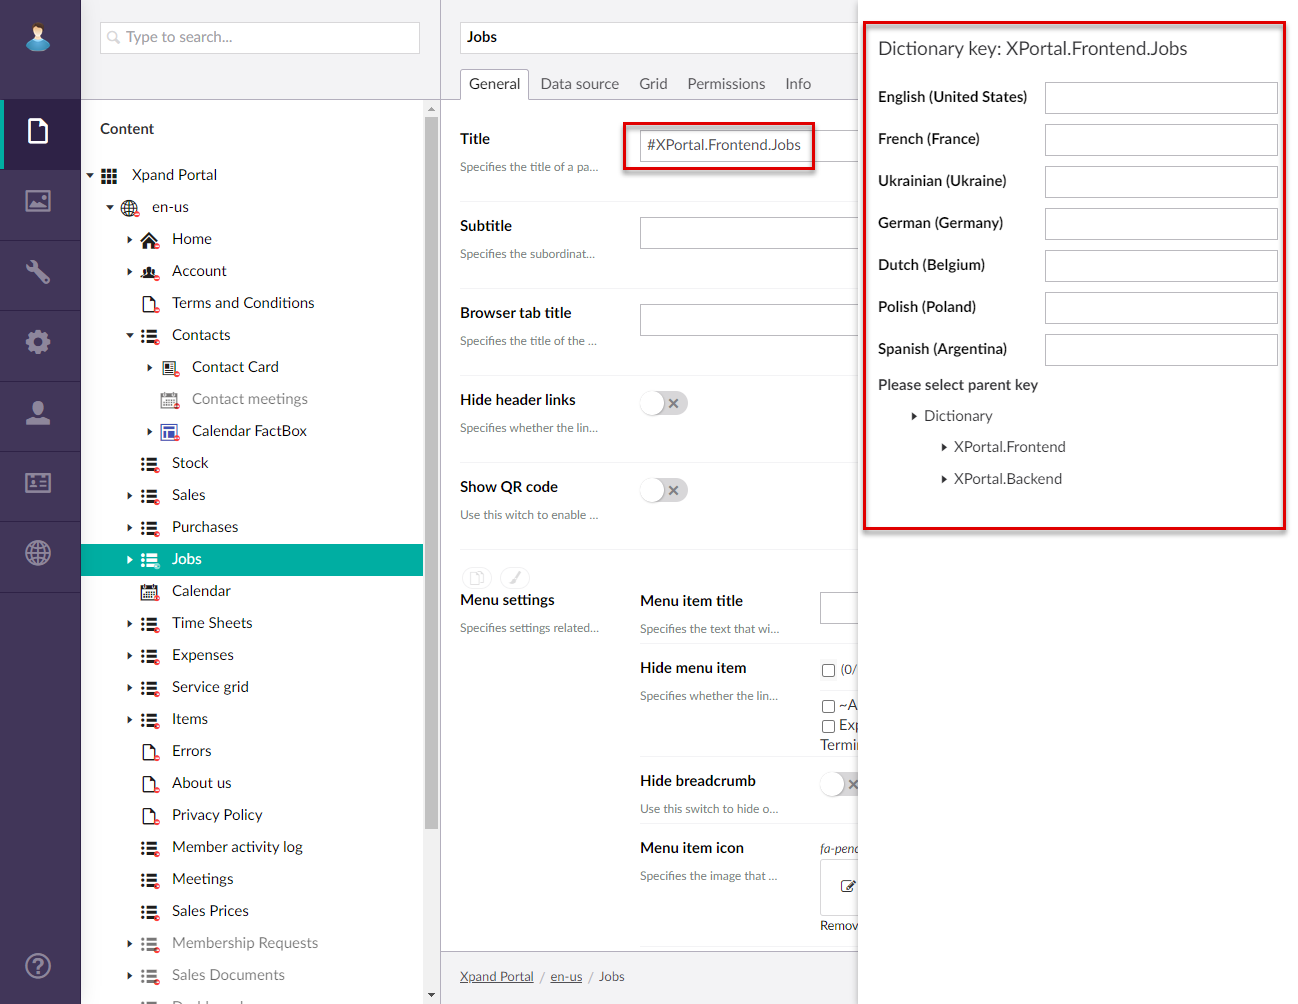
- In the page settings, in the setting that you want to localize, instead of the expected value in a single language, enter a portal dictionary unique key that should star with #XPortal.Frontend. and add with a unique tag that would help identify what the portal dictionary item applies to. E.g. #XPortal.Frontend.ContactName
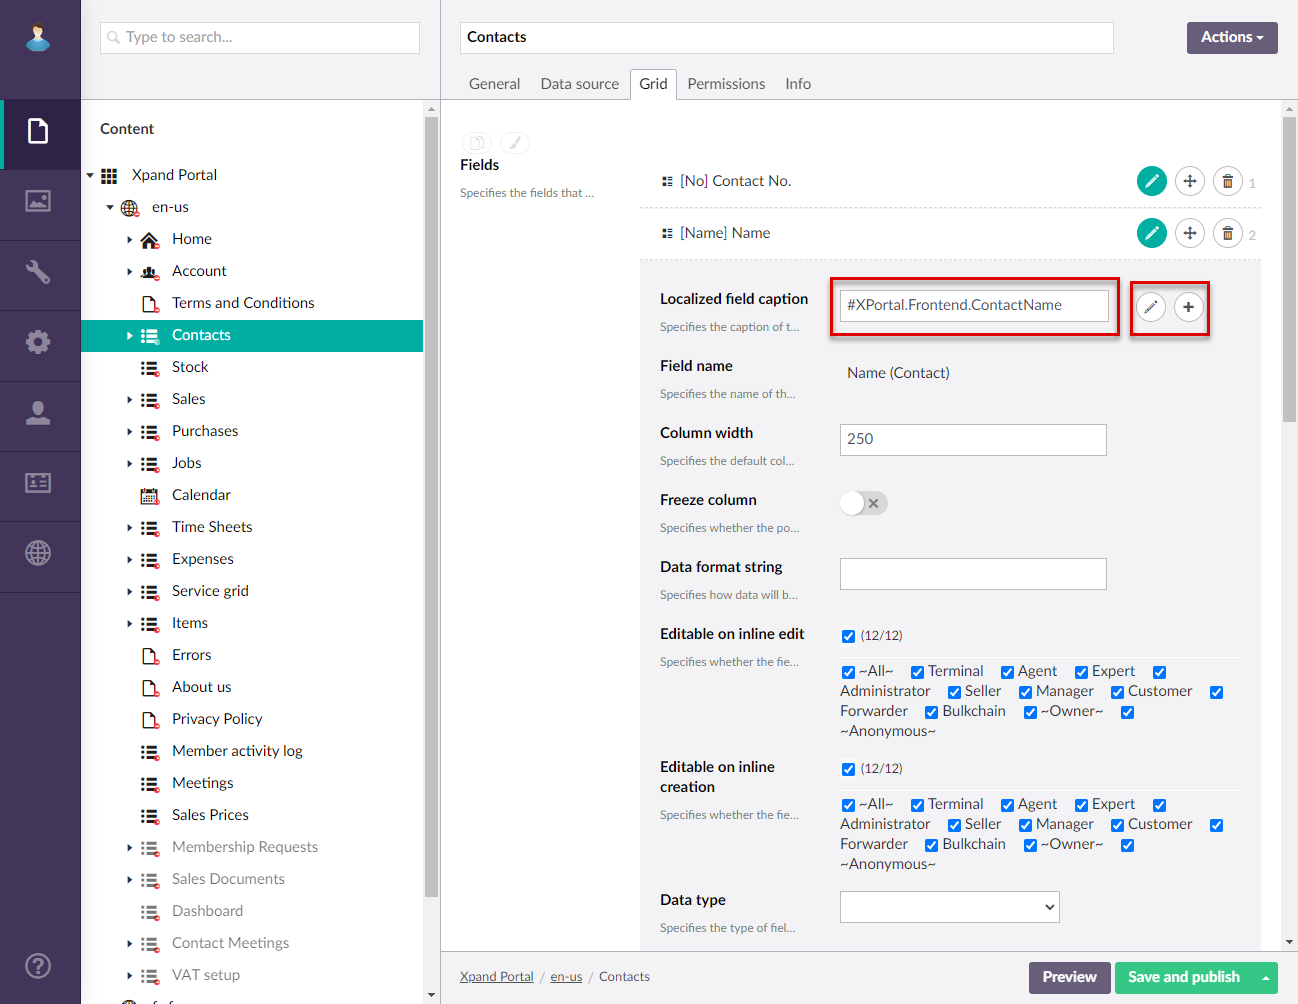
After entering a portal dictionary key, additional buttons become available next to the setting. - Select the
 icon to edit the existing dictionary item (if the dictionary item with this key is already present) or the
  icon to create a new dictionary item.
 - In the sidebar that appears, enter a localized value for every language that you are going to use. The availability of languages depends on the portal language settings.
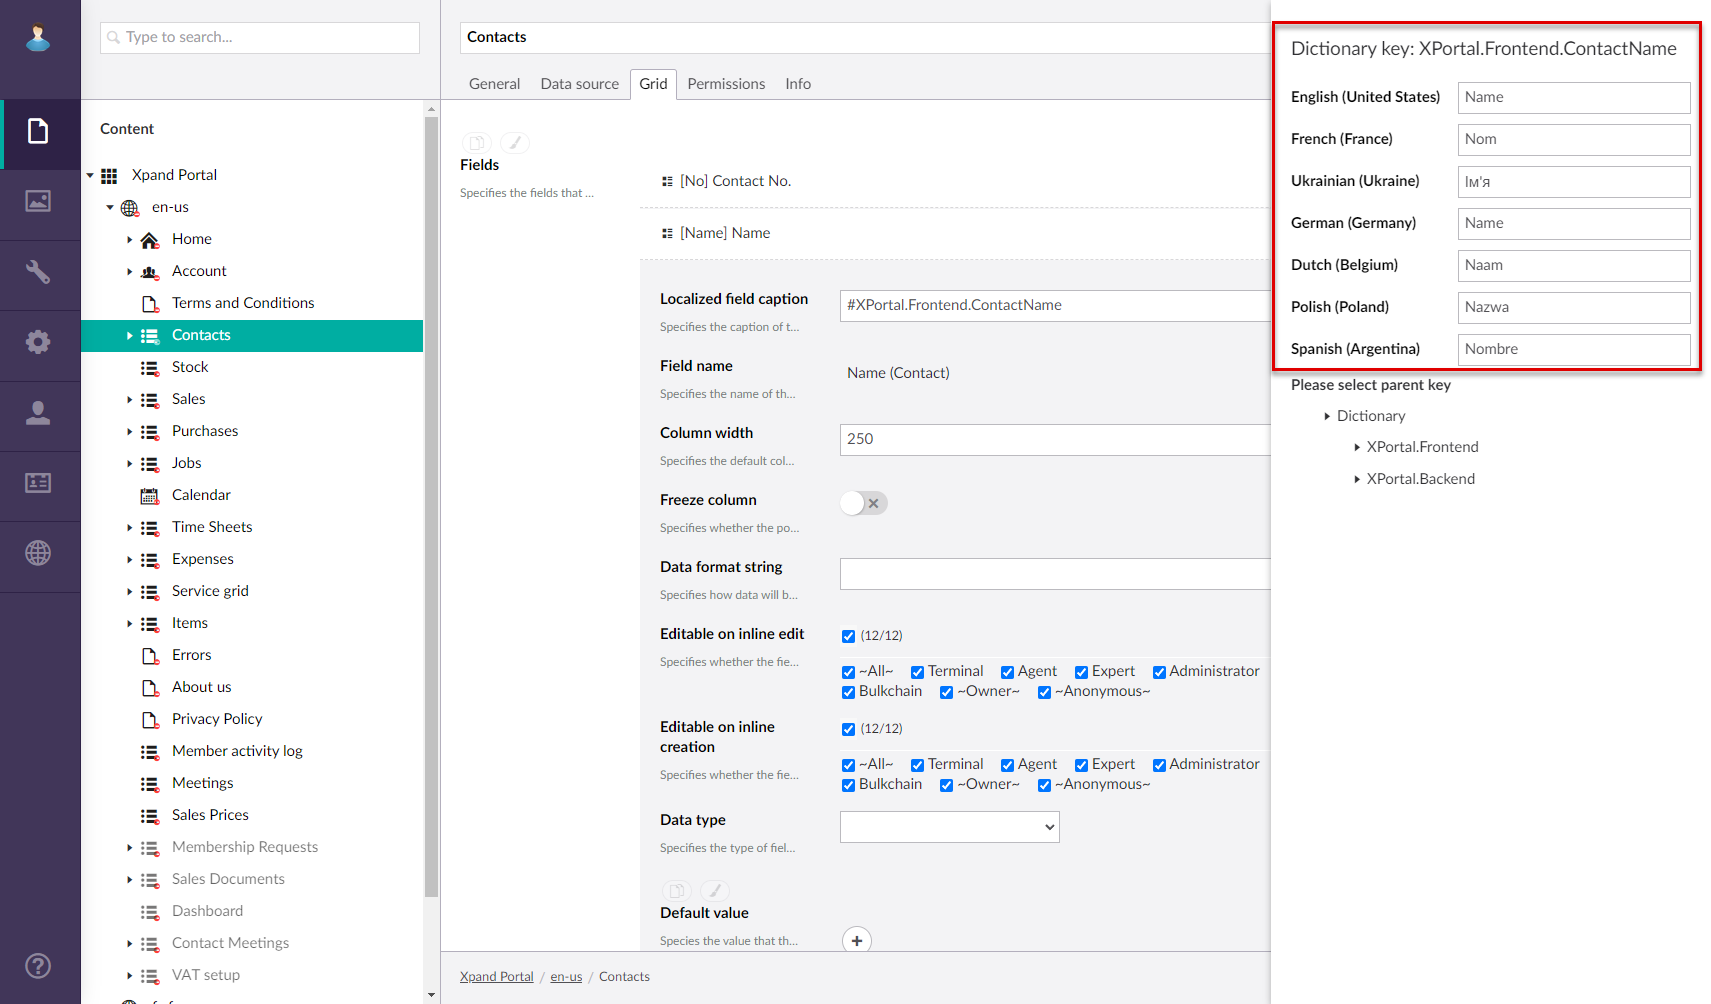
- Below the localized values, you need to select a parent portal dictionary item that the created item will be created under. Expand XPortal.Frontend, and then select a parent item. Try to structure your dictionary keys as logical as possible.
- Select the Create button to save the created portal dictionary item with multiple localizations. The button becomes available after selecting a parent key.
- Repeat this procedure for other settings that you want to localize this way.