Creating records
On Xpand Portal, records may come from an external data source or , if it is allowed and enabled for the member's role, can be created directly on the portal by portal members.
A record can be created on a grid page with two actions (action icons and captions are customizable):
- New & Edit
 - Creates a new record and opens its detail page (on condition that there is a linked detail (card) page for that grid page)
 - New
 - Creates a new record without opening its detail page. This action can be used only along with the Edit Lines
  action (action that enables editing records on a grid).
|
For these actions to be available on a page, they must be added to the grid or detail page, and the role that you belong to must have permissions to use them on that page. For the Enable editing |
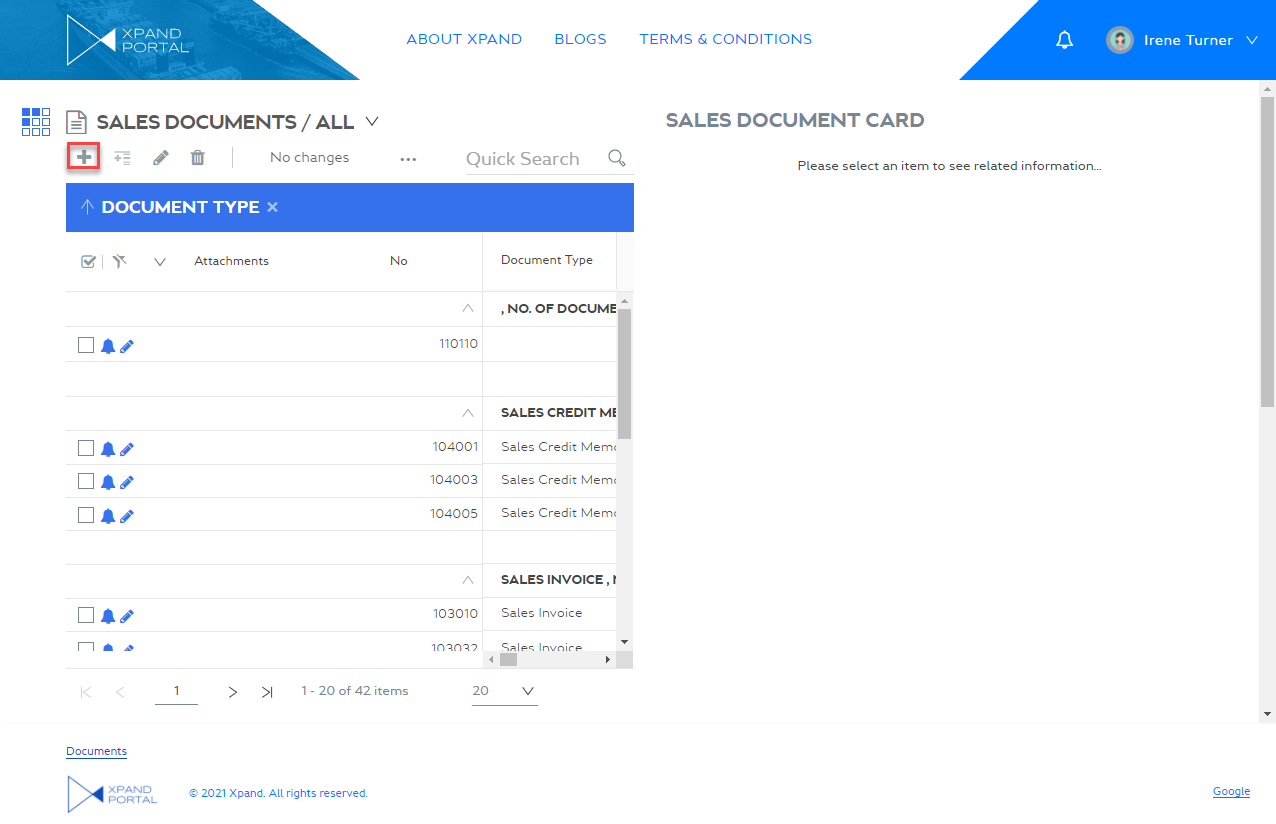
To create a record and open its detail (card) page
- Open a grid page where you want to create a new record. This grid page must have an associated detail page and your role must have permissions to create records on that grid page.
- On the grid actions bar, select the New & Edit
 icon (the action name and icon are customizable and may be different in your case).
- On the associated detail page that is opened, fill in the editable fields where allowed.
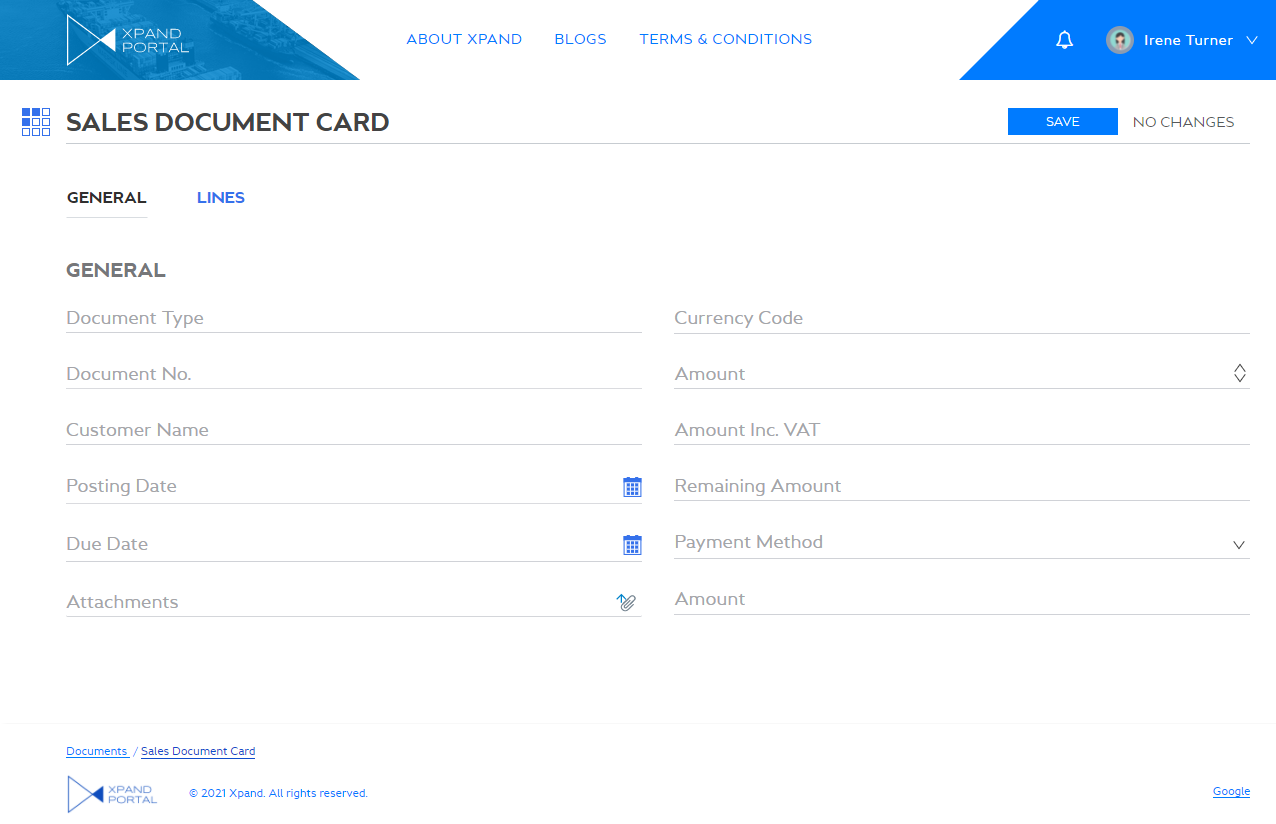
- Select Save to save the created record. This action must be added added to the page and allowed for your member role.
The created record appears on the grid. The portal member who created the record has the ability to delete it if necessary.
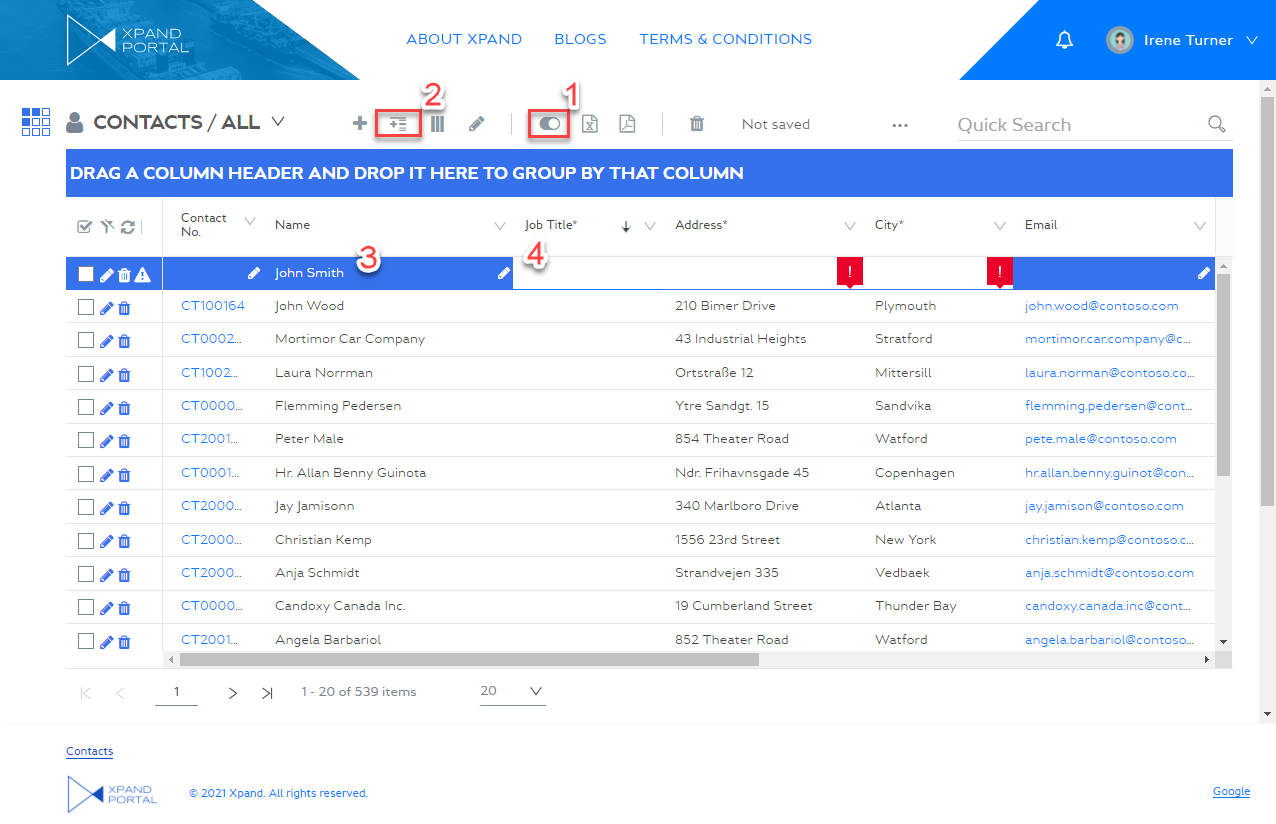
To create a record without opening the detail (card) page
- Open a grid page where you want to create a new record.
- On the grid actions bar, set the Edit lines switch to ON.
 Note
NoteFor the Edit lines
grid action, which enables inline editing, to be available on the page, it must be added to the grid page, and the role that you belong to must have permissions to use it on that page. The action name and icon are customizable and may be different in your case. - On the grid actions bar, select the New
 icon (the action name and icon are customizable and may be different in your case). This is grayed out (unavailable for selection) if you do not enable line editing using the Edit lines
  switch.
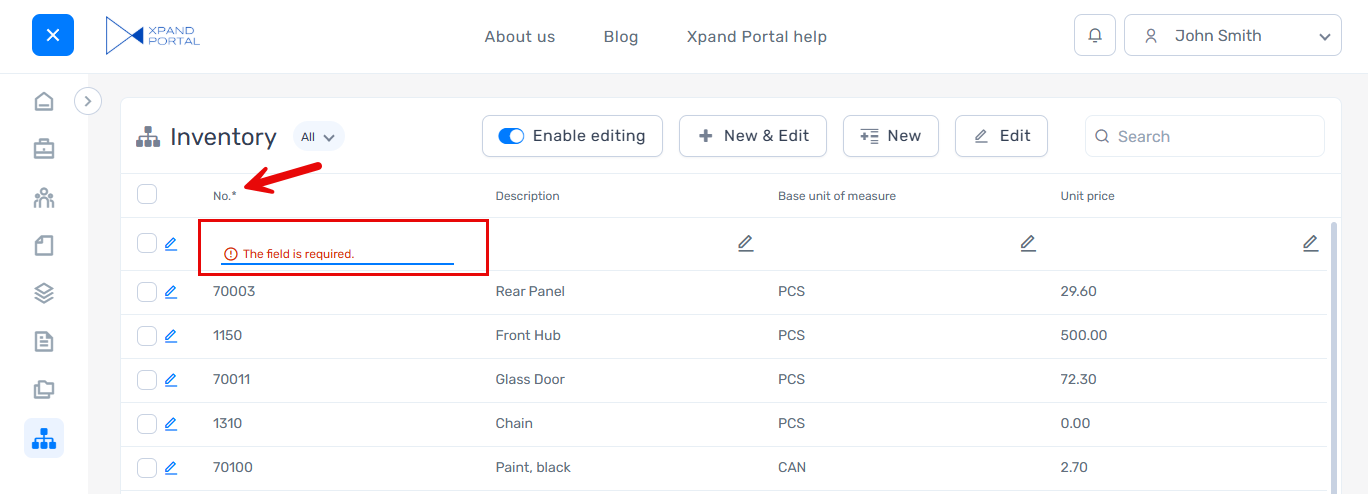
 - Fill in the editable fields where allowed. In this case, changes are saved automatically.
If a grid field is configured as required, such a field will have an asterisk next to its caption. If you leave a required field without value, "The field is required." message will be displayed in it.
- Optionally, Set the Disable inline editingswitch to OFF (the slider caption and icon are customizable and may be different in your case) to disable the ability to edit grid lines.
The created record will be moved to the end of the grid.