Deleting records
Portal members can delete records on grid or detail (card) pages if the corresponding action is available for their member role.
Depending on how the Delete action is configured on the page, the member may be allowed to delete only records that were created by this member or to delete any records regardless of their ownership.
|
For this feature to be available on a grid page, it must be added to the grid or detail page, and the role that you belong to must have permissions to use this ability on that page. The Allow removing all records setting for the Delete toolbar command defines whether a member is allowed to delete any records regardless of their ownership. |
To delete a record
-
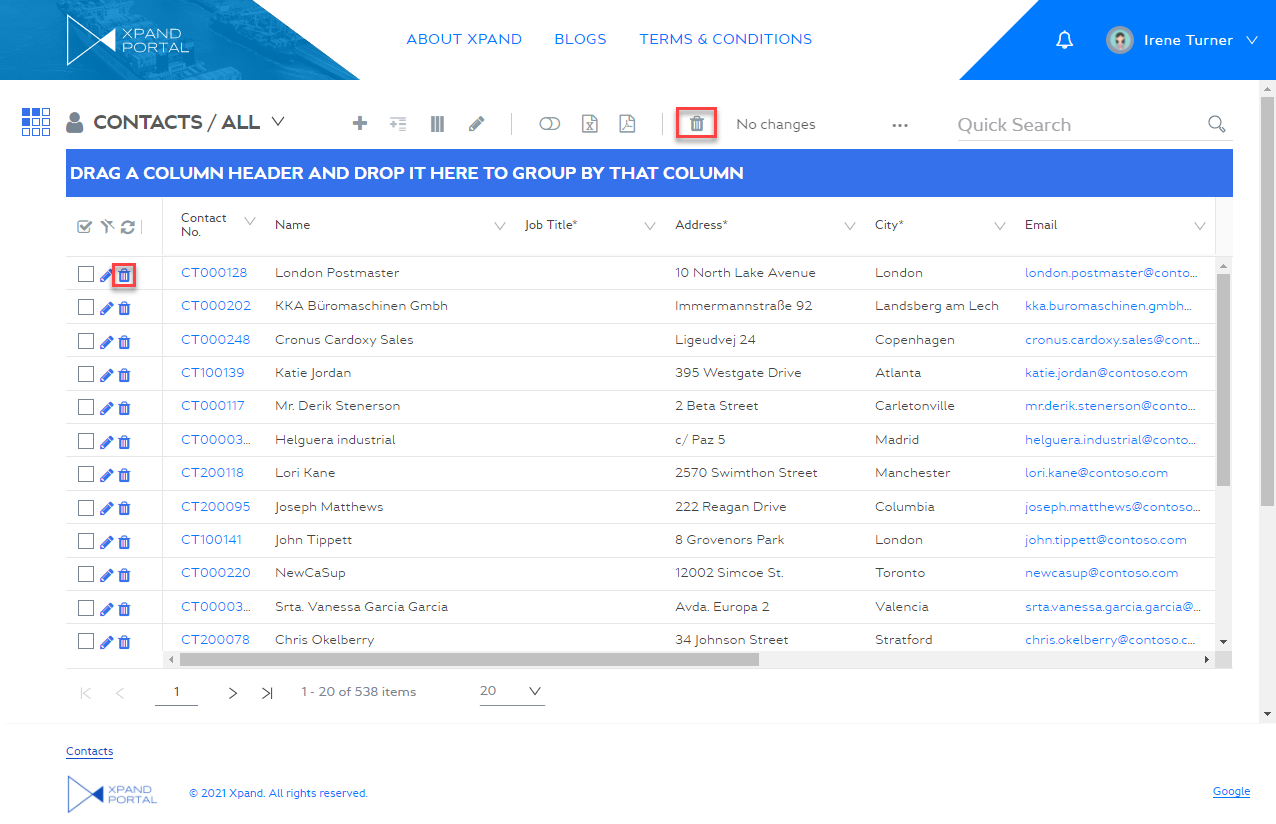
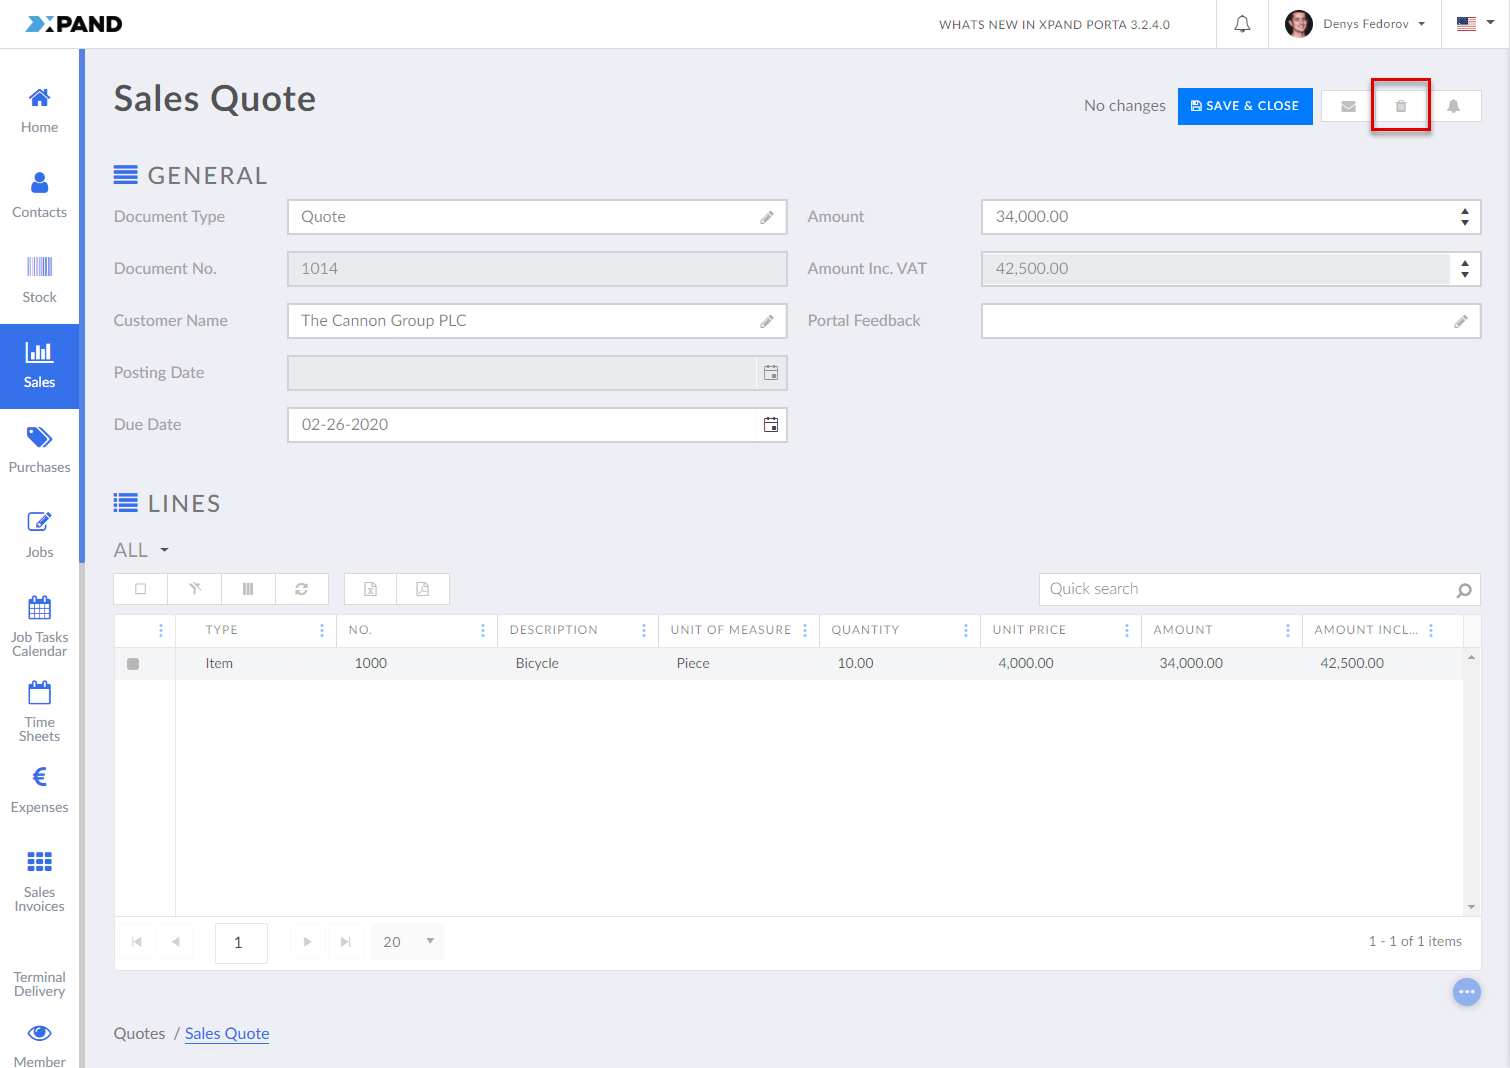
Open a grid page that has a record that you want to delete. Alternatively, open the detail page of a record that you want to delete.
-
Select the record, and then choose the
 icon on the line or on the grid action bar or on the action bar of the detail page.
 Note
NoteThis icon is visible on records only if it is enabled in the configuration for the Delete action and only next to the records your member role is currently allowed to delete according to the settings.
-
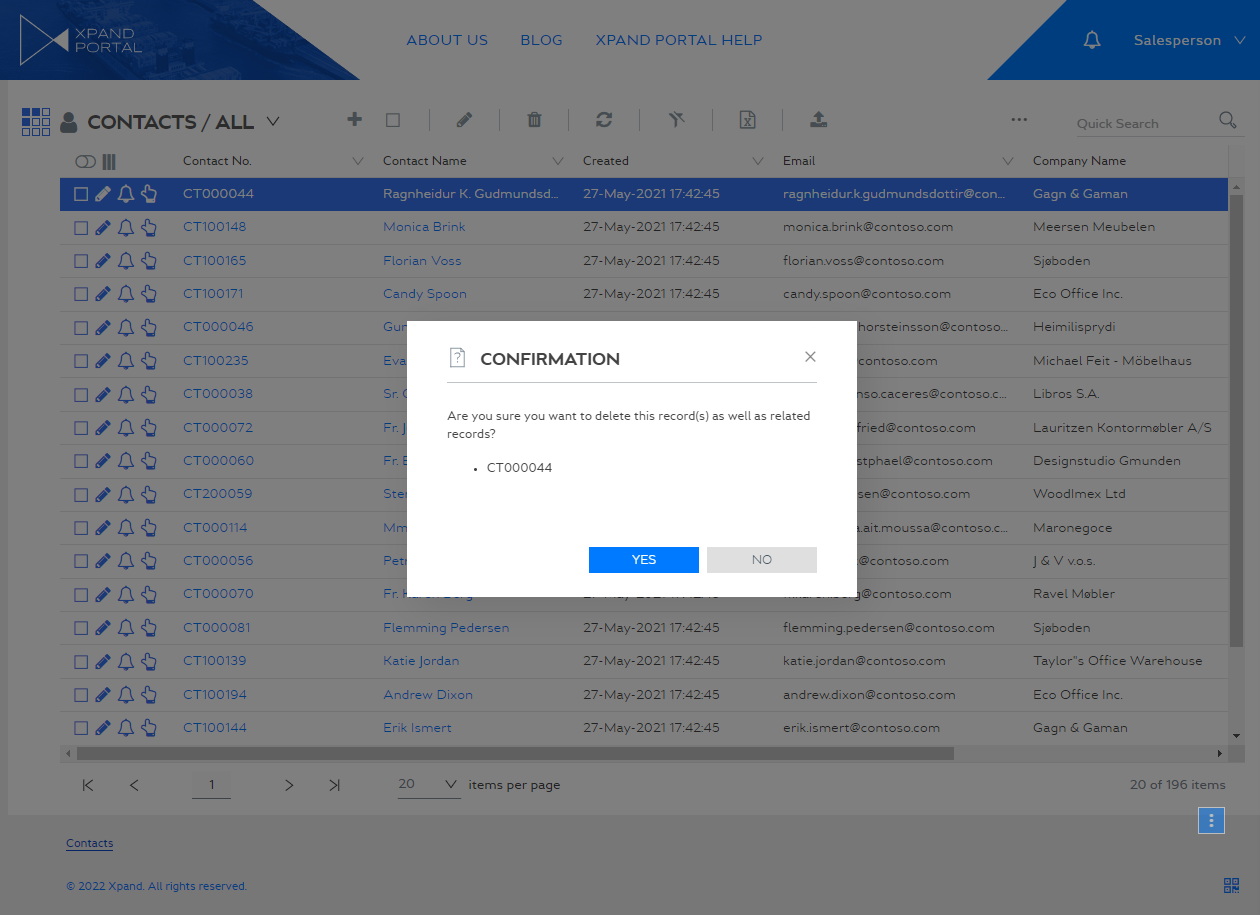
Select Yes on the confirmation message that appears.
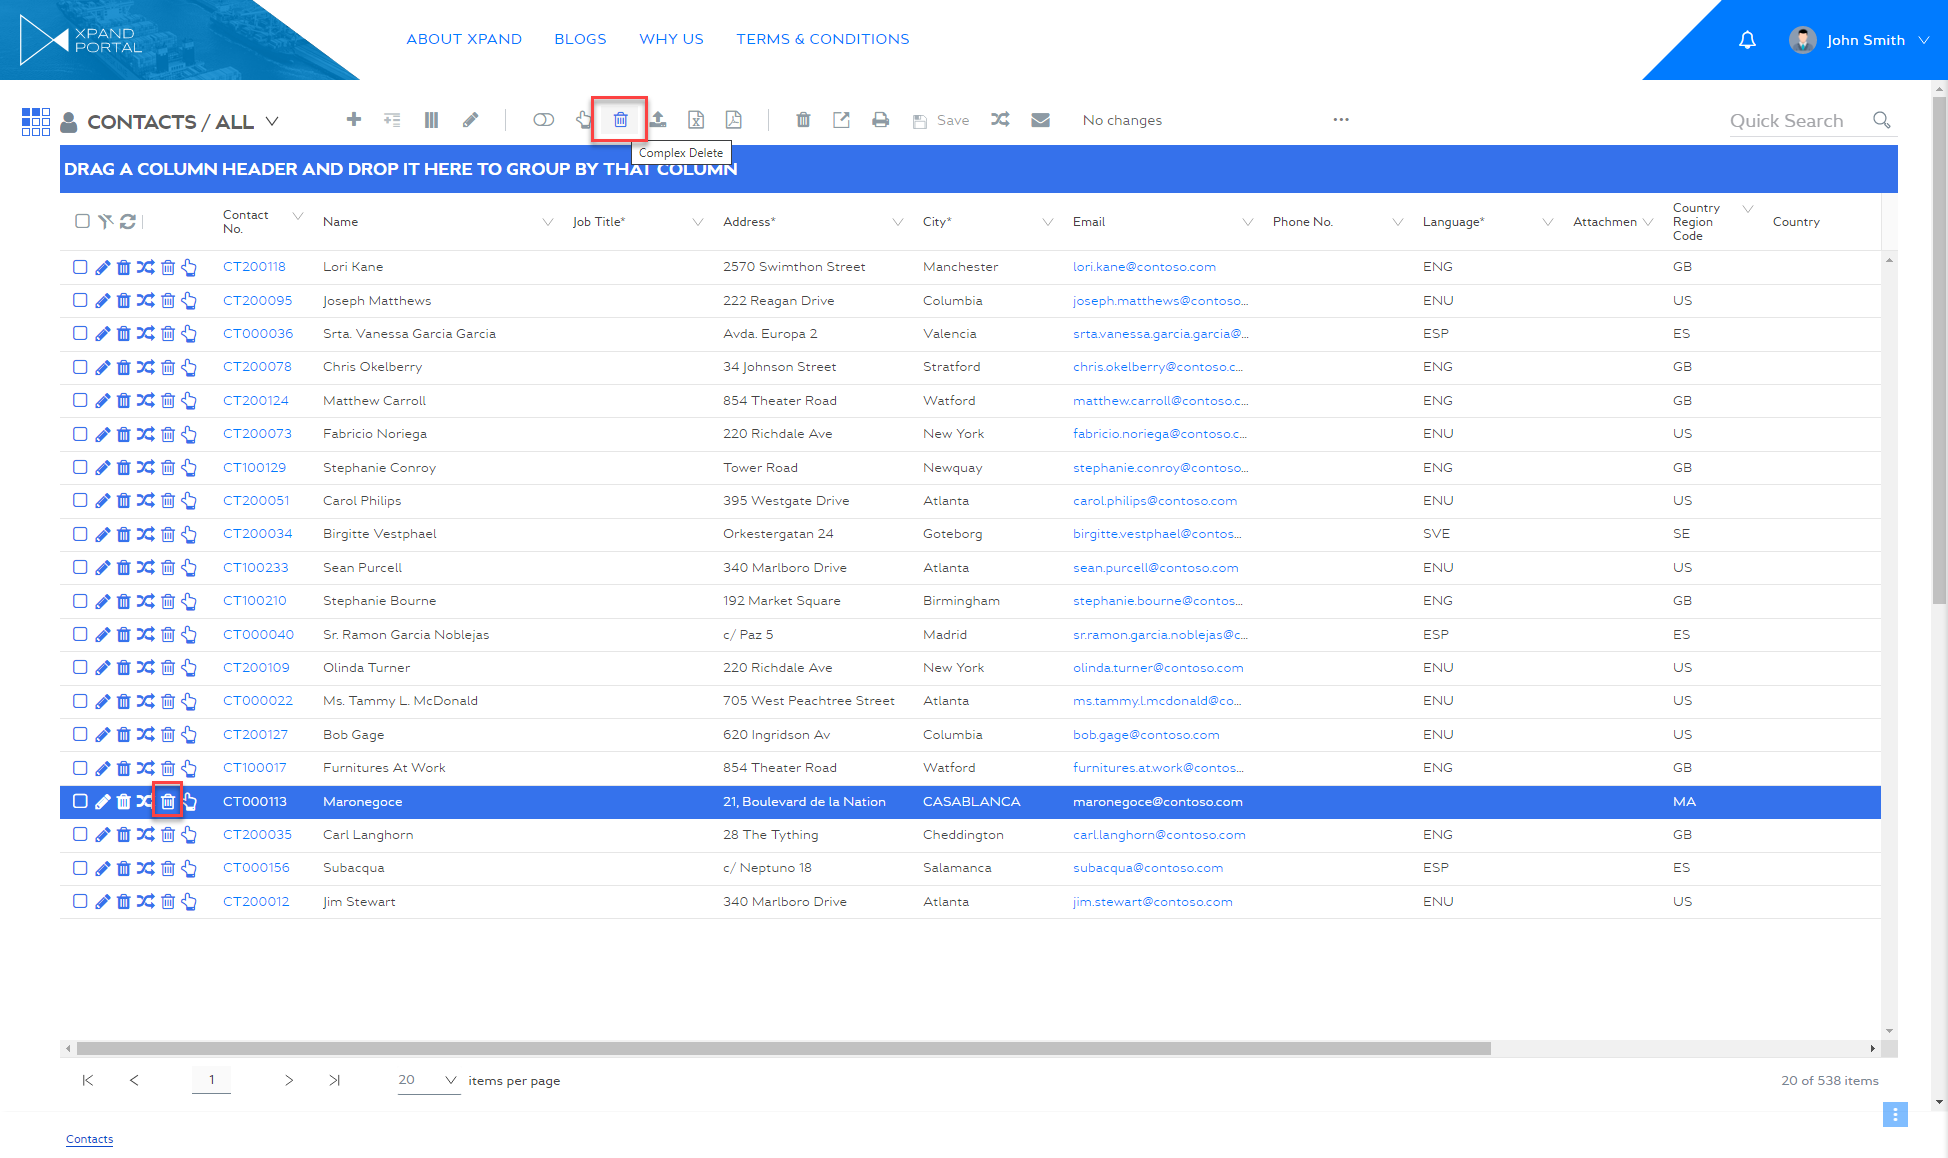
Complex delete
A grid or detail page may have a Complex delete action (the caption is configurable) that allows you to delete a selected record(s) on the current page, and other related records on related pages will be automatically deleted as well according to the rules configured for this action. In the action settings, you can configure which records and in which related pages are deleted alongside the selected records.
This may be useful when you have closely related records on different pages, and when you delete one of them, you want the related records to be deleted as well without having to manually navigate to the related pages to manually find and delete the related pages. For example, a page contains HelpDesk tickets, while ticket comments are stored in a different entity on a different page. Thus, you can configure an action that would delete a selected record(s) as well as records with comments, related to this ticket, on another page automatically.
|
For the Complex delete grid action or detail action to be available on the page, it must be added to the page and properly configured, and the role that you belong to must have permission to use it on that page. See the description of the action settings for details on how to configure the rules that define what exactly will be deleted with this action. |
|
Use this action with caution to avoid undesired changes on multiple records/pages. You must be aware of how the action is configured and what exactly will be deleted when you use it. |
To delete a record along with related records in related pages at the same time
- Open a grid or detail page where a Complex delete action is available. The icon and caption are configurable and may be different in your case (for example, the action caption may be based on the actual changes that the action will be doing, such as Delete the selected & related records).
- Select a record(s) that you want to delete along with other related records on related pages, and then select the
 icon on the action toolbar directly on a record that you want to delete.
- Select Yes on the confirmation message that appears.
After processing, the results are shown in the dialog window. If a record cannot be processed (for example, because the record or related records do not meet the validation filters configured for the action), an error message will be shown. Also, if configured for the action, a different page can be opened once the processing is finished.
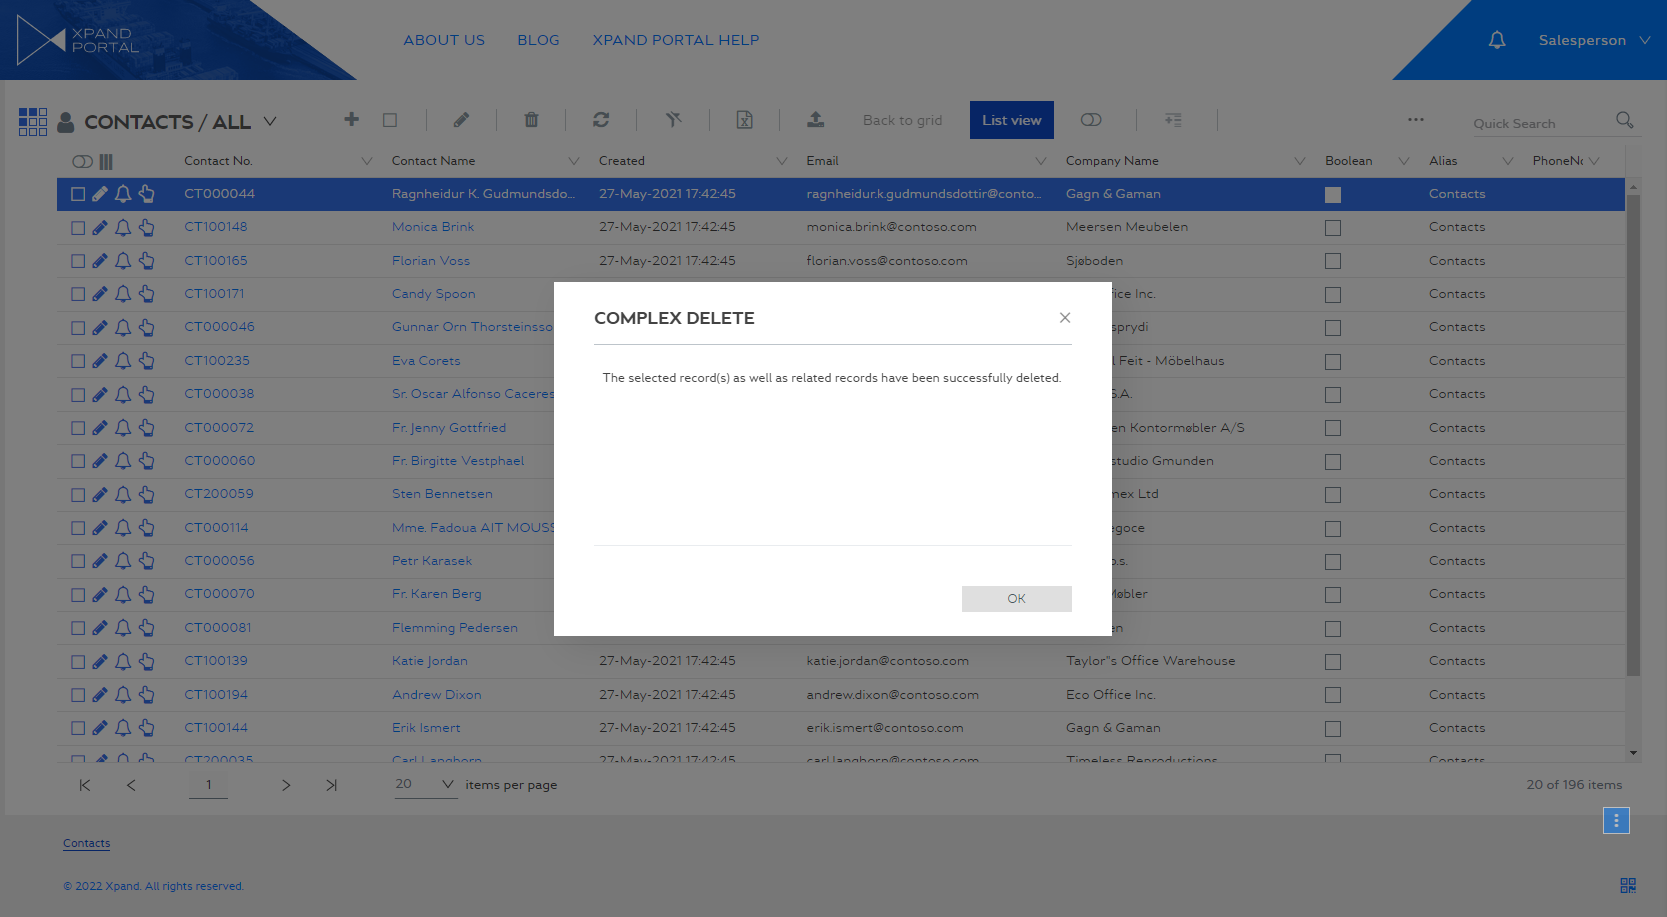 Note
NoteThe dialog window that is shown when the action is used and its content (such as title, description, processing message, processing results, etc.) are configurable in the Complex Delete action settings and may look different in your case. It can also be configured differently for each Complex Delete action to make it tailored to what the action does. In addition to the text from dialog window settings, the message also shows the text from the base dictionary key (also configured in the action settings), including the validation messages (if a record is valid, it means it meets the validation filters, otherwise, the details why a record is invalid for completing the action are shown).
- Select OK in the dialog window to close it.
- Check the expected changes on the current page as well as related pages (in accordance with the action settings).