Exporting data
In Xpand Portal, data that you see on a grid or detail page can be saved in the following formats:
- Microsoft Excel Workbook
- CSV (Comma-separated values)
|
For this feature to be available on a page, it must be added to the grid or detail page, and the role that you belong to must have permissions to use this function on that page. |
When you export data from a detail page, you do not need to select record - the data from the related record is exported.
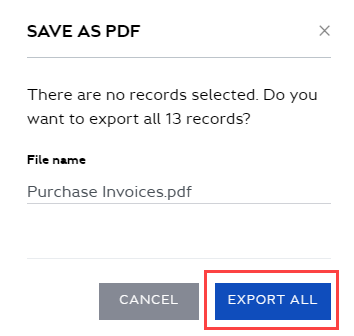
To save data as PDF
- Open a portal page the data from which you want to save as PDF.
- Optionally, select records that you want to save. A page may have a big number of records. In this case, use the navigate buttons to switch pages. If you don't select any records, all records will be exported.
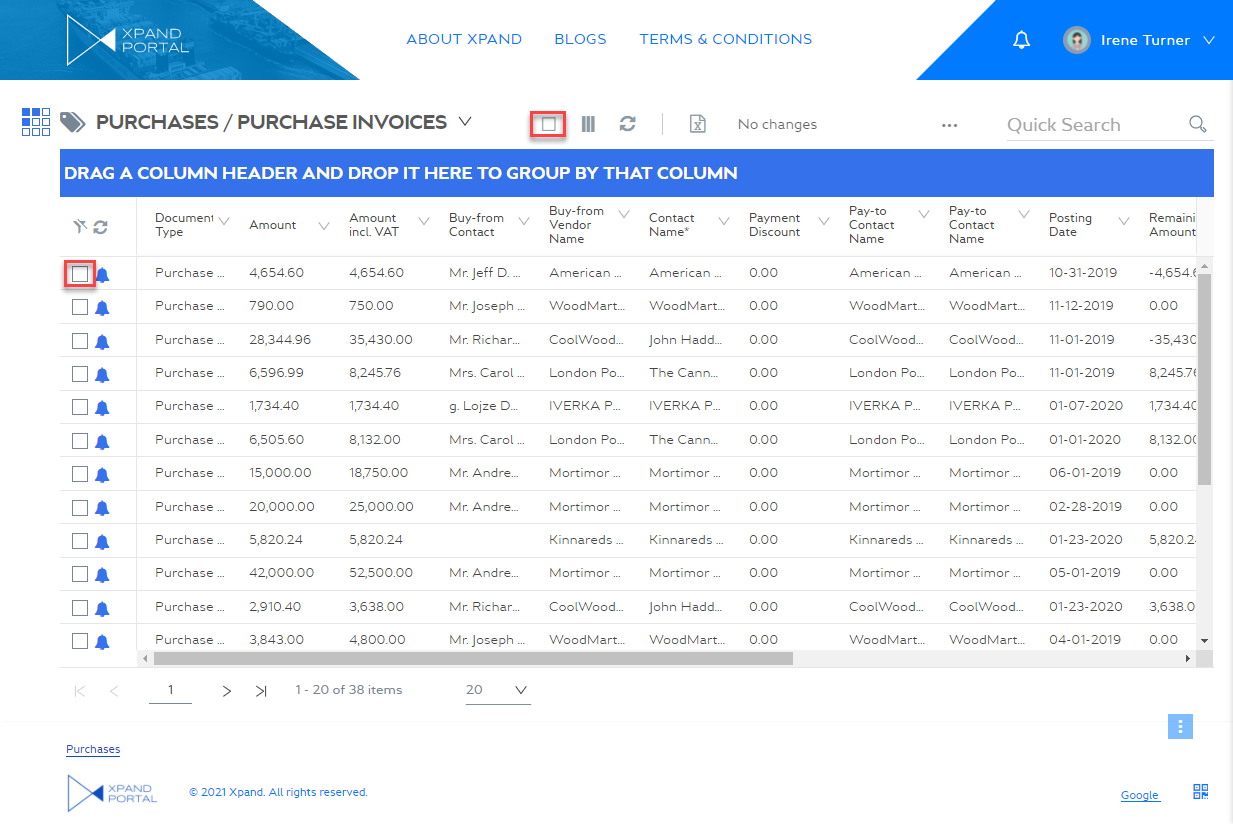
- Select the Save as PDF
 action (the caption and icon are configurable).
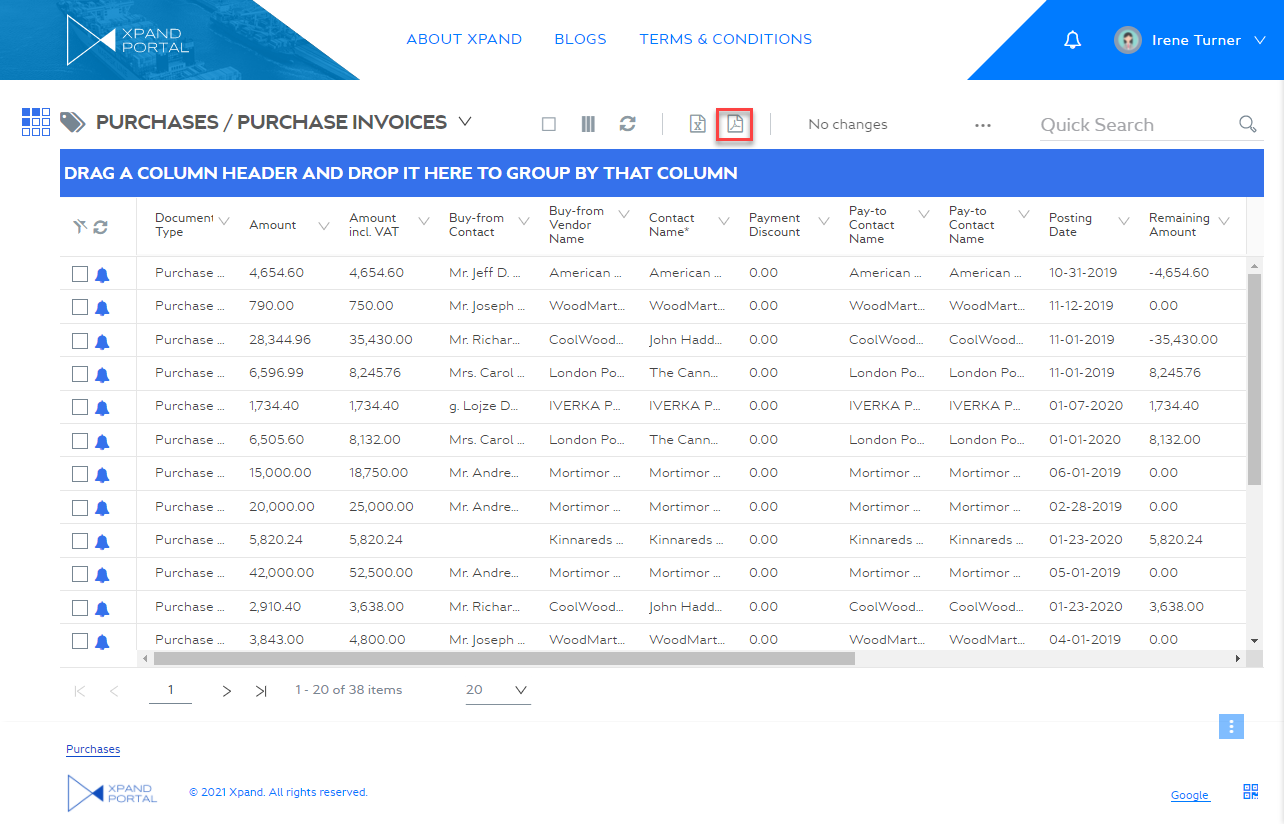
- In the dialog window that appears (the look of which is configurable, and may be different in your case), in the File name, edit the suggested file name if necessary (you'll be able to also do this in the standard Windows dialog later), and then select Export.
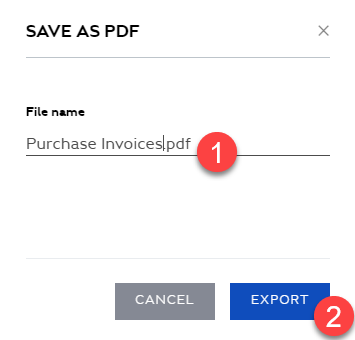
 Note
NoteIf you used the action while not having any particular records selected, select Export All in the dialog box that appears to export all records.
- In the Save as dialog window, specify the location and file name, and then select Save.
The selected records are saved in the PDF (.pdf) format that you can open in any application that supports PDF files.
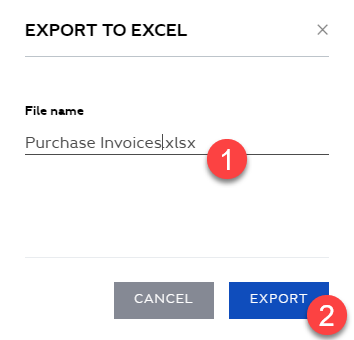
To save data as Excel Workbook
- Open a portal page, the data from which you want to save as Excel Workbook.
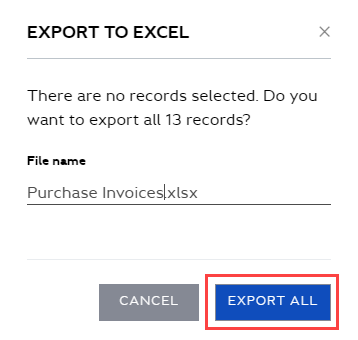
- Optionally, select records that you want to save. A page may have a big number of records. In this case, use the navigate buttons to switch pages. If you don't select any records, all records will be exported.
- Select the Save as Excel Workbook
 action (the caption and icon are configurable).

- In the dialog window that appears (the look of which is configurable, and may be different in your case), in the File name, edit the suggested file name if necessary (you'll be able to also do this in the standard Windows dialog later), and then select Export.
|
If you used the action while not having any particular records selected, select Export All in the dialog box that appears to export all records. |
- In the Save as dialog window, specify the location and file name, and then select Save.
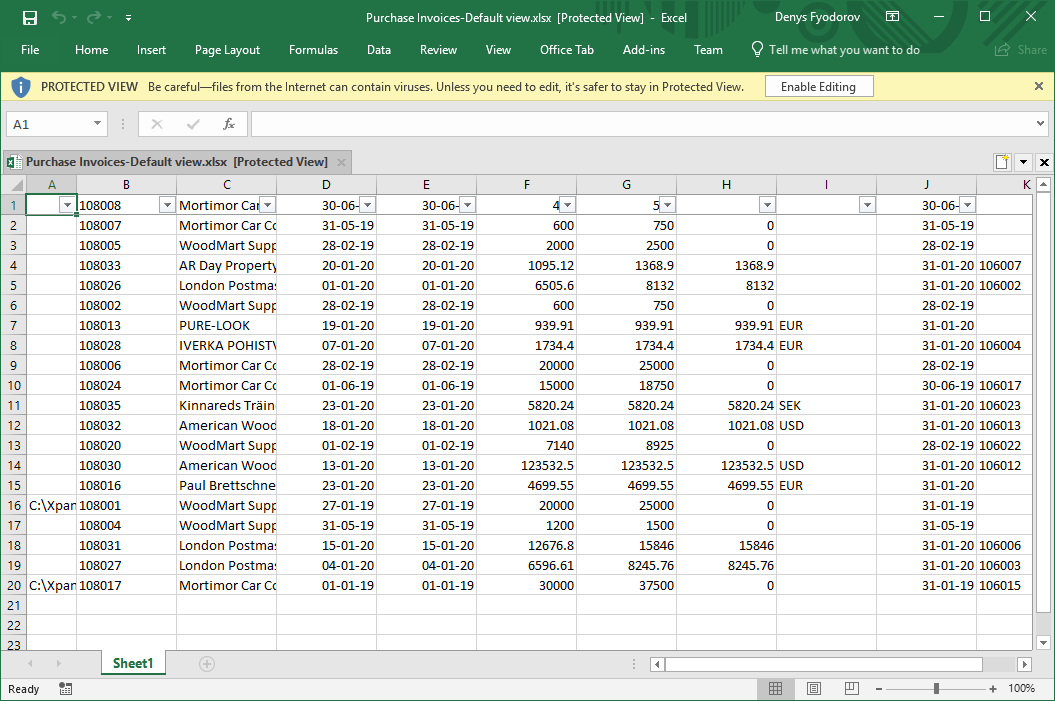
The selected records are saved in the Excel Workbook (.xlsx) format that you can open in Microsoft Office Excel.
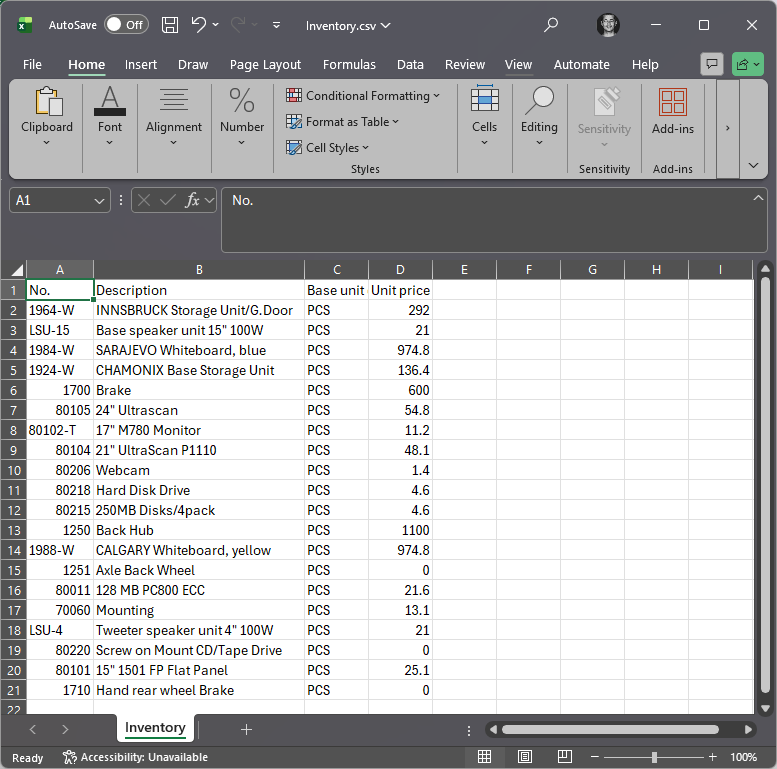
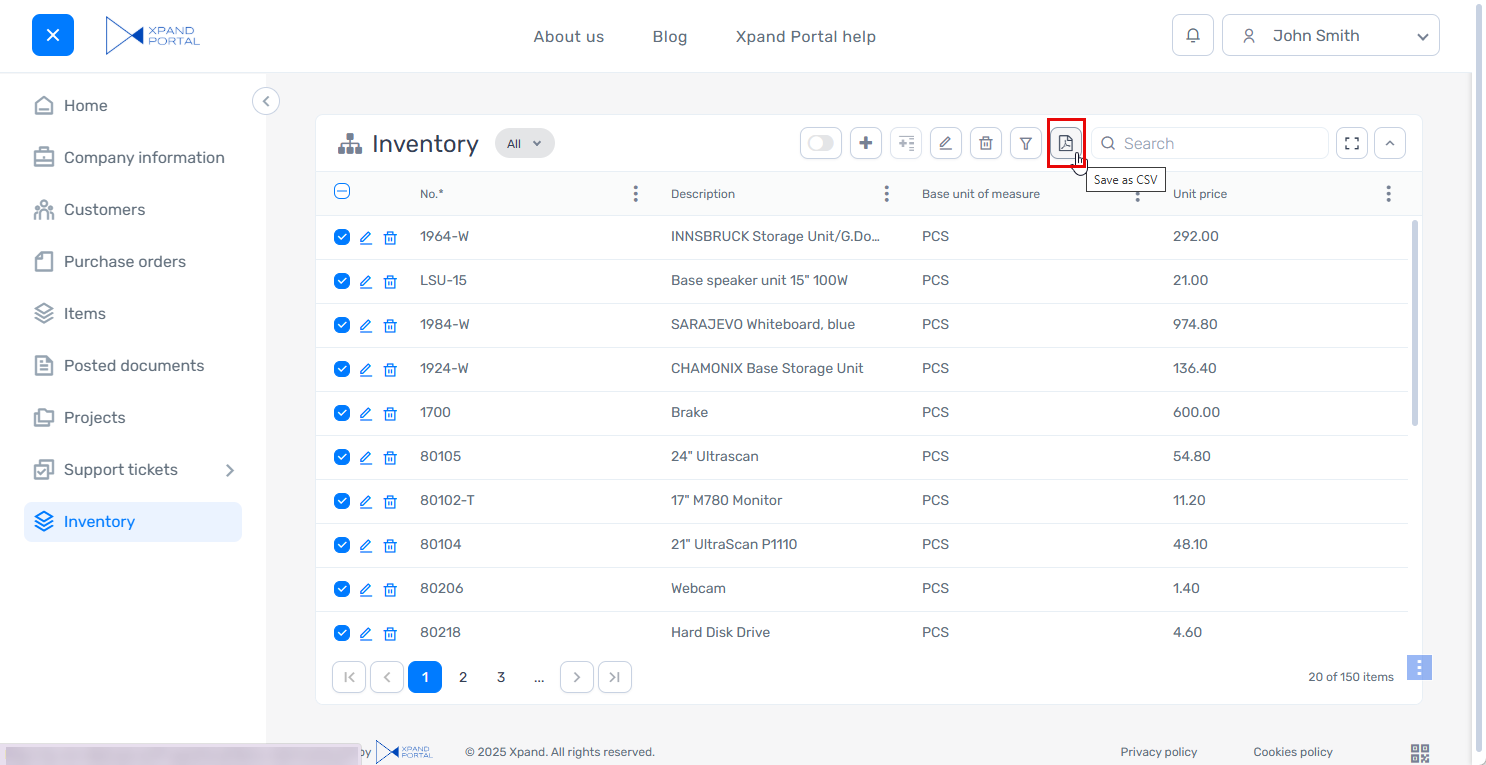
To save data as CSV
- Open a portal page the data from which you want to save as a CSV (comma-separated file).
- Optionally, select records that you want to save. A page may have a big number of records. In this case, use the navigate buttons to switch pages. If you don't select any records, all records will be exported.
- Select the Save as CSV
 action (the caption and icon are configurable).
- In the dialog window that appears (the look of which is configurable, and may be different in your case), in the File name, edit the suggested file name if necessary (you'll be able to also do this in the standard Windows dialog later), and then select Export.
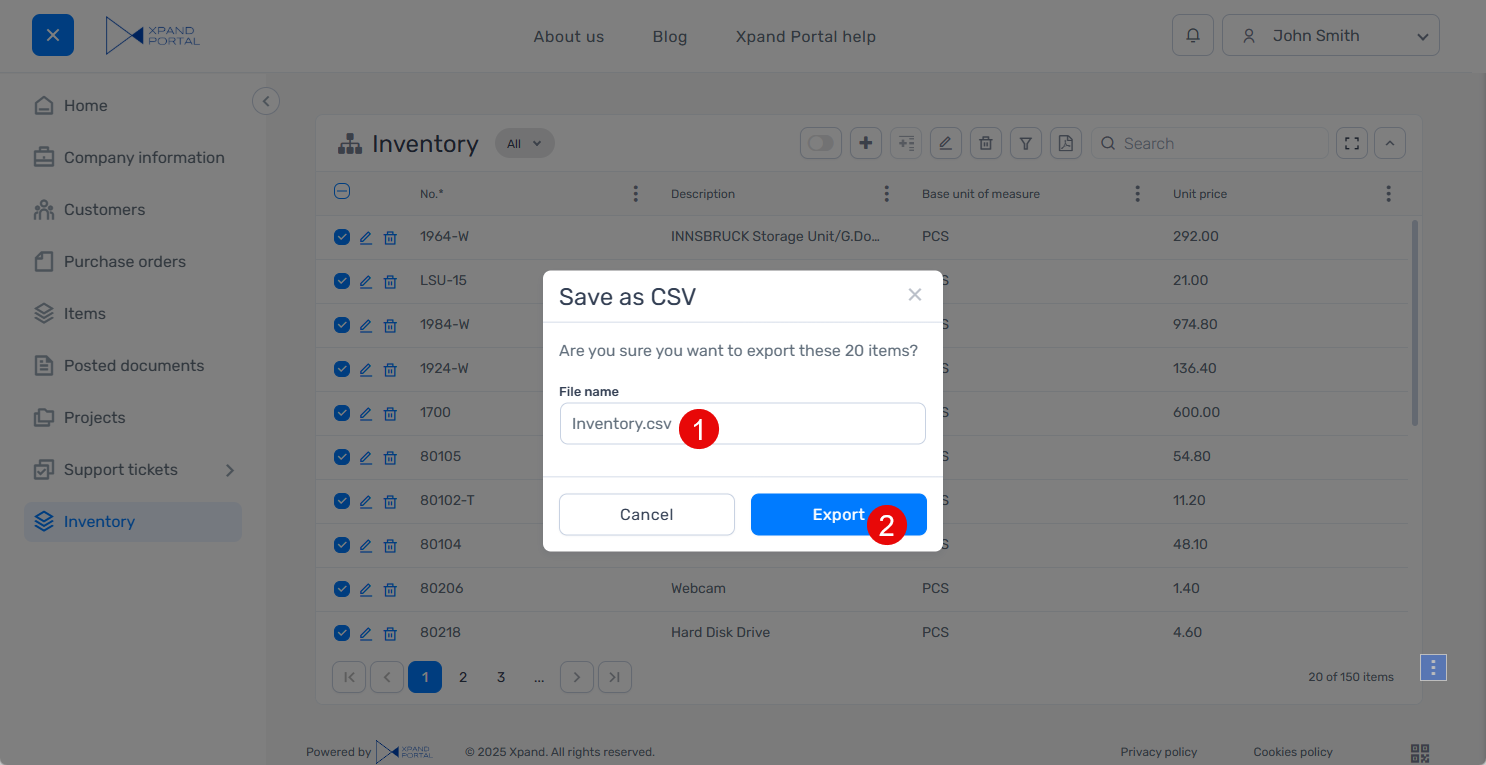
|
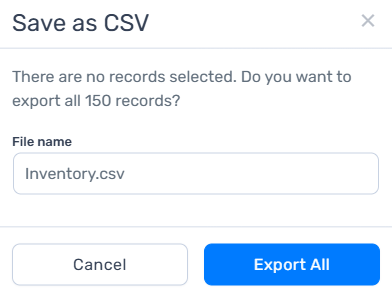
If you used the action while not having any particular records selected, select Export All in the dialog box that appears to export all records. |
- In the Save as dialog window, specify the location and file name, and then select Save.
The selected records are saved in the CSV (.csv) format that you can open in any application that supports CSV files.