Manual synchronization of entity structure or entity data
Portal entities and their data can be synchronized between Microsoft Dynamics 365 Business Central and Xpand Portal in two ways:
- Manually – Use manual synchronization when you want to force portal entity or data synchronization immediately after making some changes in the configuration without having to wait until scheduled synchronization takes place. Manual data synchronization is recommended for the first synchronization of the entity with the portal. If it is import into BC, only data for an existing portal entity can be imported.
- Automatically using a job queue – This synchronization is used in most scenarios. You must set up two separate job queues, one for importing entities and their data into Microsoft Dynamics 365 Business Central from the portal, and the other – for exporting entities and their data from Microsoft Dynamics 365 Business Central to the portal.
|
Data is synchronized only for portal entities that were set up. You must manually export portal data after initial configuration, otherwise only new changes will be synchronized. |
Manual Export
You can manually export an entity from BC to Xpand Portal in two ways:
- Export an entity structure along with data
- Export only an entity structure without data
When a portal entity is exported for the first time, it becomes available for selection as data source when creating or editing portal pages.
Manually exporting an entity with its data from BC
To manually export data for portal entities from Microsoft Dynamics 365 Business Central (to later import it into Xpand Portal):
- In Microsoft Dynamics 365 Business Central, choose the
 icon, enter Export Entity to Portal, and then select the related link. Alternatively, in the Portal Entity Card window or Portal Entities window (for a selected entity), choose Export > Export Entity to Portal (only for released entities with type Export or Both).
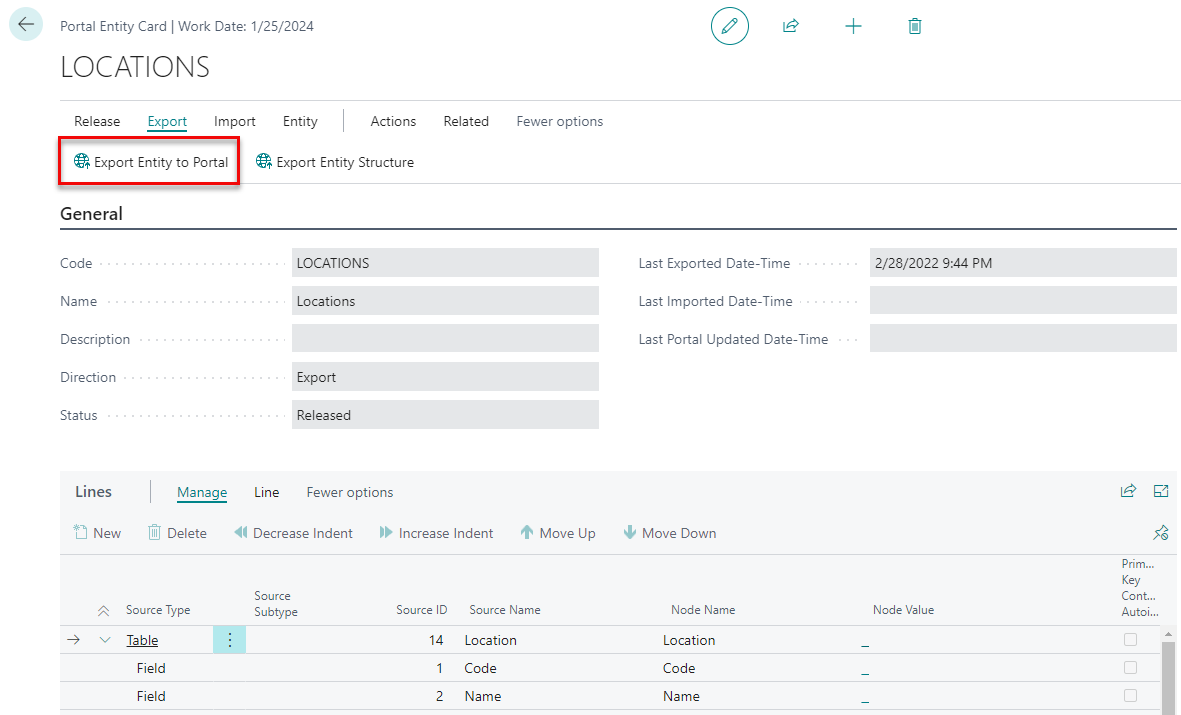
- In the Export Entity to Portal batch job request window, in the Code field, select the code of the portal entity that you want to export. You can select a released entity with type Export or Both. If you run the batch job from the Portal Entity Card window, the code of that entity is filled in automatically.
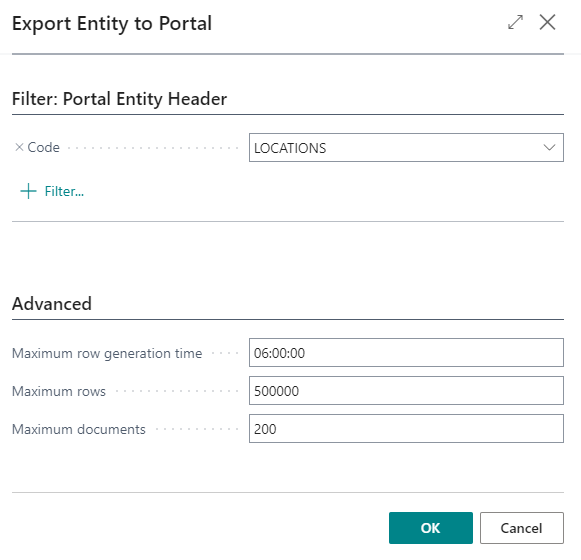
- Select OK to export the entity.
- Choose Yes on the confirmation message that appears.
- Repeat steps 1 through 4 to export other portal entities or synchronize data for the already exported entities if necessary.
Manually exporting an entity structure (without data) from BC
To manually export entity structure for portal entities from Microsoft Dynamics 365 Business Central (to later import it into Xpand Portal):
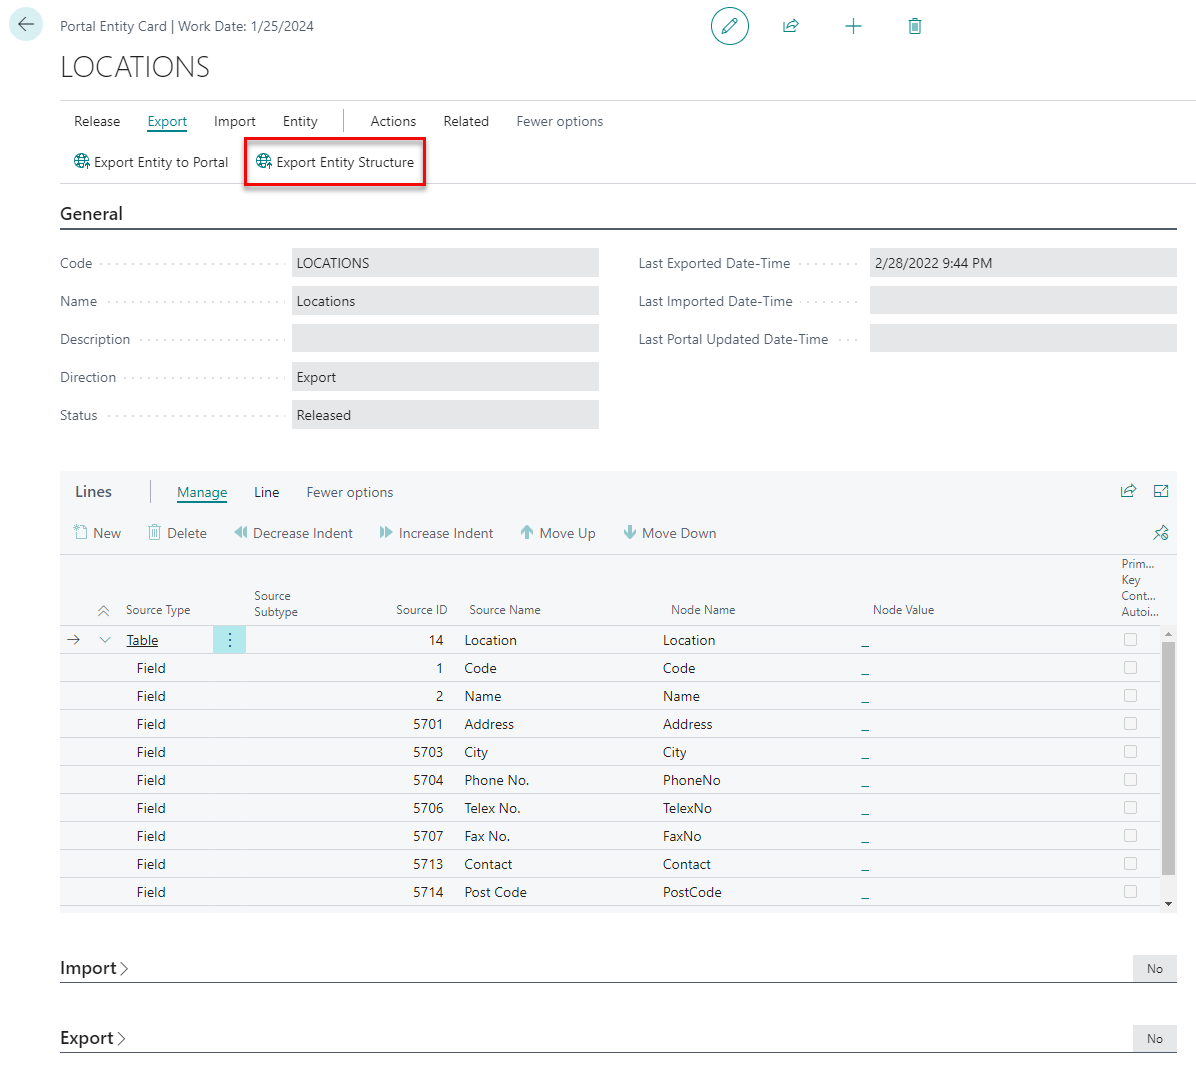
- In Microsoft Dynamics 365 Business Central, choose the icon, enter Export Entity Structure, and then select the related link. Alternatively, in the Portal Entity Card window or Portal Entities window (for a selected entity), choose Export > Export Entity Structure (only for released entities with type Export or Both).
- In the Export Entity Structure to Portal batch job request window, in the Code field, select the code of the portal entity that you want to export. You can select a released entity with type Export or Both. If you run the batch job from the Portal Entity Card window, the code of that entity is filled in automatically.
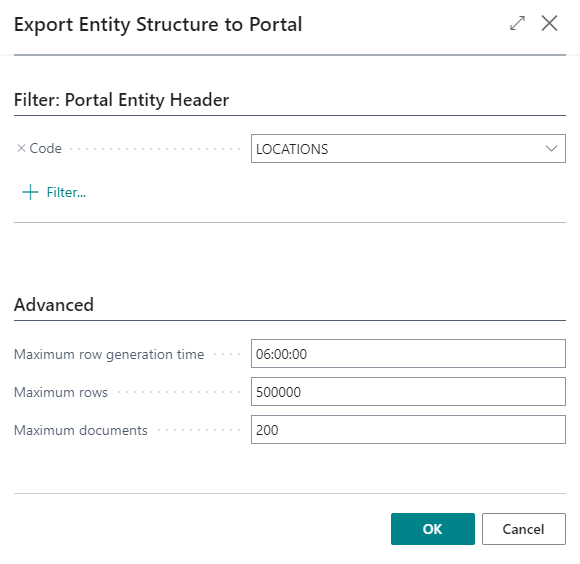
- Optionally, on the Advanced FastTab, configure advanced options:
- Maximum row generation time - Specifies the maximum allowed time for generating entity rows during export.
- Maximum rows - Specifies the maximum number of rows that can be generated during export.
- Maximum documents - Specifies the maximum number of linked documents that can be exported.
- Select OK to export the entity.
- Choose Yes on the confirmation message that appears.
- Repeat steps 1 through 4 to export the structure of other portal entities if necessary.
Manual Import
You can import data for a portal entity that has already been exported before to synchronize data for that entity between Xpand Portal and Microsoft Dynamics 365 Business Central.
You can manually import entity data to BC in two ways:
- Import entity data from Xpand Portal
- Import data from an XML file
Manually importing entity data from Xpand Portal
To manually import data for a portal entity from Xpand Portal into Microsoft Dynamics 365 Business Central:
- In Microsoft Dynamics 365 Business Central, choose the icon, enter Import Entity from Portal, and then select the related link. Alternatively, you can run batch job from the Portal Entities window or Portal Entity Card window by choosing Import > Import Entity from Portal (only for released portal entities with type Import or Both).
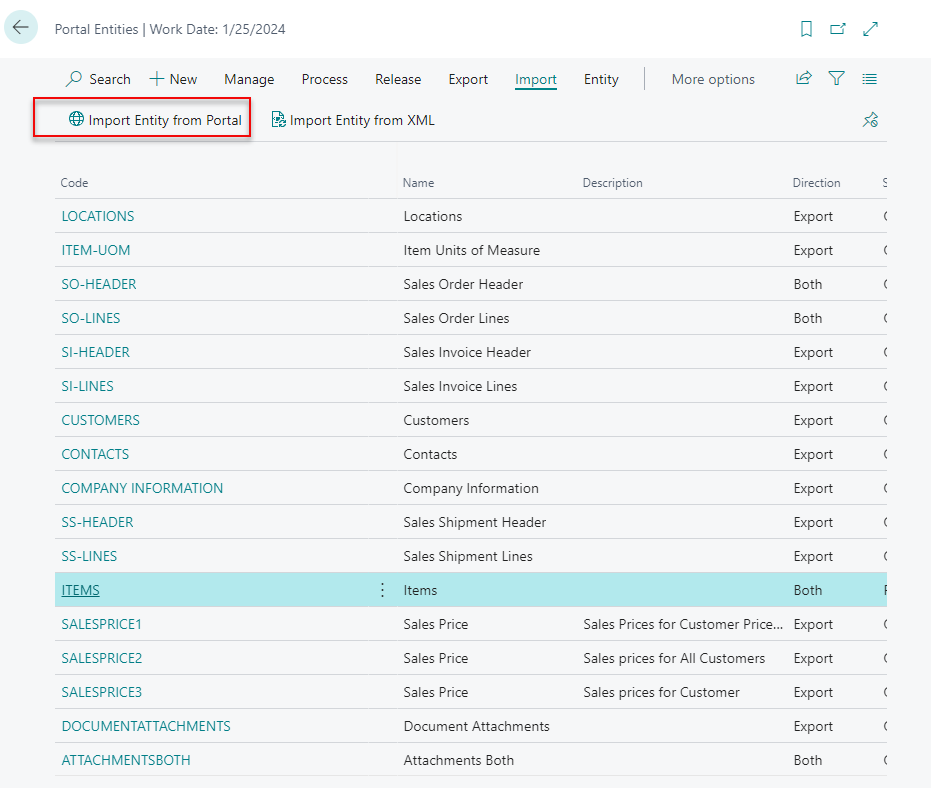
- In the Import Entity from Portal batch job request window, in the Code field, select the code of the portal entity that you want to import. You can select a released entity with type import or Both.
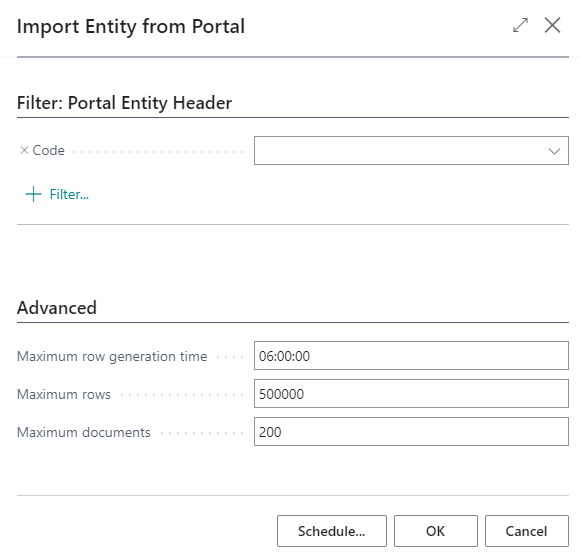
- Select OK to import data for the selected entity.
Repeat steps 1 through 3 to import data for other portal entities if necessary.
Manually importing entity data from XML
To manually import data for a portal entity from an XML file into Microsoft Dynamics 365 Business Central:
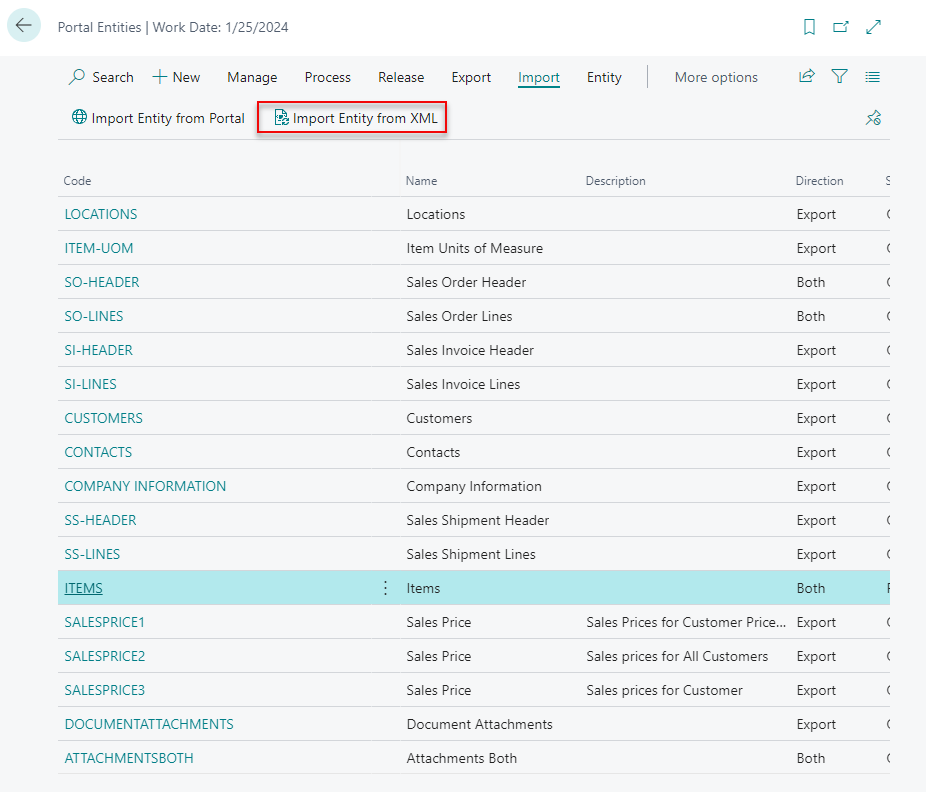
- In Microsoft Dynamics 365 Business Central, choose the icon, enter Portal Entities, and then select the related link. Alternatively, open the Portal Entity Card window for an entity.
- Choosing Import> Import Entity from XML (only for released portal entities with type Import or Both).
- In the Import XML request window, choose the Choose button, and select an XML file that you want to import. The file must contain the proper structure.
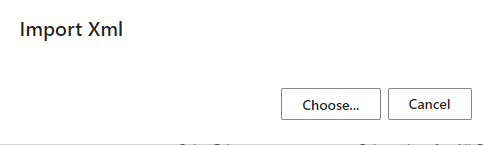
- Choose Open to import data for the selected entity.
- Repeat steps 1 through 3 to import data for other portal entities if necessary.