Creating a simple content page
A Simple Content page is a page with such content as images, text, links, macros, etc. This content is not based on data source. You can use custom styles for this type of content. If you want simple content to be displayed directly on the home page, you must add it to a home page layout block in the form of HTML block.
To add a simple content page to the portal:
- In the backoffice, go to Content, and select the
 icon next to node where you want this page to be available. This defines where in the menu the menu item for this page will be available. For example, if you add to the site root node, the menu item will be in the root of the navigation pane. If you add it as a child page to any existing page, the menu item will be available under the menu item of the parent page. Alternatively, select and hold (or right-click) a node, and then select Create.
 - Select
 Simple content.
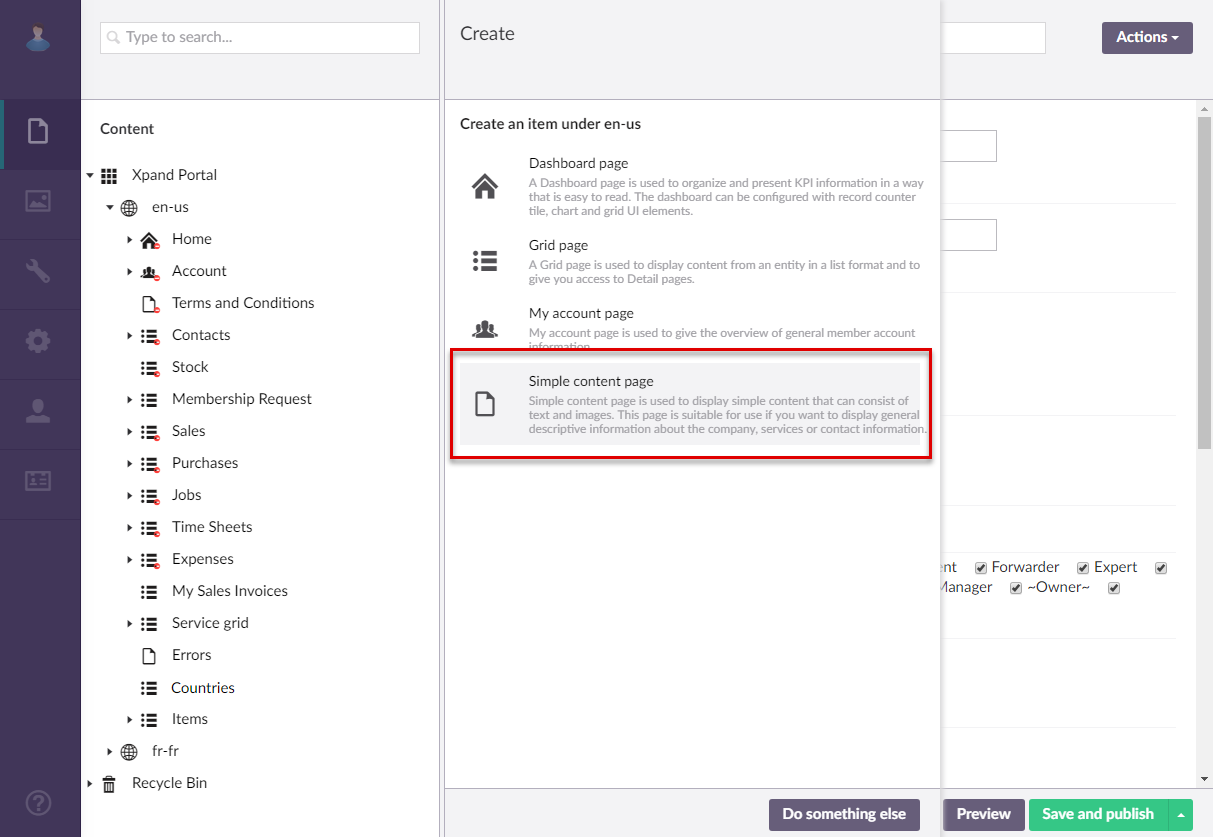
- If you have at least one content template of the Simple Content page type, the created template(s) will be available for selection to use as a basis for the new page. Otherwise, this step is not shown. You can select Blank in case you don't want to use a template.
- On the header, enter the simple content page name that will be used to identify it in the backoffice.
- On the General tab, fill in general settings as follows:
Basic
- Titles
- Title - Specifies the title of the simple content page that will be displayed on the page.
- Subtitle - Specifies the subtitle of the simple content page that will be displayed on the page under the title.
- Browser tab title - Specifies the title of the web browser tab that will be displayed when the page is opened and the member point to the browser tab.
- Hide breadcrumb - Use this switch to hide or make visible again the page breadcrumb trail at the top of the page. A breadcrumb trail is used as a navigational aid to help portal members keep track and maintain awareness of their locations within the portal.
Menu
- Menu item title -Specifies the title of the menu item, which will be displayed in the navigation pane for this page.
- Menu item icon - Specifies the icon of the menu item for this page. Select the square and browse to the icon in the portal media library.
- Menu item color - Specifies the color of the menu item for this page.
- Divider after menu item - Specifies that a split line will be displayed after this menu item.
- Hide menu item for - Specifies whether the menu item for this page will be hidden, and for which member groups. Only members that were added to the members groups that you select here will have this menu item available in their navigation pane. If you leave this check box cleared, the menu item will be visible to all member groups. - Specifies whether the menu item for this page will be hidden, and for which member groups. Only members that were added to the members groups that you select here will have this menu item available in their navigation pane. If you leave this check box cleared, the menu item will be visible to all member groups.
Advanced
- Content-from page - Specifies the page the content of which will be displayed instead of the content of this page when this page is opened via a direct link. The URL in the address bar will remain that of the original page.
- Redirect-to page - Specifies the page that will be displayed instead of this page when this page is opened via a direct link. The URL in the address bar will be that of the target page.
- Module assignment & protection - Specifies settings that allow you to assign this content element (localization, page, etc.) to an internal module as well as to protect this element from certain operations (copying, changing, deletion). Select the Configure button to configure module assignment & protection or the Change button to edit existing configuration if it has already been configured.
- Titles
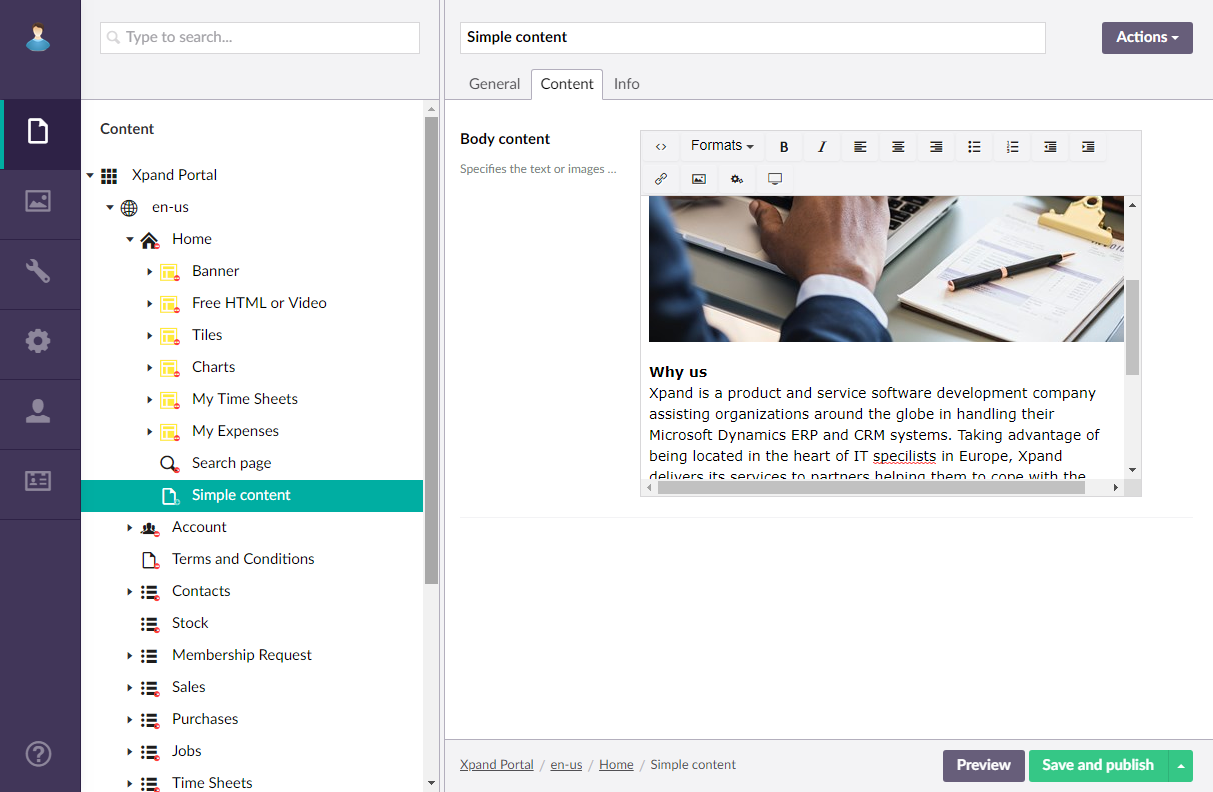
- On the Content tab, in the Description field, enter the content of this HTML block and apply the formatting. For example, you can add text, images, hyperlinks, macros, embed a video, etc.
- Source code
 - Use this button to view/edit the source code of the page content.
 - Formatting block
 - Use these buttons to format text that you add to the body content.
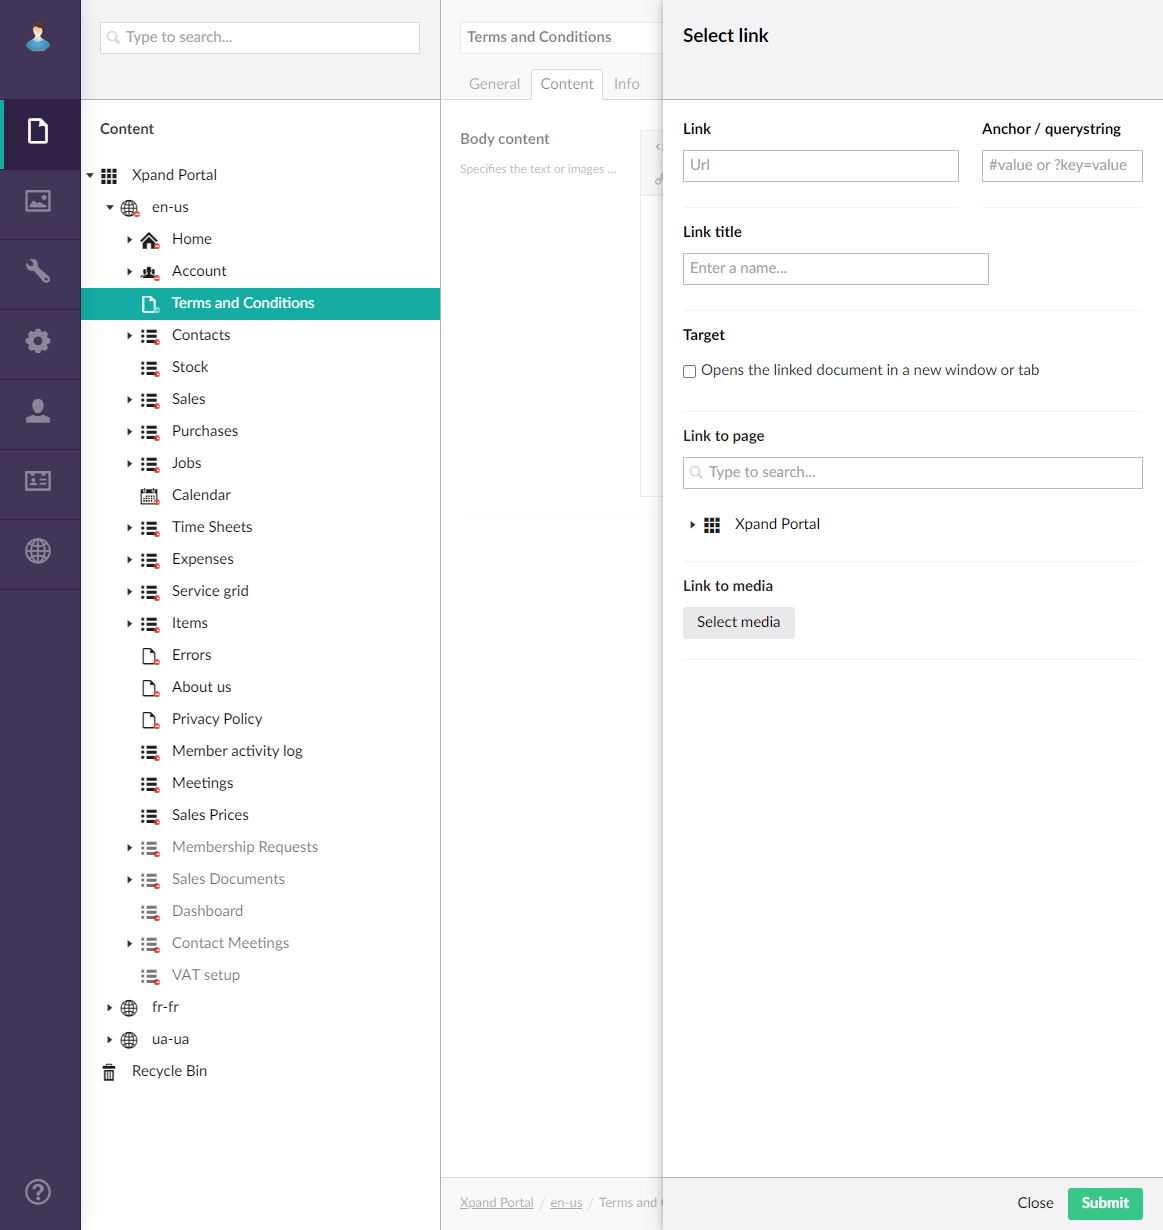
 - Insert/edit link
 - Use this button to add a hyperlink. You can add a hyperlink to an external URL (the Link field), an internal portal page (select a page under Link to page) or internal media (select a media field under Link to media). Under Target, select the Opens the linked document in a new window or tab check box, if you want the link to opened in a new browser tab.
 Note
NoteIf the external link is a video on a video hosting site, such as YouTube, and you want this video to be embedded in your simple content page (rather than a hyperlink that opens the video on the target site), use the Emded action instead of the Insert/edit link action.
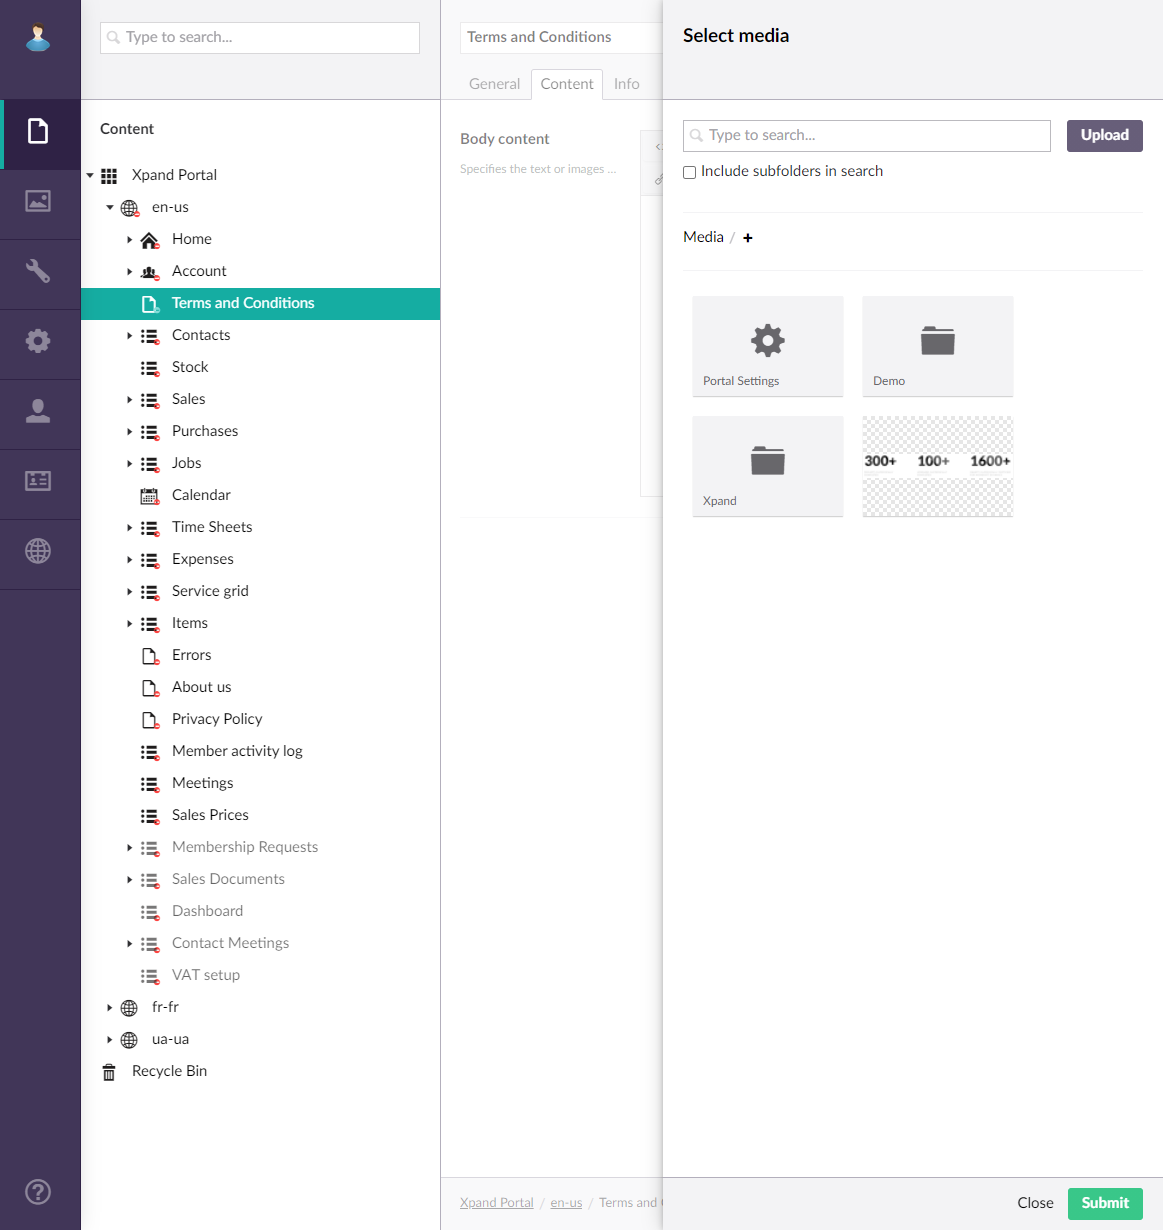
- Media picker
 - Use this button to insert a media file from the internal portal media library, such as an image.
- Insert macro
 - Use this button to insert a macro from the list of available macros if any.
 - Embed
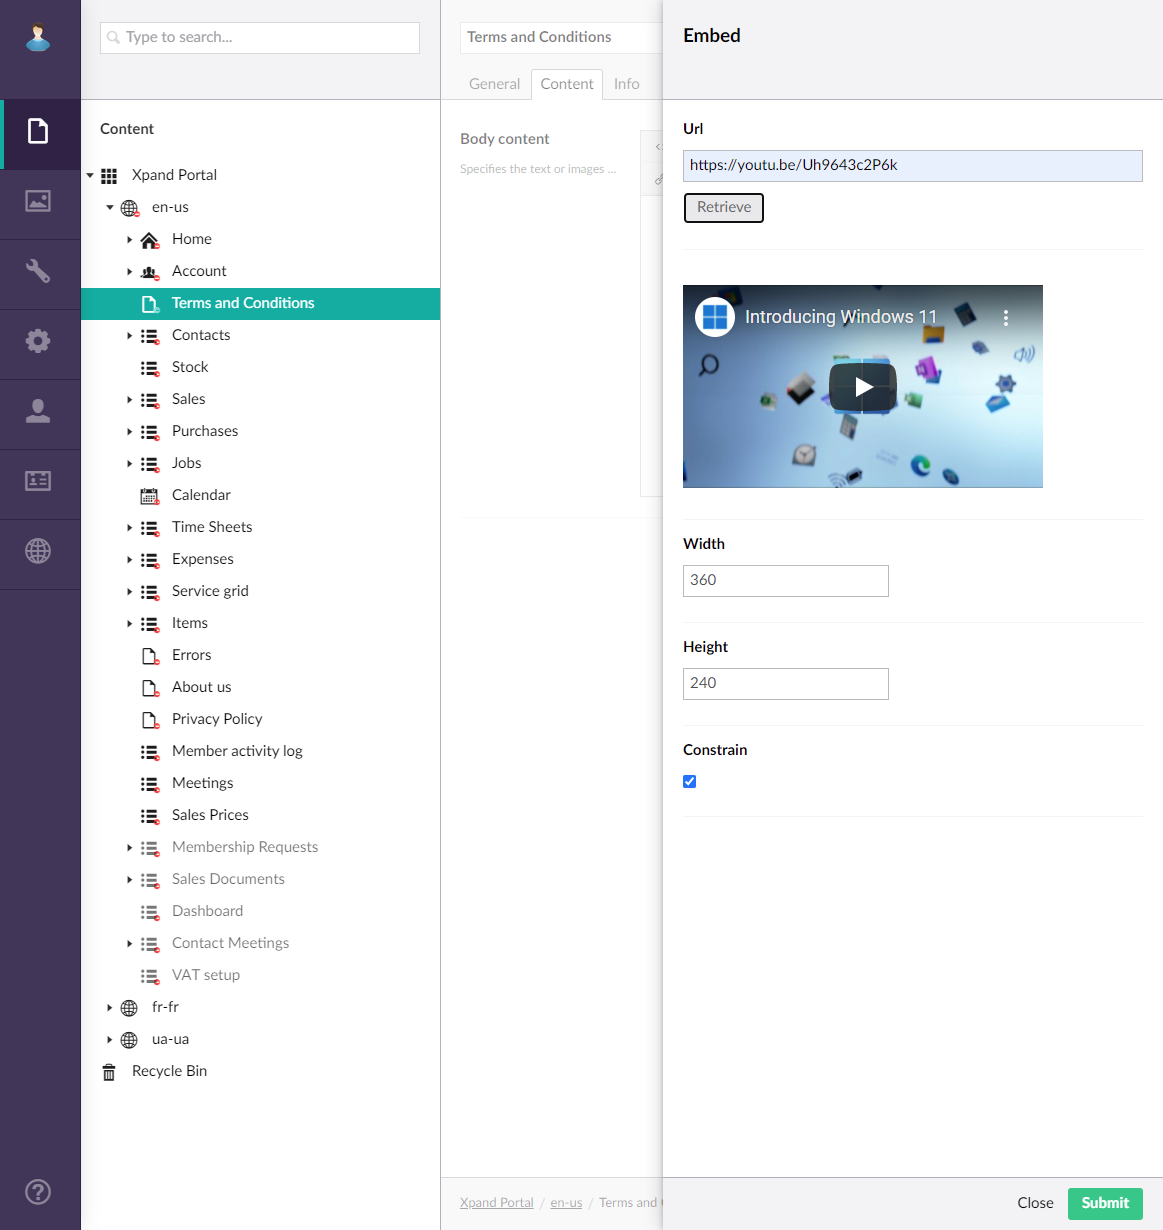
 - Use this button to embed a video from an external video hosting site, such as YouTube, In the URL field, enter the URL of the video, then select the Retrieve button. If the video was successfully retrieved, you can see its preview. Change the width and height of the embedded video, select the Constrain check box to preserve the video proportions, and then select Submit to insert it.
- Text color
 - Use this button to change the color of the text.
 - Background color
 - Use this button to change the background color.
- Select Save and publish to save the changes and publish them on the front end. Optionally, if you were editing the page, you can select Save and preview to preview how the page will look like on the front end.