Master page
The master page is a page that can serve as a blank canvas for other pages or page elements. You can use the master page as a starting point when creating your portal pages, especially when you don't want to use a specific page type as a basis. The master page can include a ![]() grid page, a
grid page, a ![]() detail page, a
detail page, a ![]() simple content page, as well as
simple content page, as well as ![]() dashboard layout block, which can host multiple other page elements.
dashboard layout block, which can host multiple other page elements.
|
At present, using the Master page is the starting point in building pages is optional. You can skip this stage and use a page of a specific type as the starting point of a new page. |
To create a master page
- In the backoffice, go to Content.
- Select the content node under which you want to create a master page. For example, select the localization root
 node to create a grid page that will be in the root of the portal navigation pane, or select a node of a page to create a grid page as a child page (it will be accessible through the navigation pane navigation panel).
 - Select the
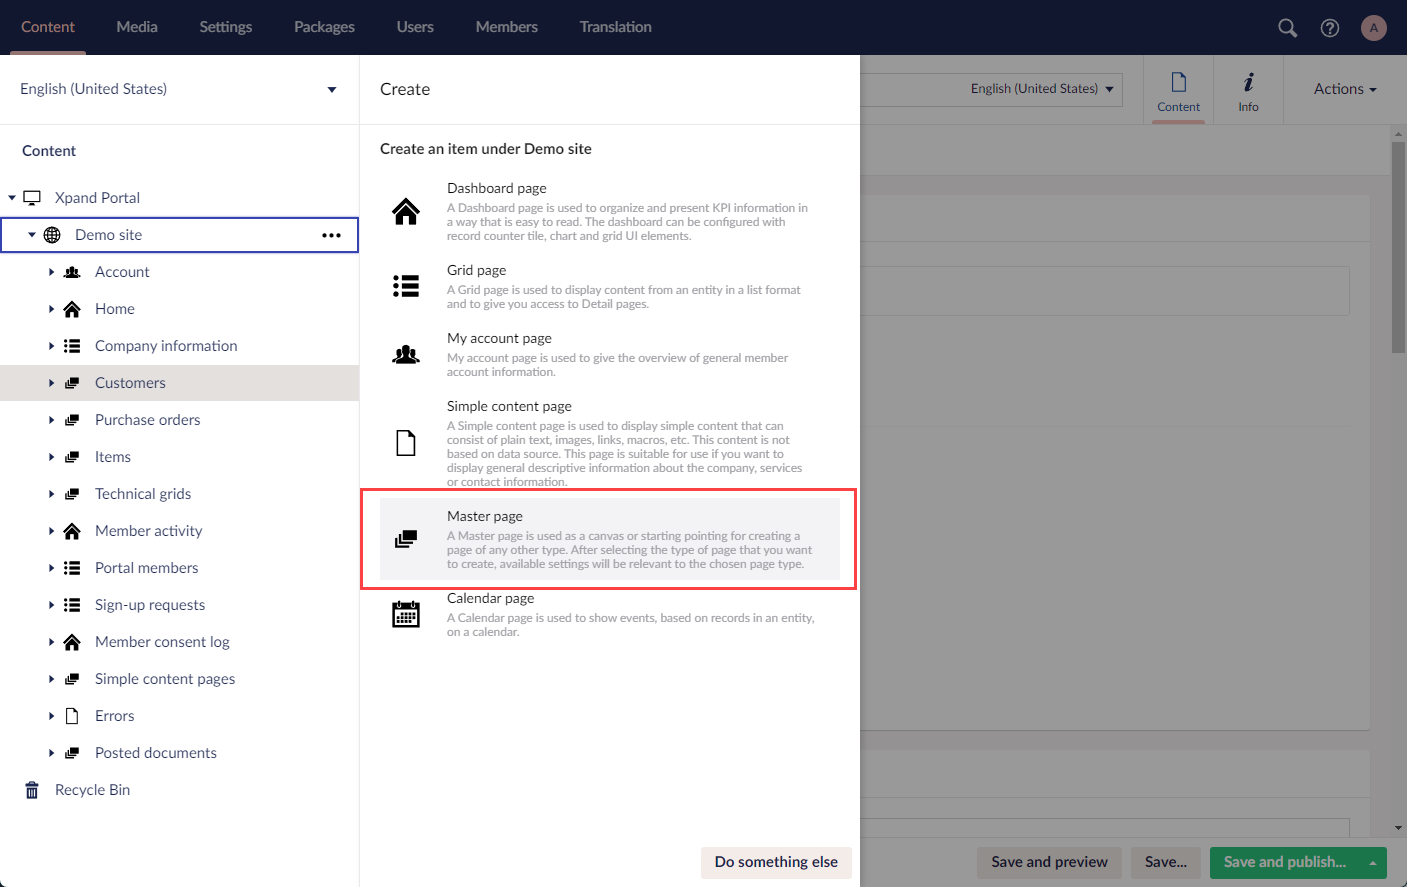
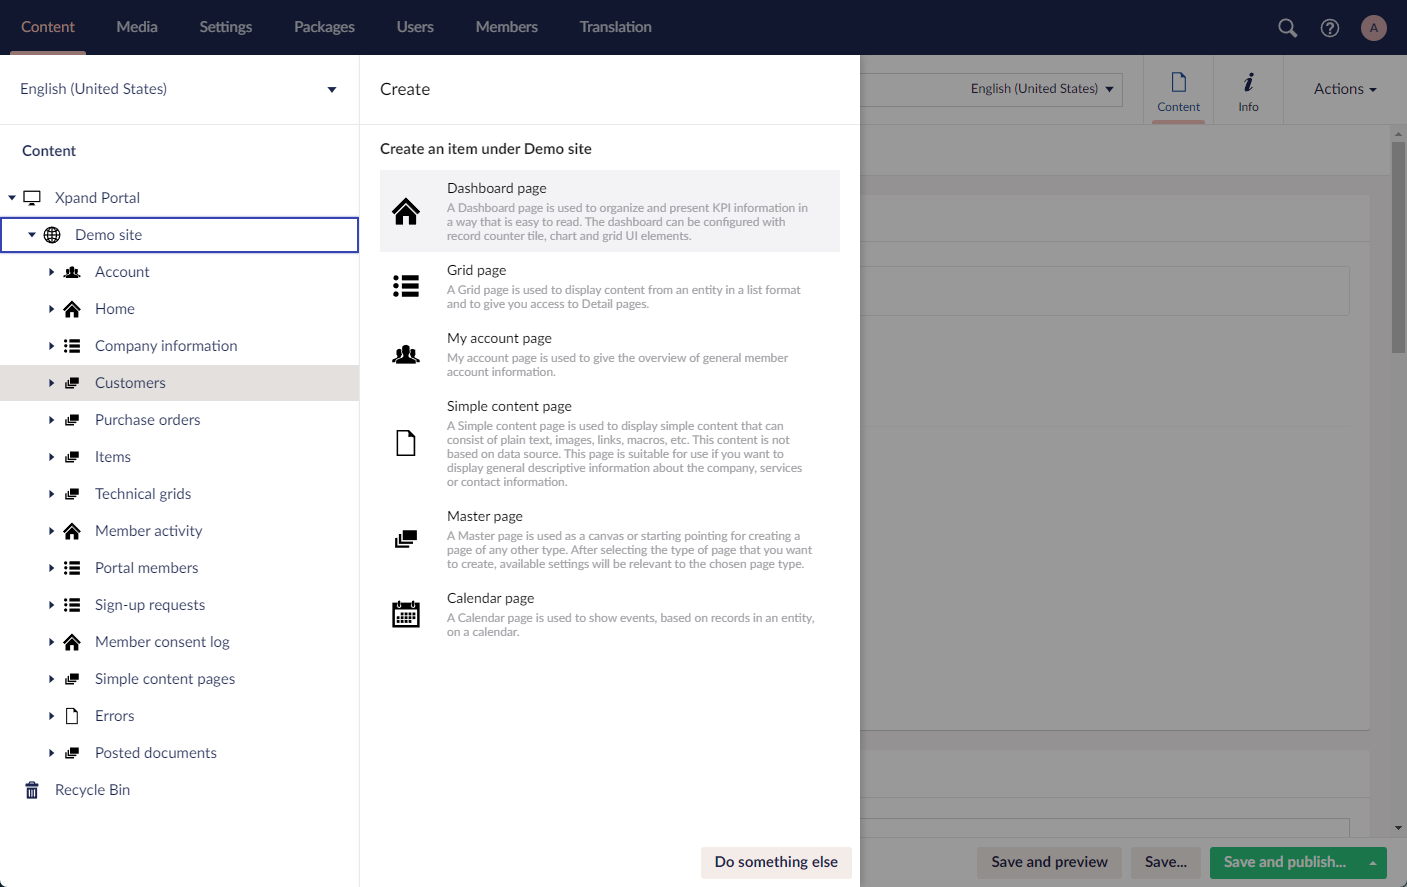
 icon of the selected node (the icon appears when you point to the node title). Alternatively, select and hold (right-click) the selected node, and then select
  Master page.
- On the header, enter the page name that will be used to identify it in the backoffice.
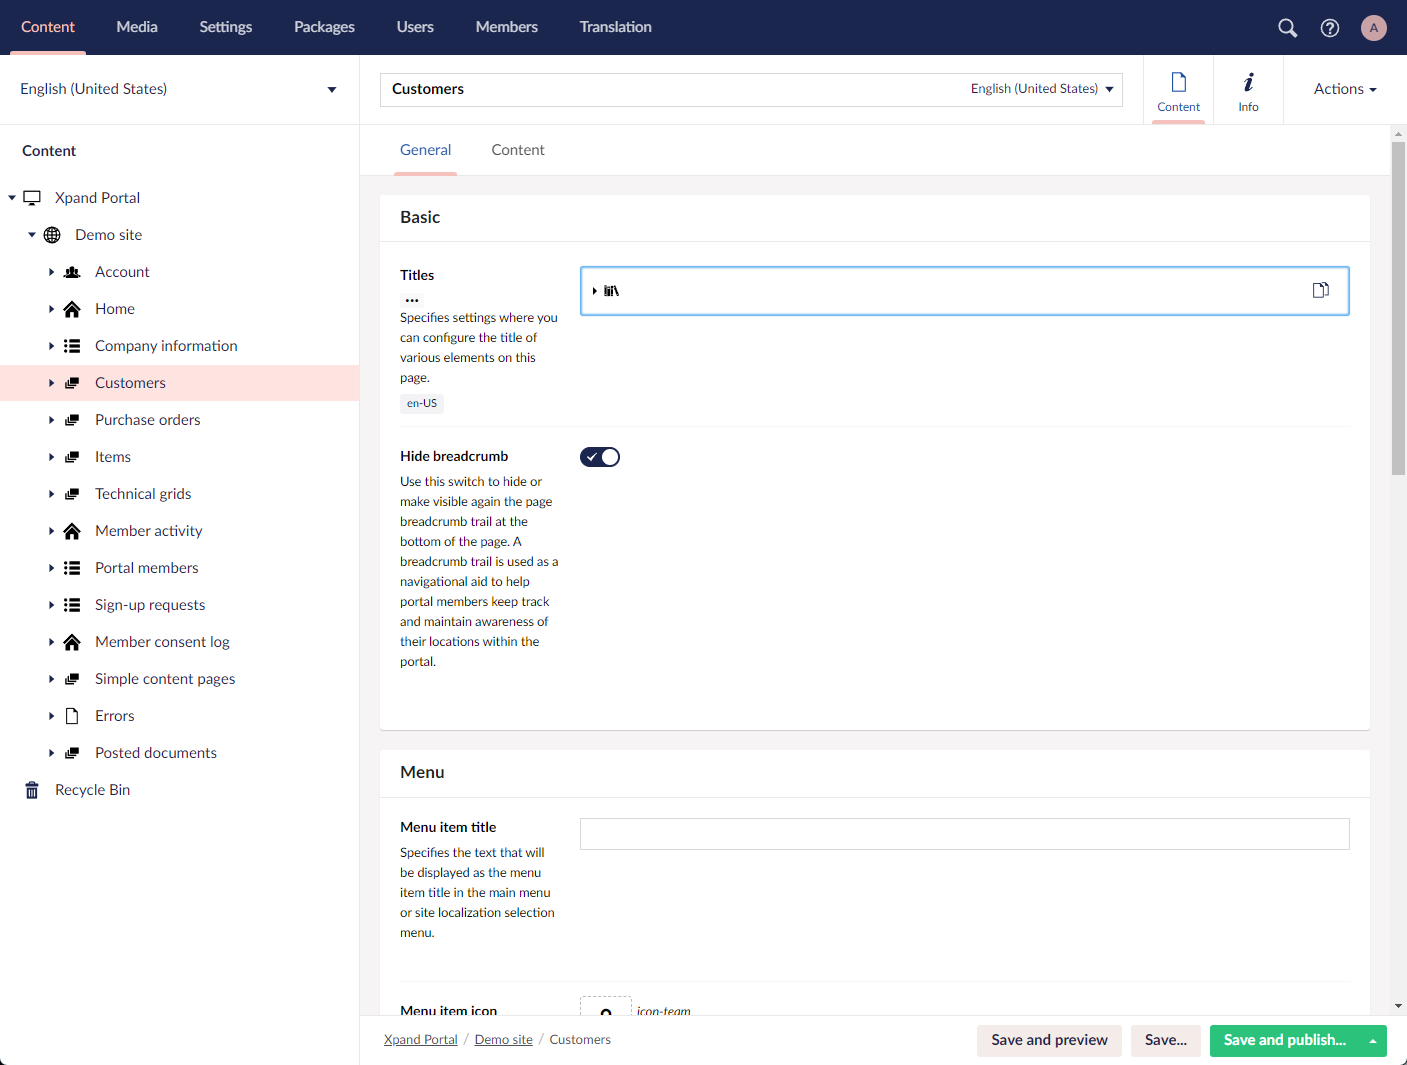
- On the General tab, fill in general settings.
- Titles - Specifies settings where you can configure the title of various elements on this page.
- Title - Specifies the title of a page or UI element on a page.
- Subtitle - Specifies the subordinate title of a page or a UI element on a page.
- Browser tab title - Specifies the title of the web browser tab.
- Hide breadcrumb - Specifies that the page breadcrumb trail is hidden. A breadcrumb trail is used as a navigational aid to help portal members keep track and maintain awareness of their locations within the portal.
- Menu
- Menu item title - Specifies the text that will be displayed as the menu item title in the main menu or site localization selection menu.
- Menu item icon - Specifies the image that will be displayed before the menu item title in the main or site localization selection menu.
- Menu item color - Specifies the color of the menu item for this page.
- Divider after menu item - Specifies whether a split line will be displayed after this menu item. A divider can be added only on the first menu level.
- Hide menu item for - Specifies the member groups that the page menu item is hidden for in the menu.
- Advanced
- Content-from page - Specifies the page the content of which will be displayed instead of the content of this page when this page is opened via a direct link. The URL in the address bar will remain that of the original page.
- Redirect-to page - Specifies the page that will be displayed instead of this page when this page is opened via a direct link. The URL in the address bar will be that of the target page.
- Module assignment & protection - Specifies settings that allow you to assign the current content element to an internal module (may be useful, for example, when you want to exclude it from counting towards the customer license) as well as restrict certain operations with it.
 Note
NoteThe Content tab shows the content that the master page hosts. It is filled in automatically once you add content to the master page.
- Titles - Specifies settings where you can configure the title of various elements on this page.
- Select Save and publish to save the changes and publish them on the front end.
To add content to a master page
- In the backoffice, go to Content.
- Select the content node with a master page to which you want to add content.
- Select a page or layout block that the master page will host:
 Grid page, a
  Detail page,
  Simple content page, or
  Layout block.
- Proceed with with configuring the selected page or layout block. See the topic for the corresponding page type for details.
- Add more elements to the master page if necessary.
- Select Save and publish to save the changes and publish them on the front end. Optionally, if you were editing the page, you can select Save and preview to preview how the page will look like on the front end.