Account-related pages
This chapter describes settings related to the Xpand Portal member account. A combination of pages is used to manage portal member accounts. On the Accounts Settings page, which should be a parent page for the account-related pages, you configure links to each of the related account page. Also, on the page you can enable or disable the Notifications functionality.
To create such an Account Settings page on your portal:
- In CMS, go to Content.
- Select the
 icon next to the node with the
  icon.
icon. - In the Create pane, select
 My account page.
 - On the header, type the name of the page, which will also be displayed as the node name in the site localization tree.
- On the General tab, configure the general settings for the Account Settings page, such as its title, subtitle, browser tab title, the page to take content from if necessary, the page to redirect to if necessary, etc. See the tooltip for information on each setting.
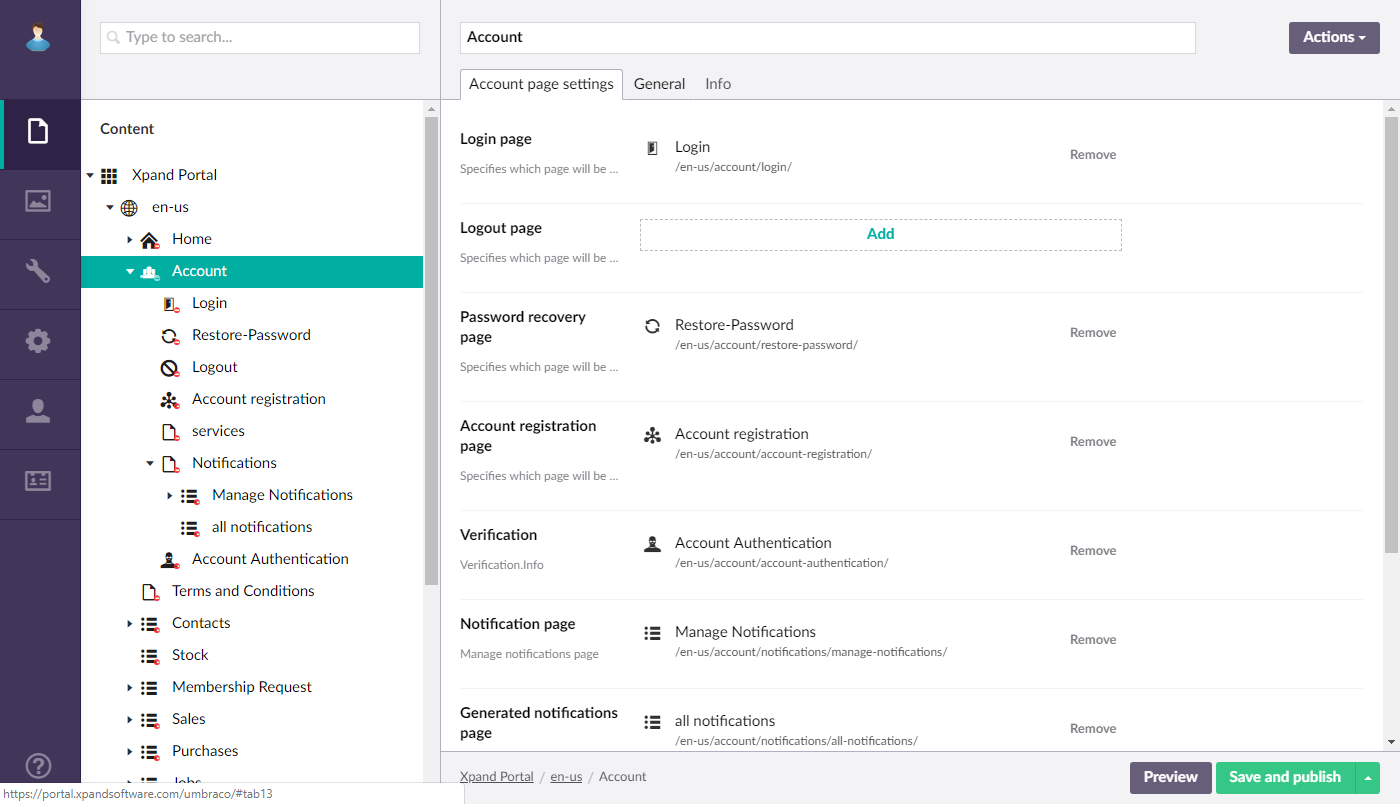
- On the Related pages tab, you set up the following:
- Sign-in page - Specifies a portal page that will be opened when a portal member is signing in.
- Sign-out page - Specifies a portal page that will be opened when a portal member is signing out.
- Password - Specifies a group of settings where you configure links to the account password management pages.
- Password recovery page - Specifies a portal page that will be opened when a portal member has forgotten their password and selected Forgot Password? link to recover it.
- Change password - Specifies the page that will be opened when the member tries to edit their account password.
- Registration - Specifies the portal page that will be opened when a new portal member is registering themselves on the portal.
- Verification - Specifies a portal page that will be opened after a portal member has filled in the username and password to authenticate the login attempt. This page is opened only if the 2-factor authentication feature is turned on.
- Authorization - Specifies the page that is displayed for the user to proceed with the additional authorization to the linked third-party service.
- Notifications - Specifies a group of settings where you configure links to the pages that are related to the Notifications functionality.
- Manage notifications page - Specifies the page that is displayed when the member selects a link in the member profile menu to manage their notifications.
- Generated notifications page - Specifies the page that is displayed when the member selects a link to view all their notifications.
- Subscription cancelation page - Specifies the page that will be opened when the member follows the unsubscribe link in an email notification.
- Select Save and publish to save the changes and publish them on the front end. Optionally, if you were editing the page, you can select Save and preview to preview how the page will look like on the front end.