Installing Xpand Portal Connector for Business Central on-premises
This topic describes how to install Xpand Portal Connector for Microsoft Dynamics 365 Business Central on-premises.
To install Xpand Portal Connector, follow the steps below:
- Import the standard Microsoft Dynamics NAV Management module into PowerShell to be able to run the commands in the next steps. To do this, run the following PowerShell command:
For Business Central 2024 Wave 1 (BC24) or earlier:Import-Module "[Path_to_Business_Central_service_folder]\Microsoft.Dynamics.Nav.Apps.Management.psd1"
For Business Central 2024 Wave 2 (BC25) or later:Import-Module "[Path_to_Business_Central_service_folder]\Management\Microsoft.Dynamics.Nav.Management.dll Note
NoteReplace the part in square brackets with the appropriate information. For example:
Import-Module "E:\Services\260\BC260_DemoPortal\Management\Microsoft.Dynamics.Nav.Management.dll
- Publish the Xpand Portal Connector extension. To do this, run the following PowerShell command:
Publish-NAVApp -ServerInstance [Server_Instance_Name] -Path "[Path_to_app_file_including_app_file_name]" -SkipVerification NoteReplace the parts in square brackets with the appropriate information. For example:
Publish-NAVApp -ServerInstance BC260_DemoPortal -Path "E:\Temp\25.4100.2.0\Xpand Ukraine LLC_Xpand Portal Connector_25.4100.2.0.app" -SkipVerification
- Synchronize the Xpand Portal Connector extension. To do this, run the following PowerShell command:
Sync-NAVApp -ServerInstance [Server_Instance_Name] -Name "Xpand Portal Connector" -mode ForceSync NoteReplace the part in square brackets with the appropriate information. For example:
Sync-NAVApp -ServerInstance BC260_DemoPortal -Name "Xpand Portal Connector" -mode ForceSync
- Install the Xpand Portal Connector extension. This can be done in two ways:
- Run the following PowerShell command:
Install-NAVApp -ServerInstance [Server_Instance_Name] -Name "Xpand Portal Connector" -Force NoteReplace the part in square brackets with the appropriate information. For example:
Install-NAVApp -ServerInstance BC260_DemoPortal -Name "Xpand Portal Connector" -Force
- From Business Central:
- Choose the
 icon, enter Extension Management, and then choose the related link.
 - In the Extension Management window, select the Xpand Portal Connector extension.
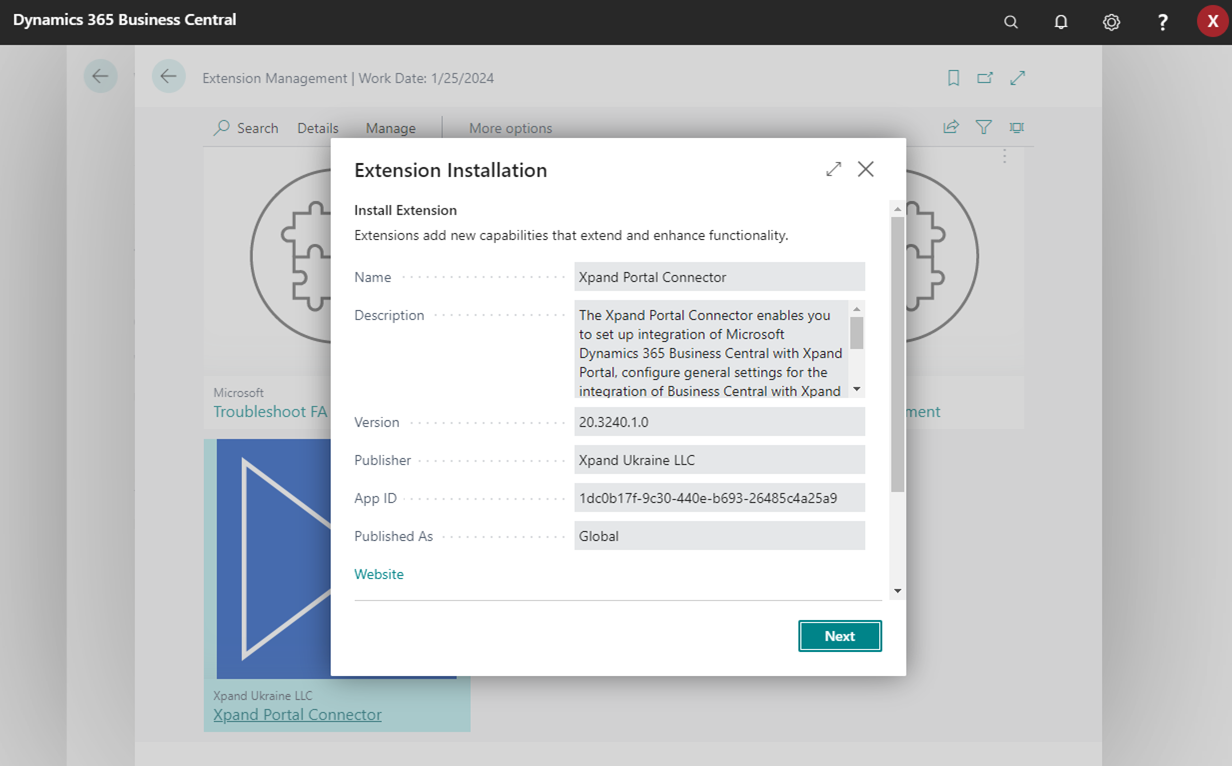
- In the Extension Installation window, choose Next.

- Select the I accept the terms and conditions check box, and then choose Install.
- After successful installation, choose OK on the information message that appears.
Configuring Xpand Portal Connector
After you have installed Xpand Portal Connector, you need to perform the primary setup. You need to configure the following:
- Set up Xpand Portal Connector users and configure roles and permissions for them.
- Set up basic entities to work with.
- Set up general rules for Xpand Portal Connector, enable integration, and test connection in the portal integration setup page.
- Set up automatic data synchronization between Xpand Portal and Business Central
- Manually export data from Business Central to Xpand Portal to make it available on the portal, otherwise only new changes will be synchronized.