Subscribing to changes on a record
For a portal member to receive notifications about changes on a record they must subscribe to changes on that record. This type of subscription is referred to as Direct. Additionally, portal administrators (members with the Administrator role) have access to Advanced subscriptions where they configure subscriptions for member groups with various conditions that must be met for a notification to be sent/shown (see Managing subscriptions for more information).
Notifications about the changes will be displayed on the header of the portal, which is always visible, regardless of the page you are currently on. Alternatively or in addition to portal notifications, a notification can also be sent by email.
|
Changes made by yourself will not trigger notifications for the record you are subscribed to. However, other portal members will be notified about the changes if they subscribe to changes for that record. |
Subscribing to changes on a record from a detail page
Using the Direct subscription type, portal members can manually subscribe to changes on a record where the action that allows to subscribing to changes is available and allowed for the portal member group the member belongs to.
To subscribe to changes on a record from a detail page
- Open a portal grid page, and then open the detail page for a record with the Notifications feature is enabled for your member role.
- On the detail page, select the
 icon in the top right corner to subscribe to changes (insert, modify, delete) on this page.
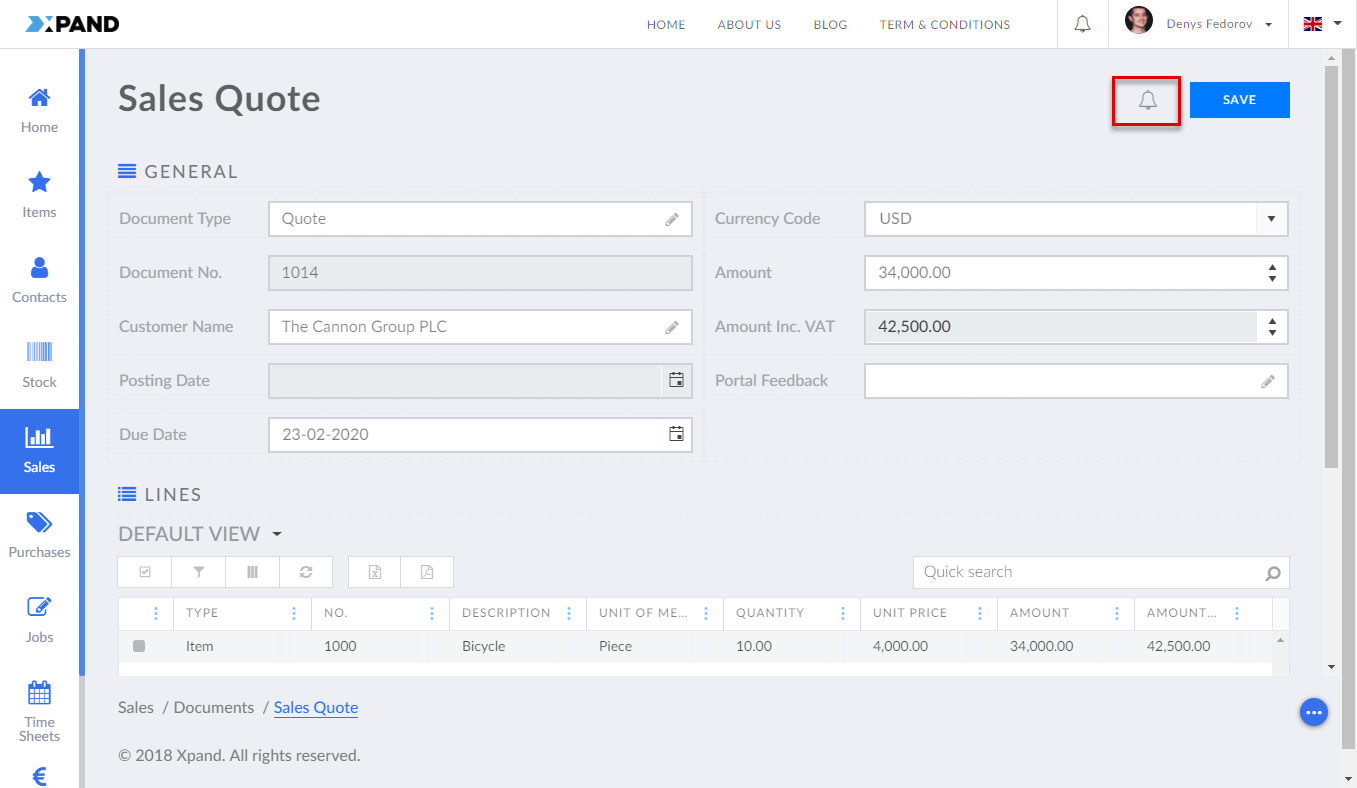
The ![]() icon changes to
icon changes to ![]() , which indicates that you are currently subscribed to changes on this page.
, which indicates that you are currently subscribed to changes on this page.

Subscribing to changes on a record from a grid page
To subscribe to changes on a record from a grid page:
- Open a portal grid that has a record you want to subscribe to and has the Notifications feature is enabled.
- Select the
 icon on the line with the record you want to subscribe to. When you are subscribing to changes from a grid page, you subscribe to all types of changes (insert record, modify record, delete record) by default. You will be able to change this from the Manage Notifications window.
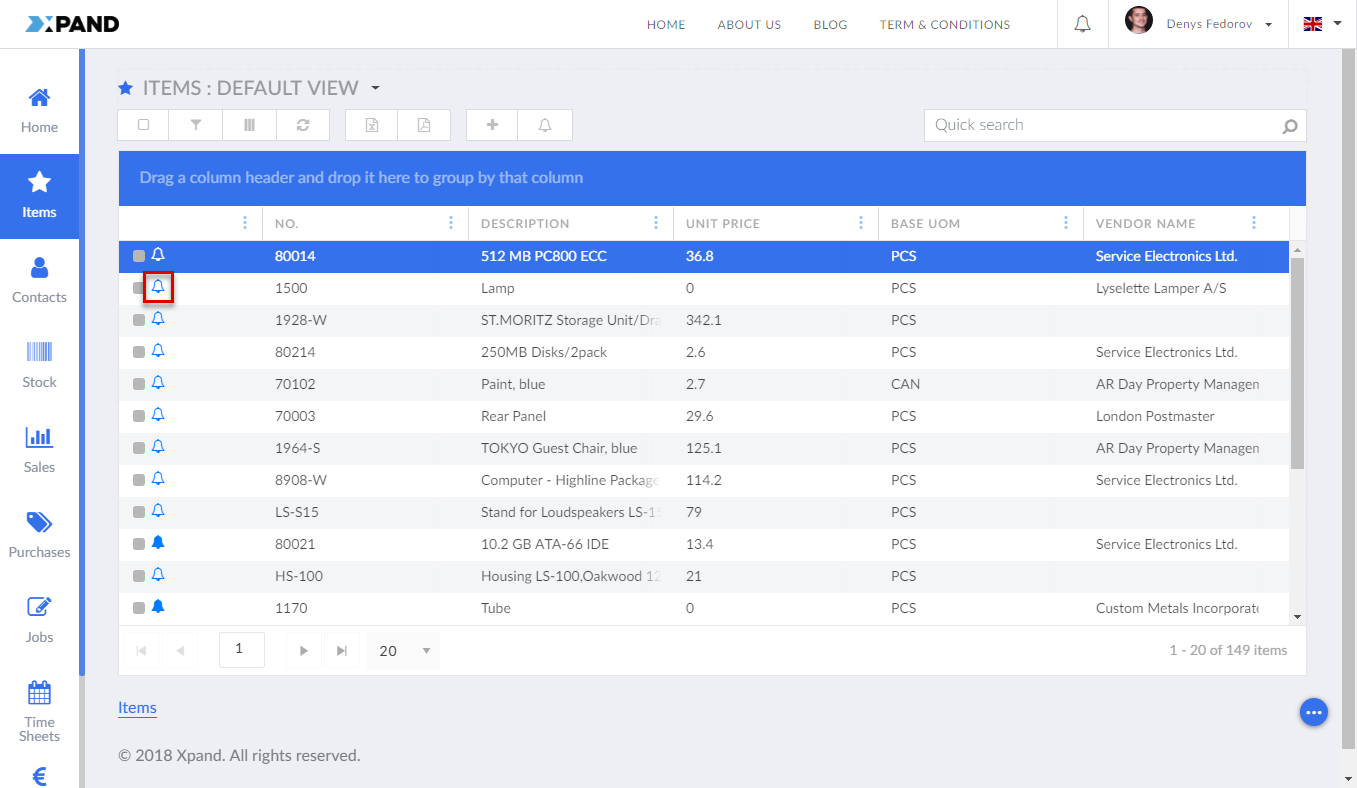
The icon ![]() changes to
changes to ![]() , which indicates that you are subscribed to changes on this record.
, which indicates that you are subscribed to changes on this record.
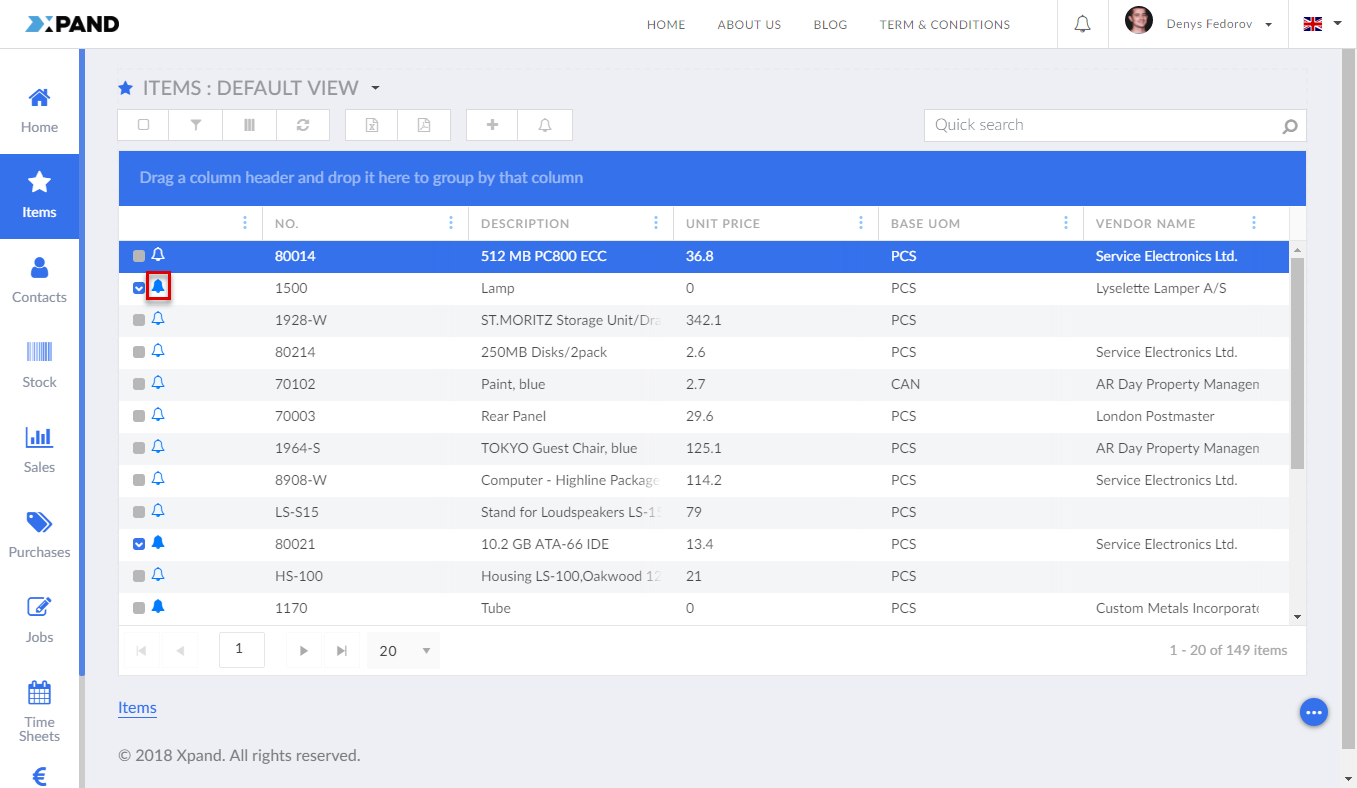
Alternatively, if you want to subscribe to changes on multiple records at once, you can select the lines with the records and then select the ![]() icon in the grid action bar to subscribe to changes on the selected records.
icon in the grid action bar to subscribe to changes on the selected records.
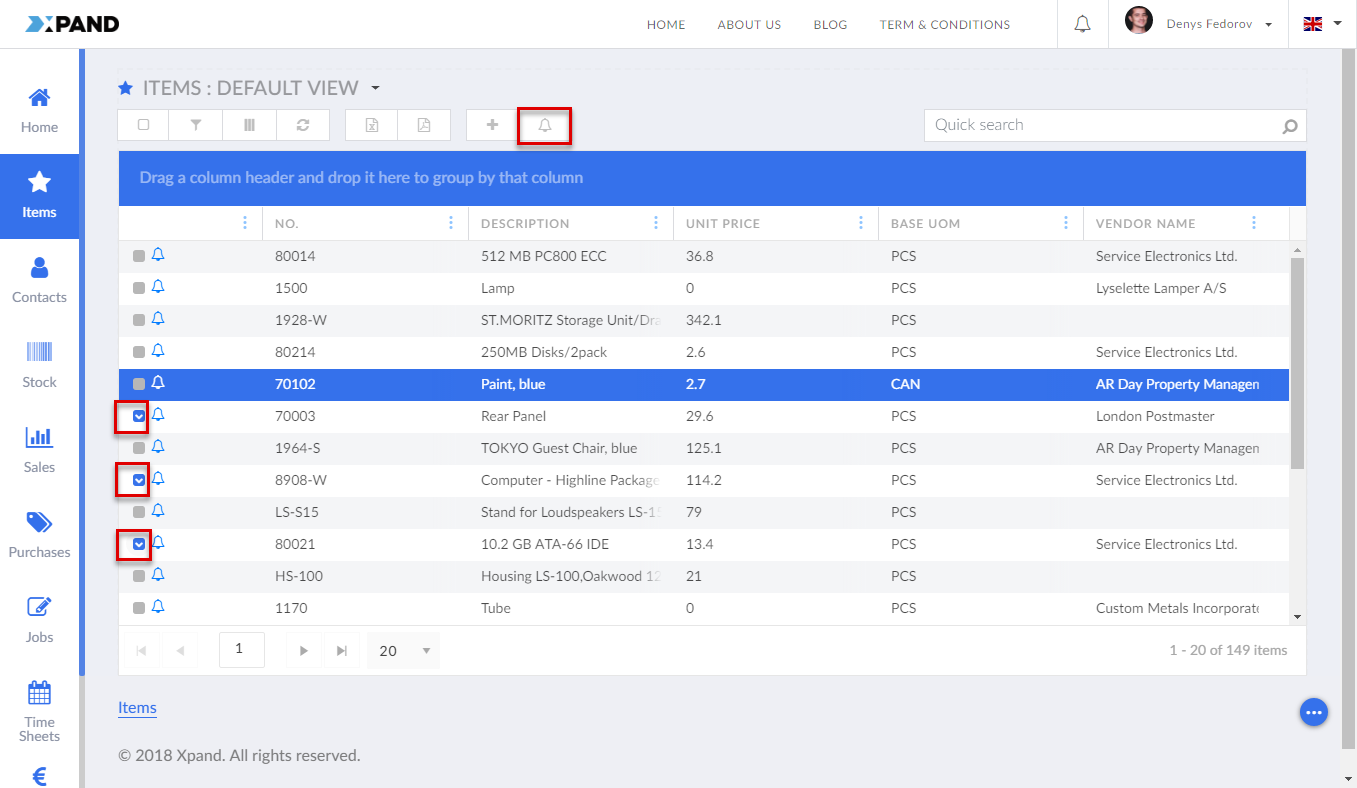
The icon on each record changes from ![]() to
to ![]() , which indicates that you have subscribed to changes on those records.
, which indicates that you have subscribed to changes on those records.
You can always unsubscribe from changes on a record if you do not want to receive notifications about the changes on that record any more. Additionally, you can manage your subscriptions where you can unsubscribe from changes (both from Direct subscriptions and Advanced subscriptions, which are configured by portal administrators for member groups) as well as configure your subscription (choose to receive portal and/or email notifications).