Installing Xpand Portal
Xpand Portal is common .net mvc (web application). It provides an overview of the most important information from Xpand Portal through a web browser.
Portal installation can be performed in two ways, using an .msi application or PowerShell script.
Before installing Xpand Portal, ensure your system meets the hardware & software requirements.
|
This procedure is only for a new installation; don't use it to update an existing portal installation. If you already have Xpand Portal installed, uninstall it first prior to installing the new version. |
Installing Xpand Portal with an .msi application
To install Xpand Portal:
- Run the Xpand Portal .msi file with the version of Xpand Portal you want to install.
- Select Next.
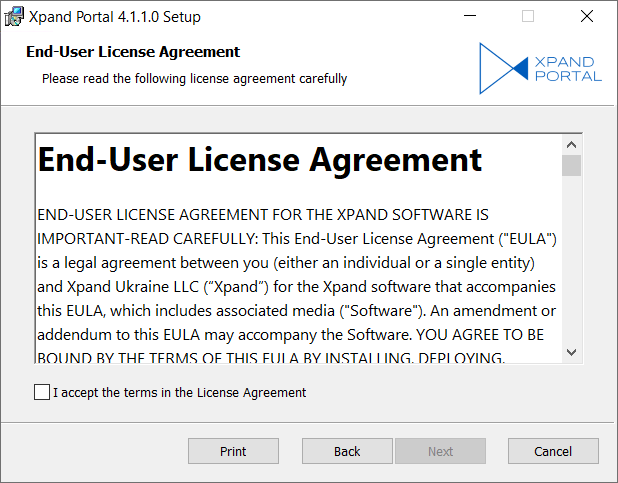
- Read the License Agreement, then select the I accept the terms in the License Agreement check box, and then select Next.
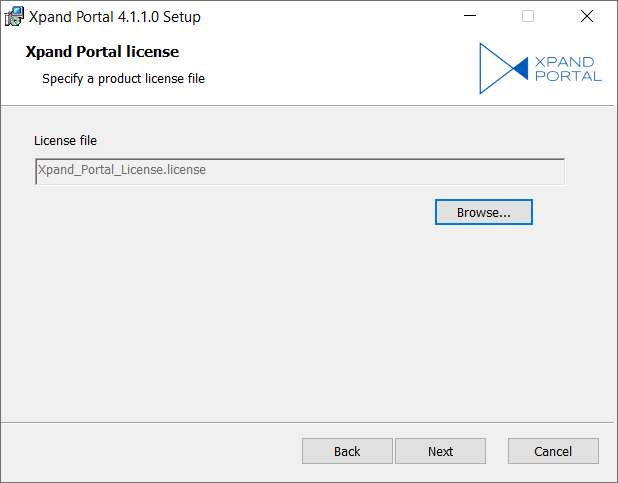
- Select your product license file (a file with the .license extension), and then select Next.
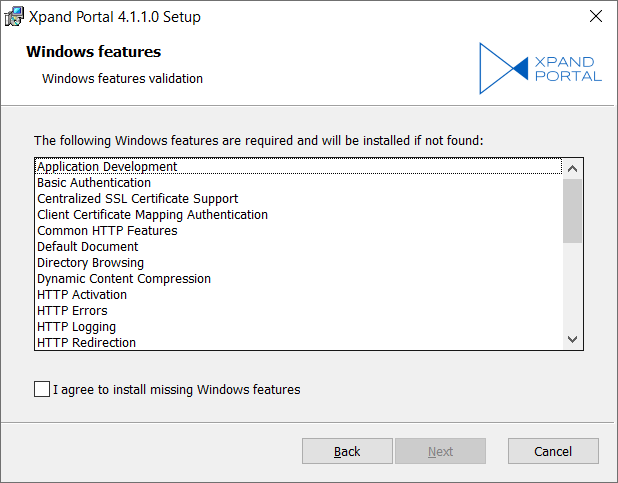
- Select the I agree to install missing Windows features check box (you can see the list of features that will be installed if they haven't already), and then select Next.
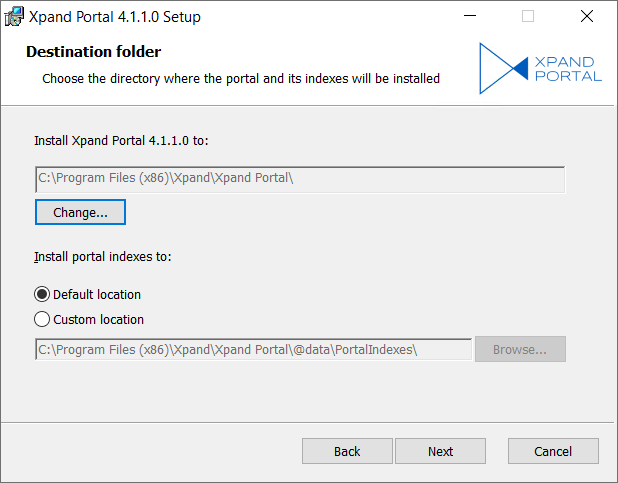
- Specify a location where Xpand Portal will be installed. Select Change to specify a custom location or leave the default location.
- Under Install portal indexes to, select where portal indexes will be installed. Portal indexes contain data for all portal entities. You select either the default location (C:\Program Files (x86)\Xpand\Portal\@data\PortalIndexes\) or a custom one, and then select Next.
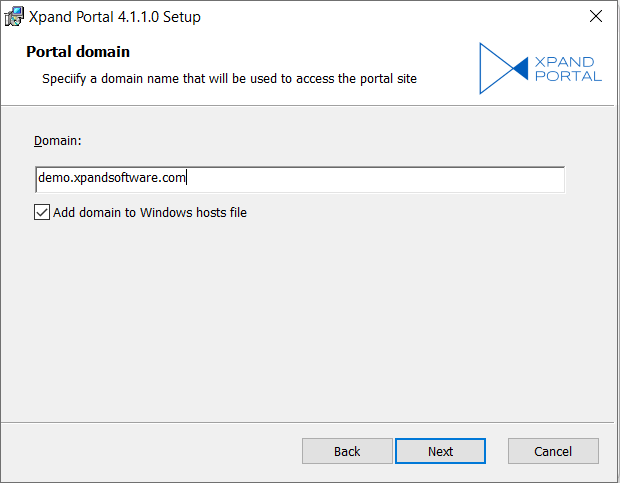
- In the Domain field, type the domain of the portal site. This domain will be used to access Xpand Portal in a web browser.
- Optionally, you can select the Add domain to Windows hosts file check box to the domain to the Windows hosts file. This will allow you to access the portal directly on this PC.
- Select Next.
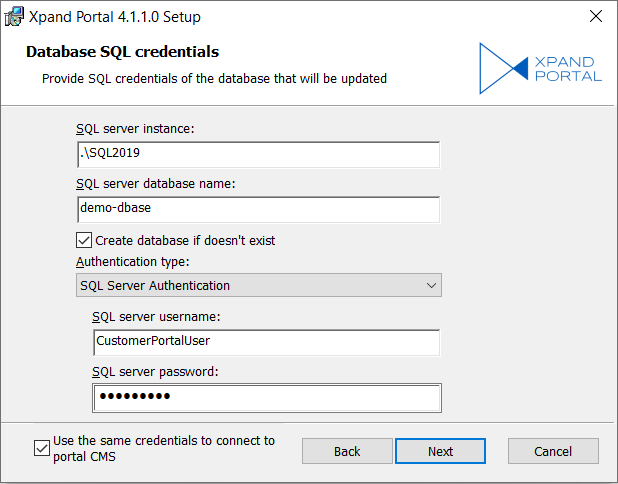
- Fill in the database SQL credentials as described below. Aa Microsoft SQL Server must be already installed on the server where you're installing Xpand Portal.
- SQL server instance – Specifies the SQL server instance where the SQL database for the portal is located or will be created.
- SQL server database name – Specifies the name of the existing empty database, the structure of which will be updated to this Xpand Portal version, or created.
- Create database of doesn't exist – Select this check box if you don't have an empty SQL database for Xpand Portal and you want to create a new one using credentials that you specified. If you already have a database the structure of which you want to update to this portal version, clear this check box.
- Authentication type – Specifies the type of the SQL server authentication. If you select SQL Server Authentication, you must also fill in the SQL server username and SQL server password fields.
- SQL server username – Specifies the name of the SQL server user that will be used for SQL server authentication when creating a new database or connecting to the existing database.
 Note
NoteTo create a new database, you must specify a user with the db creator role or other role that allows creating a database. To connect to an existing database, you must specify a user with the db owner role or other role that allows connecting to a database.
- SQL server password – Specifies the password that will be used for SQL server authentication when creating a new database or connecting to the existing database.
- Use the same credentials to connect to portal CMS - Select this check box if you want to use the specified credentials to also connect to the portal backoffice.
- Select Next. The setup wizard will verify provided SQL credentials and try to connect to the SQL server. If the connection fails, verify SQL credentials that you provided.
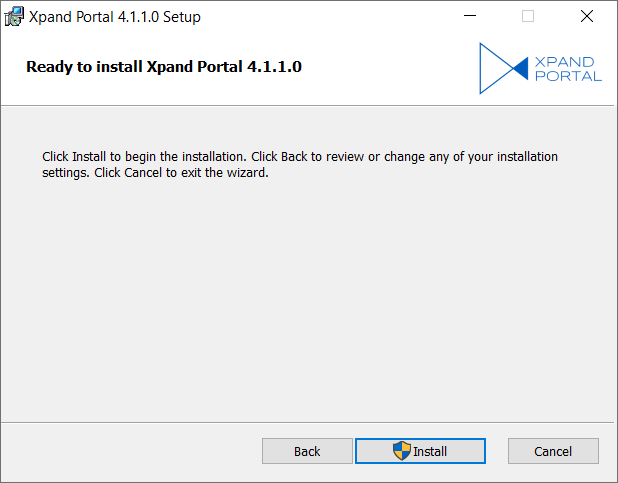
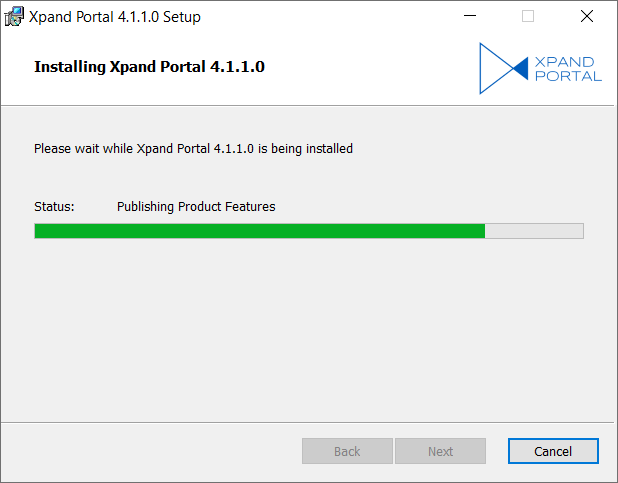
- Select Install to start installation.
 Note
NoteThe installed product will not have any demo data. Demo data or business-specific modules can be deployed after the installation.
- Wait until installation is completed.
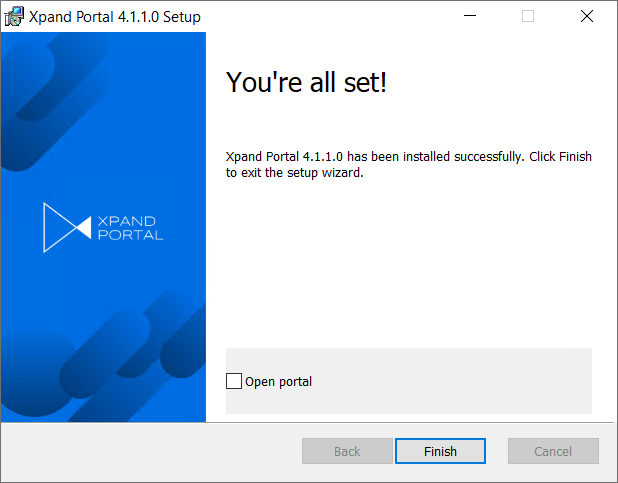
- Select the Open portal check box to open the CMS sign-in page upon finish or leave the check box cleared to do it later. Before trying to sign in to CMS, make sure that all other installation steps are completed.
Manually installing a portal license
In case you need to install or update a license file in an already installed portal, follow these steps:
- Open IIS Manager.
- In the Connections pane, expand sites.
- Right-click your portal site, and then select Explore.
- In the explorer window with Xpand Portal content, open the folder Config.
- Paste your .license file inside this folder.
- Go to IIS Manager.
- In the Connections pane, select Application pools.
- Right-click the pool with the name that corresponds to the name of your installed portal, and then select Recycle.
First sign-in to portal CMS
To sign in to the portal CMS, in a web browser, go to the following URL:
https://yourselectedwebsitename/umbraco
where yourselectedwebsitename is the domain name that was specified during installation.

When you are signing in to CMS for the first time, use the following credentials:
Username: admin@xpand.portal
Password: abcABC123!
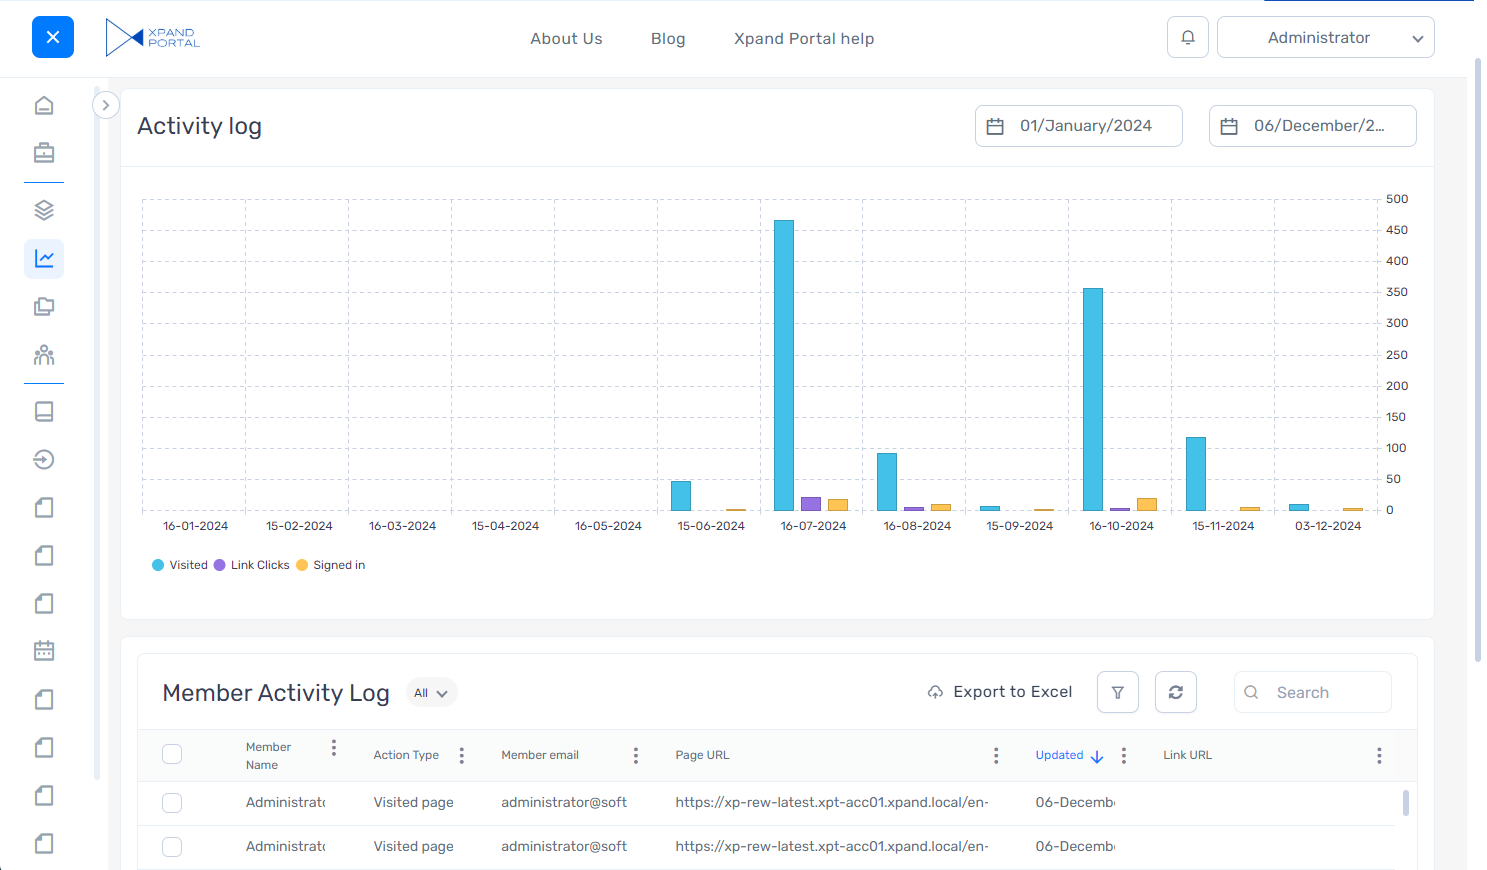
After you have signed in to the CMS, the following page is open:
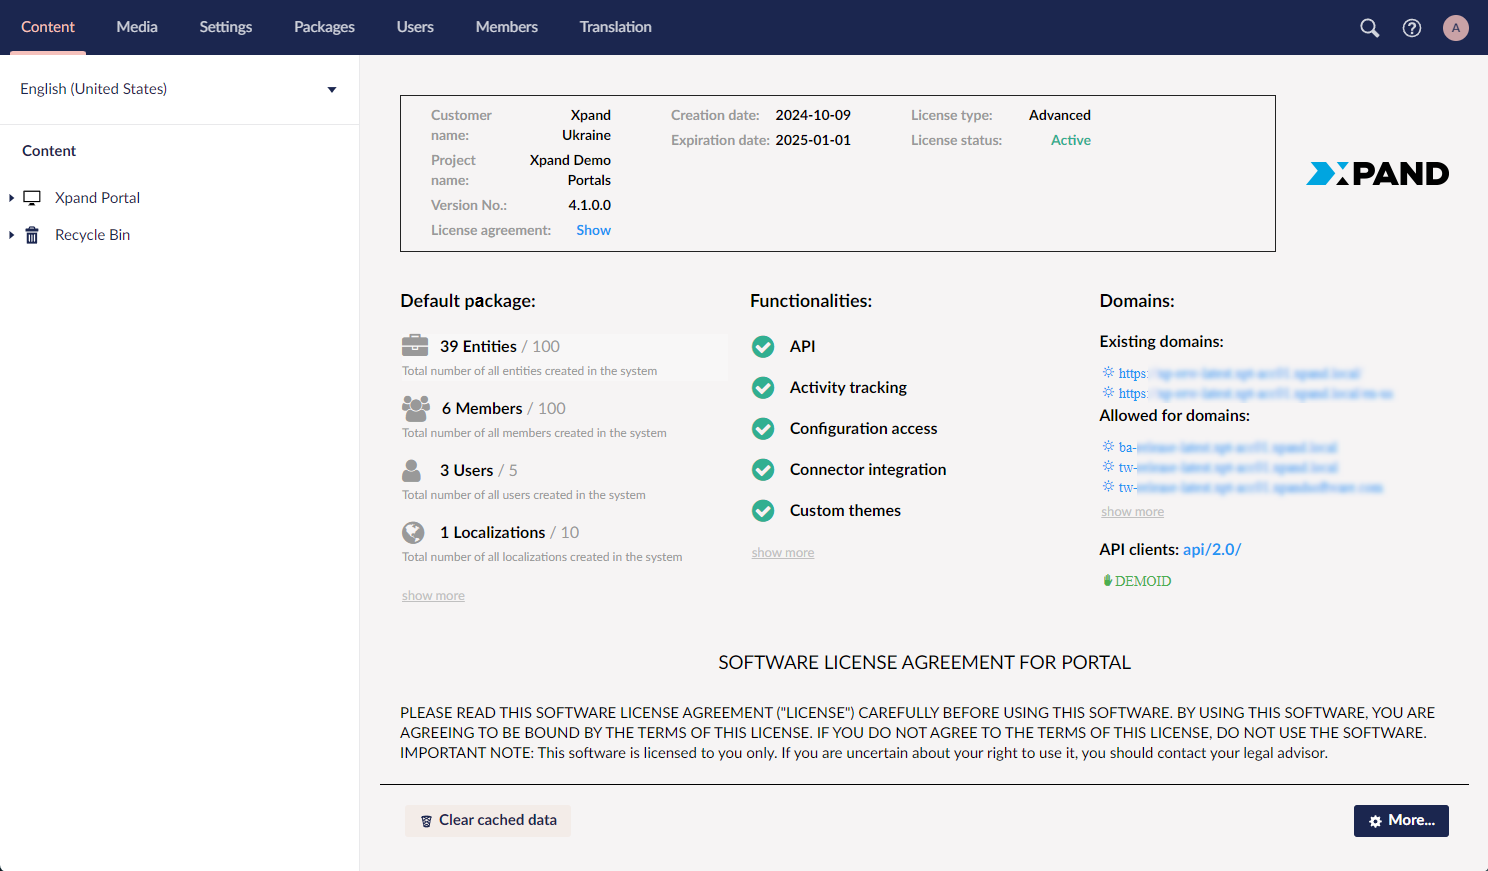
In CMS, you will be able to create other CMS users as well as portal members (front-end users). See the CMS section to learn how to configure Xpand Portal.
When you configure members of your portal, they can access the front end using their member account.
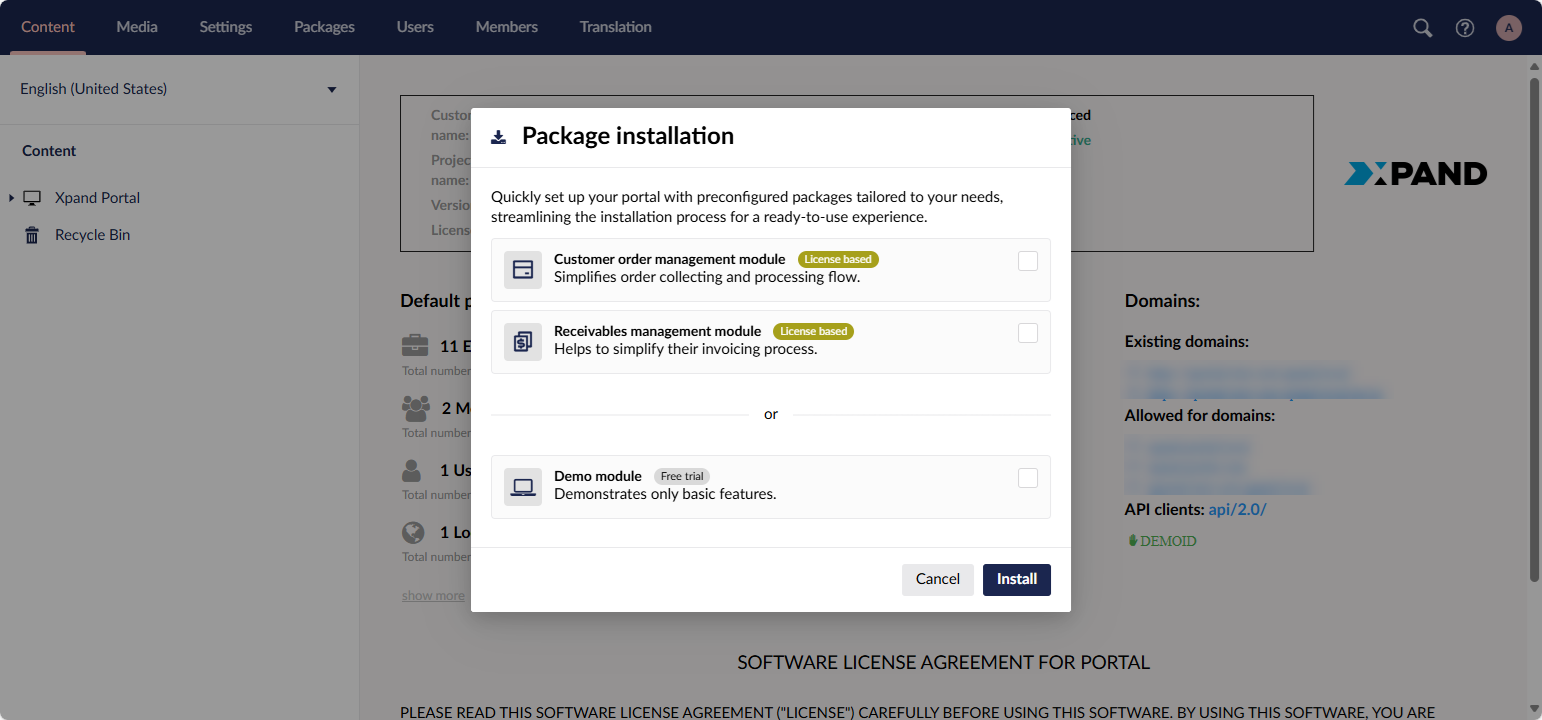
Configuration packages and license-based modules
Additionally, during the first sign-in to CMS, a dialog window is opened where you can install the configuration packages (the Demo module or license-based business-specific modules depending on your license). This step can be cancelled at this point; packages can be deployed later if necessary.
First sign-in to front end
In the web browser, go to https://yourselectedwebsitename/ where yourselectedwebsitename is the name of the website that you specified earlier.
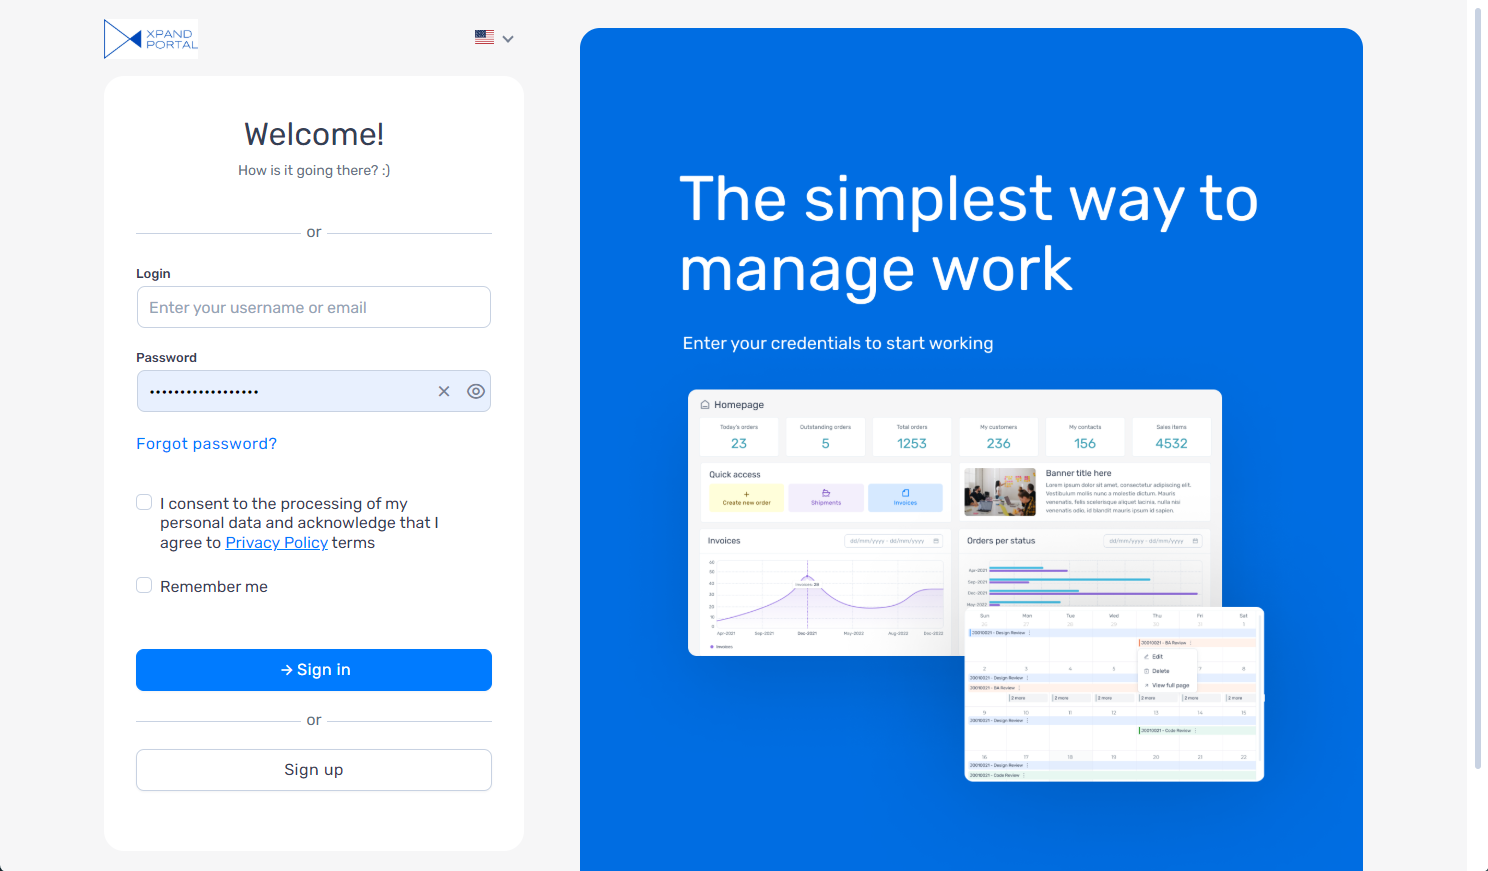
Enter the user name and password, and then select the Sign in button.
Typical member
You can use the following predefined credentials for a typical member who doesn't have access to administrator-related pages:
Login: Salesperson or Customer
Password: abcABC123!abcABC123!
Administrator
You can use the following predefined credentials for a member who has access to administrator-related pages:
Login: Administrator
Password: abcABC123!
If demo data is deployed, the default member with administrator permissions has access to the following pre-configured pages:
- Member Activity - view information about member activity as well as member activity statistics.
- Sign-Up Requests - Manage (view/accept/reject) requests of new portal visitors to sign up.
- Portal Members - View and manage portal members directly from the front end. Some settings are available in the back end only.
- Consent logs - View the history of instances when consent to process personal data as well as to use cookies was given by portal members.
|
The pre-configured content that is part of the installation package is subject to change. Since version 4.1.1.0, the setup wizard installs a clean portal; demo data or business-specific modules can be deployed after the installation if necessary. |
Configure API clients
To be able to access Xpand Portal data through Xpand Portal API, you must configure the following in Xpand Portal CMS:
- API settings – These are general settings for Xpand Portal API.
- API clients – You must add settings for each API client application that you want to grant access to portal data through API with JSON Web Token (JWT) authentication.
Installing Xpand Portal with PowerShell script
This is an alternative way of installing Xpand Portal.
The Xpand Portal installation package includes the following components:
- client library (client.zip) - This can be used to communicate with portal synchronization service.
- portal website (web.01.zip) – The website latest code and views that needs to be used to install or update the portal.
- portal sync. service (service.zip) - Website WCF service part, which is needed to communicate and synchronize changes between the ERP and the portal.
- portal setup (web.02.zip) - The package that updates a back-end setup with the latest editors, structures, etc.
- install.ps1, _unpack.ps1 and Resources.zip – A set of PowerShell scripts that are used in the initial portal setup
- database.backup.zip – The portal database backup.
To automatically set up needed folder structure using a PowerShell script, follow these steps:
- Put the package components mentioned above into the portal “root folder”
For example: D:\Applications\WebPortal - Run Windows PowerShell in the administrative mode with the possibility to run scripts (read more: set-executionpolicy remotesigned)
- Adjust the install.ps1 script from the root folder (For example: D:\Applications\WebPortal\install.ps1): change settings in the header of the script as shown in the screenshot below:
- Run the install.ps1 script from the root folder.
|
The Microsoft SQL user must have dbcreator permissions to be able to create and update the database. |
As a result, the script should create the following folder structure:
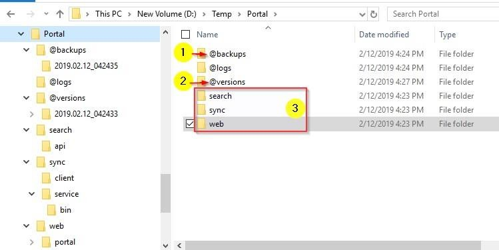
On the screenshot:
- The first level folder for latest portal backups (before performing any deployment, you should create a full or partial backup of the application).
- The first level folder for installed portal versions.
- The first level folders for portal search/sync/web modules. The script automatically is doing other things:
- It sets up read/write permission to appropriate folders for “NETWORK SERVICE“ (the account from which the application pool is going to be run).
- Restores the content from all packages to the appropriate folders.
|
The portal license file must be stored in the \web\portal\config\ folder. Without a portal license file, the Free license will be used. |
The first login to CMS and first login to front end are the same as after the installation with an .msi.
Installing components for integration with other systems
For integration with other systems, Xpand Portal uses Xpand Portal Connector. Integration with Microsoft Dynamics 365 Business Central is available as an out-of-the-box feature. See Connector installation & configuration for information how to install and configure Xpand Portal Connector.
Configuration packages